First, let me apologize for such a late post.
Everything I did today took 1,465 two times longer than I anticipated, so here I am at the end of the day, pecking away at the computer and feeling very much like the turtle in the race. He won in the end, right?
Right.
I’m going to try to be slightly less…verbose…than usual, so if I sound a bit terse, it’s because I actually want to post my Try-it Tuesday ON Tuesday.
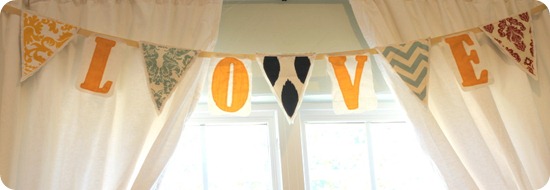
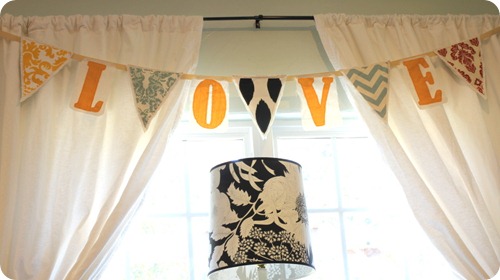
So, here’s what we’re making today:
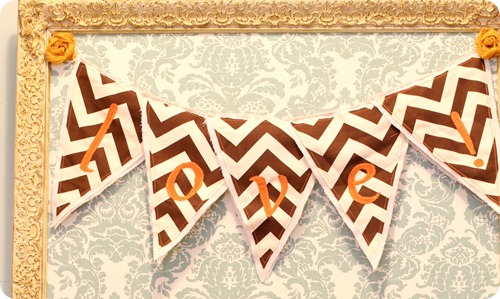
Now, I know I said I wasn’t a trend-follower, and bunting’s about as trendy as it gets, but this is a “love letters” reversible bunting banner. Say it with me: “OOOOOooooh.” (Oh wait, I was supposed to be cutting down on my excess words. Whoops).
Actually this is only the front half of what we’re making, but I’m getting ahead of myself…
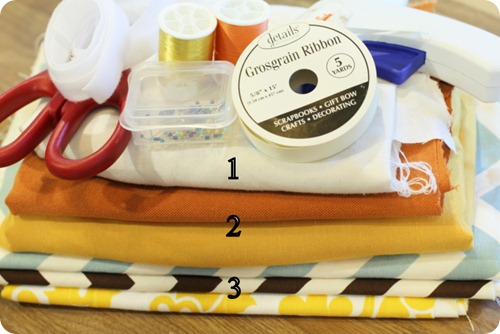
Here’s what you’ll need:
- Fabric: 1) Neutral toned/contrasting fabric for the “blocks” surrounding your large letters, 2) Solid or patterned coordinating fabric for the “love letters,” 3) Bunting fabric (I chose five different Premier Print patterns for one side so that each bunting triangle was different—check out the above pic to see what I mean—but for the reverse, I chose only one Premier Print fabric pattern for all five triangles…you’ll see what I mean in a minute).
- Ribbon for hanging your bunting (I recommend something “grippy” like grosgrain. Satin would cause your bunting to slide)
- Velcro
- Scissors
- Hot glue gun (hello again, Glen!)
- Coordinating thread (I chose one matte and one sparkle, just to mix things up a little)
- Pins
- Printable bunting/letter templates
1. First things first: print your templates, and decide which fabric goes with which piece.
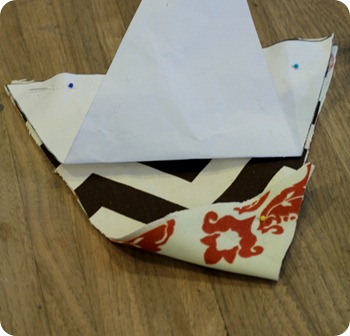
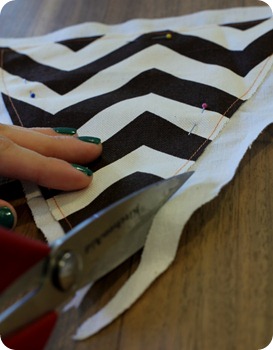
2. Pin your bunting template to your fabric (I stacked several layers to make the cutting process go a little more quickly) and cut out your triangles. I had ten total—five with different patterns and five with the same pattern—and if you do exactly what I did, then you will also have 10. The important thing is that you end up with an even number of triangles so that there is a front and a back to each. (Below I have stacked my front and my back and cut them together).
3. Optional step: for a layered look, pin your bunting triangles on top of the same neutral fabric you will use for your letter blocks, then cut around the triangle, leaving roughly a 1” margin.
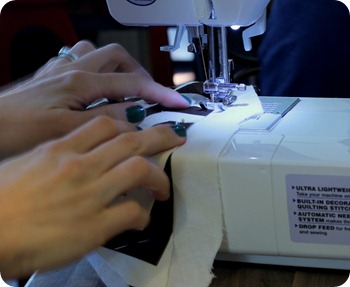
Next, stitch the bunting triangle to the bottom layer, sewing a 1/4” seam with contrasting thread (orange matte for me).
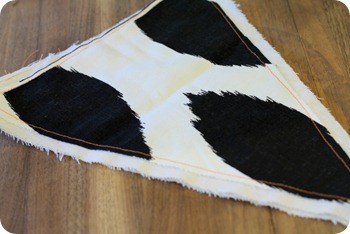
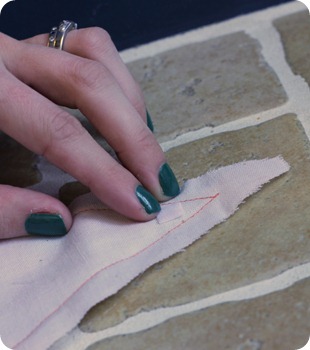
4. Trim edges down to about 1/4” (I eyeballed as I went)…
…until you have this:
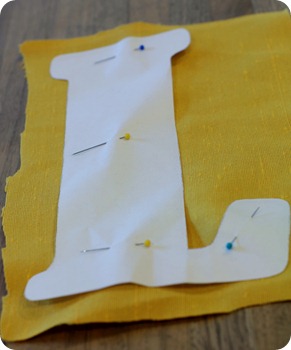
5. Next, cut out ALL of your letters (large and small) and the background blocks for the larger letters (I suggest printing two of the templates for the large letters/blocks and using one to cut out your letters and the other to cut out your blocks and to use as a guide for where your letters should go on top of the blocks).
a) Pin your letters to your chosen fabrics…
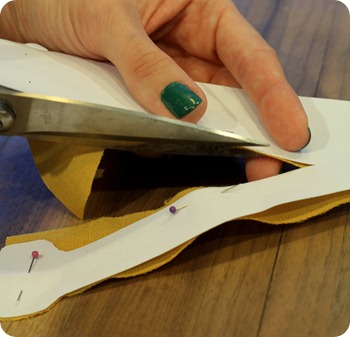
…b) carefully cut around your templates (if this sounds tedious…it is).
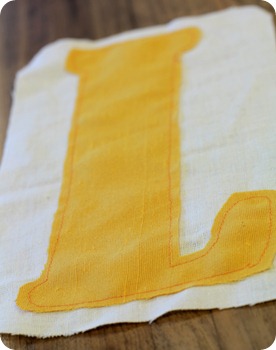
6. Next, sew your large letters to the background blocks, using a 1/4’” seam…
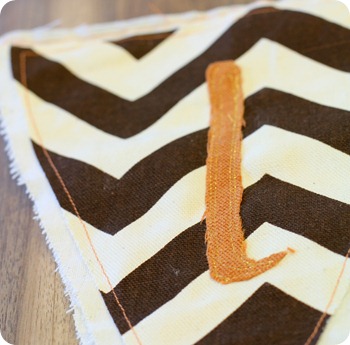
..then sew your smaller “l-o-v-e-!” letters to the bunting triangles that all have the same pattern. I used my sparkle thread here just for kicks. They ended up looking something like this:
Almost there, I promise!
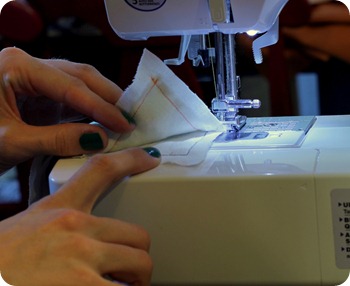
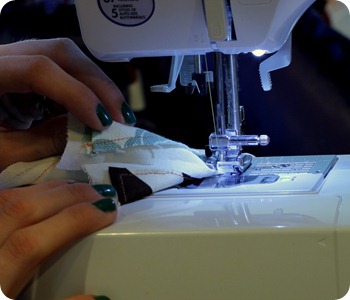
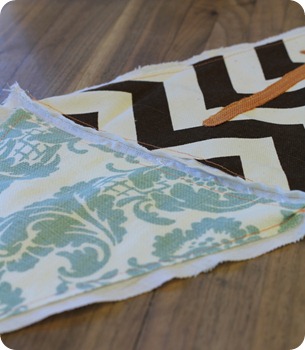
7. Take a front and a back bunting piece, place wrong sides together, and sew a 1/4” seam to join them along their top edge, like so:
This picture is showing you that these are different patterns. The top is from my stack of five, and the bottom is the brown chevron that I used for all five triangles on the back side.
Another view of the patterns, joined at the top.
Continuing sewing top edges together until you have 5 two-sided bunting triangles.
8. Cut your velcro into small squares, about 1/4”X1/4”.
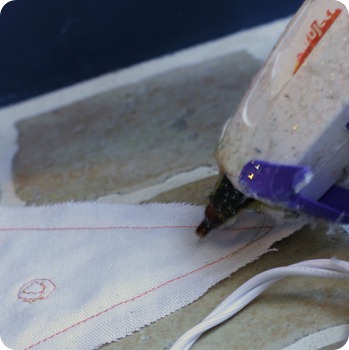
9. Now, It’s time to get Glue-gun Glen involved. Squeeze a small dab of glue onto the bottom point of the inside of one of your triangles, and…
…add a velcro square.
Repeat with the coordinating square on the other side, then add velcro to all 5 of your bunting pairs. This will keep your tips from flopping open or misaligning.
Okay, you’re DONE! Whoo!
Now, to hang these puppies.
Grab your ribbon, and string it between your chosen anchoring points, then carefully drape your bunting one piece at a time, securing the bottom tips with velcro as you go.
As a refresher for option #1:
(I used straight pins to attach my letters blocks to my ribbon).
And now for option #2:
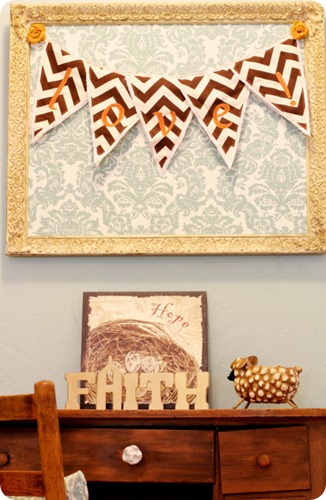
This nook was my original inspiration for this idea, since my mom had given me the “Faith” letter, I’d found the “Hope” picture at Goodwill for $2, and I wanted to round it out with “Love” so I could complete my little 1 Corinthians 13 motif.
(I actually draped this set of bunting across some orange lace and then twisted the excess streamers into little rosettes at the corners for a fun decorative detail).
I love the fact that these are so easily moveable/reversible. When I wanted to move them to my desk nook, I just popped open the velcro and left my ribbon with the large “L-O-V-E” block letters still attached (they looked cute by themselves too!) hanging above my living room window.
By the way, you’ll see more of the living room and this bunting for Feature Friday if all goes as planned…which there’s about a 50/50 chance of (much better than our chances of rain, unfortunately).
Thanks for your patience, everybody (just think of it as a dinner date or…something : \)!
I would love to see what variations you come up with for this little project!
See you tomorrow for Wardrobe Wednesday (I have a confession to make, but it will have to wait until then).
Linking up with:
The Tip Junkie’s Tip Me Tuesday




Adorable! And, I am loving your fabric choices!! Are these from local fabric stores or are they online buys?? I have a hard time finding awesome fabric options around me.
Visiting from the party at 52 mantels…I love your banner! Great colors and so different. Fantastic job!
sara @ applestonedrive.blogspot.com
Oh, this really is adorable…There are lots of pennants out there, but your really is unique. t’s making me so mad that I didn’t listen to my mom when she tried to teach me to sew. Now I’m an “old dog” and you know what they say about us learning new tricks…
“love” it! Your banner would be great in holiday color and words too!
LOVE this, thanks for sharing!!