I’ve been making “giving suggestions” as part of my participation in:
…and Giving Suggestion #12 is: bake up a batch of muffins and pair each one with a note of encouragement or a slip of paper with a verse on it. Try to sneak them onto your coworkers’ desks (or cubbies) without their noticing. Hide around the corner, and watch the smiles bloom. : )
Today’s Try-it Tuesday is super-simple. Nothing fancy at all, in fact, but I still kind of love the results.
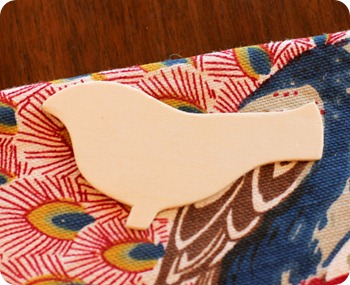
I found these little wooden bird silhouettes in the 80% off aisle at Hobby Lobby the other day and bought every one they had intending to do…something with them.
I know, for some of you, the bird trend is getting old, and I get that. But really, who could object to a sweet little chunky bird outline?
After some very serious consideration (Della and I had an intense conversation about it), I decided they would be perfect for ornaments, and since I’m on a bit of a glitter kick, as evidenced here and here, I also decided that they would be glitter ornaments (Della was highly in favor of this decision, but I think that’s mostly because she envisioned tossing clouds of glitter in the air with one hand while sucking glue off the other).
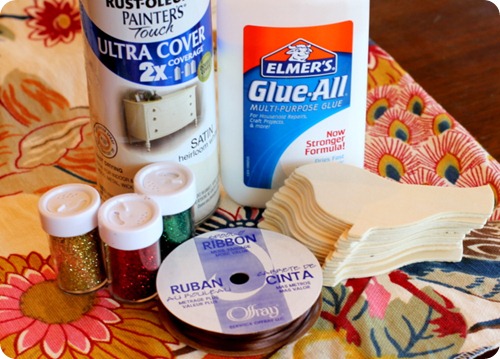
Here’s what you’ll need for this super-easy, ultra-quick “handmade” ornament:
-
Wooden shapes—mine happen to be birds, but craft stores have no end of these, and I also think these would look great as snowflakes, stars, trees, reindeer, etc.
-
Glitter
-
Glue
-
Spray paint (okay, honestly, this turned out to be a pretty unnecessary item, but I’ll explain later)
-
Narrow Ribbon
-
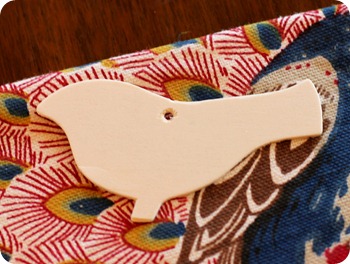
**If your shapes weren’t originally meant to be ornaments, you’ll also need a drill with a very small bit so that you can make a hole to hang them from, like so:
1. If you want, spray paint your shapes with the color of your choice. I chose Rustoleum’s Heirloom White, but I have to admit that, because the wood was so light, even after three really good coats, I could hardly tell any difference. So the picture below (which was taken at night after I ran out of time to finish my pics before heading out to teach class) pretty much looks exactly the same as the picture above. Yup.
The spray paint did give the wood a bit of a smooth sheen, which I liked, so it wasn’t a complete bust.
2. Drill holes. My hubby did these for me while I fed the baby, and he was so quick that I didn’t even manage to snap a shot of him in action, but I’m pretty sure you don’t need a picture to explain the words: “Drill holes.” Message me if you do. We’ll talk.
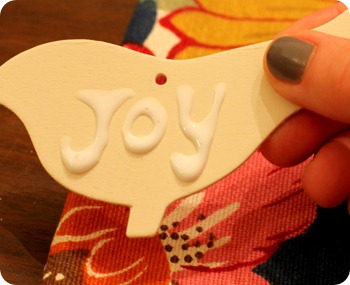
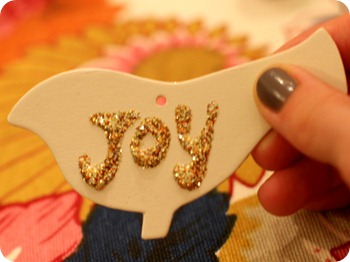
3. Use your glue to carefully freehand a word of your choice on your ornament (notice how it morphed from “shape” to “ornament” just by getting a hole punched in it?)
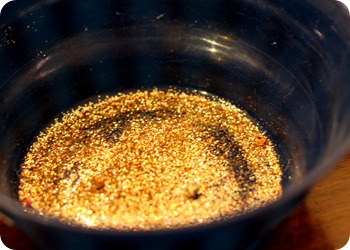
4. Now comes the fun part, liberally sprinkle your glue-word with glitter, making sure to have a bowl nearby to catch the excess. Tap off any extra…
…and admire your (blurry) sparkly handiwork.
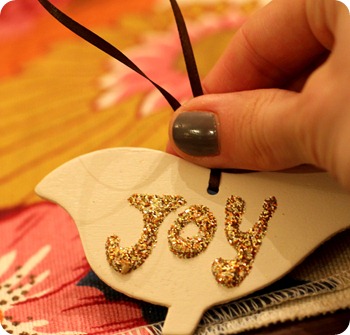
5. Cut about a 6” length of your skinny ribbon, thread it through your hole, knot it, and trim the tails. Then slid the knot to the back of your ornament.
You’re done!
I told you, easy-peasy today.
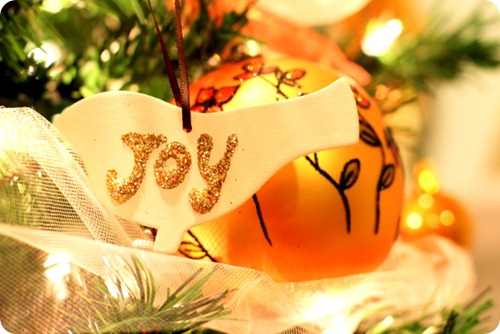
Here’s a glimpse of our tree complete with one of our new glitter word bird (hey, that rhymes!) ornaments. You’ll see the whole tree reveal later. I have something fun up my sleeve that I think you guys will enjoy!
Happy Tuesday!
And don’t forget to enter:
Only two more days to enter!
P.S. Thrifted or Grifted is back tomorrow! Get your guesses ready!



I have tons of these wooden cut out. Time to get busy!
Random question, but do you know the name/source for the fabric under your project? It would be perfect in my living room! Thanks. 🙂
simple & pretty!
so cute i might try those!
Love it! I’m not tired of the birdies yet either….cute and chunky…..love ’em! Just like the previous poster …also loved the turkey day quad burn workout! Hilarious! Glad I didn’t try it….would have lost or ripped a hole in the butt of my jeans….or BOTH!! LOL!
So Cute! 🙂 Love the ornaments and I didn’t comment yesterday, but that post Thanksgiving exercise was awesome!