The fact of the matter is that I’m a little obsessed with window treatments. I see pictures of other houses and never think twice about it if there’s a fabulous room with “nude” windows. But my house’s windows always feel the bad kind of naked and unfinished without some sort of shade, drape, or—in the case of what I’m going to show you today—awning.
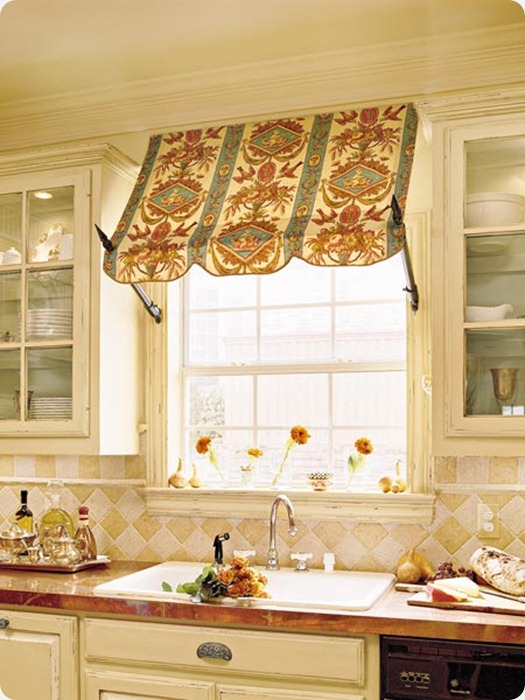
(found the image on houzz.com 5 years ago…don’t remember the credit…sorry!)
The image above was the inspiration for my deciding to go with an awning over my kitchen window. I love the jewel tones and crisp lines against all that white. And, while my kitchen could hardly be more different in terms of color scheme and layout, I am very happy with how my rendition of this little beauty turned out.
First off, I hadn’t a clue where to find those fancy pointed stake-thingies (pretty sure that’s the technical term) that were anchoring the awning to the wall, so I had to get a little creative, which is how I like to roll anyway, and I figured that I could anchor the top section of the awning with a tension rod and then do it again for the lower portion. Turns out I was right. I promise this will make more sense when you see the photos.
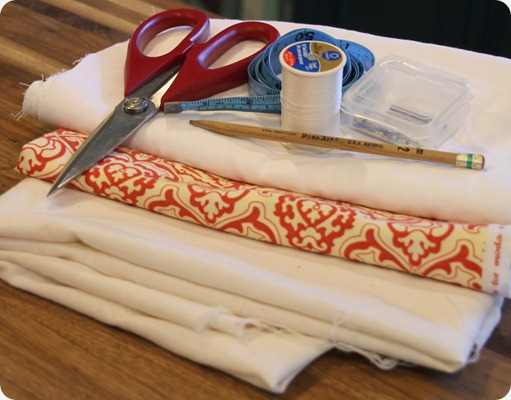
Here’s what you’ll need to make an awning of your very own:
-
At least 1 yard of the awning fabric of your choice—can be pretty much anything as long as it’s heavy enough to hold its shape. Medium or upholstery weight fabrics…or even an outdoor fabric (since, you know, awnings have been known to appear outside…check, check) would work great.
-
*1 yard of lining fabric
-
Coordinating fabric for a pleated ruffle (if you’re not using the same fabric as in the body of the awning)
-
Coordinating thread
-
Pins
-
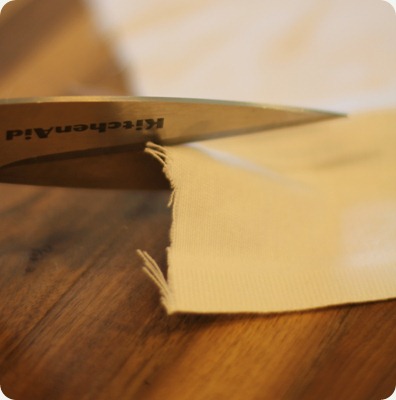
Scissors
-
Pencil
-
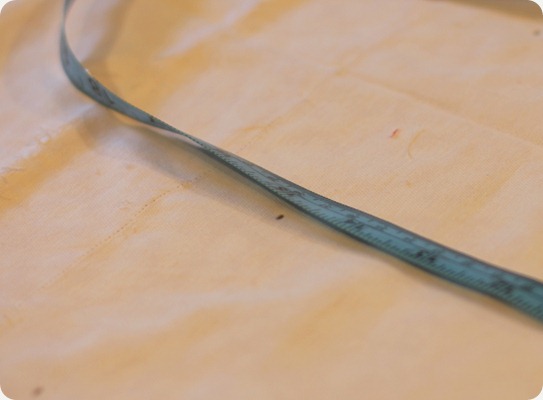
Tape measure
-
Two tensions rods that measure at least the width of whatever two surfaces you’ll be bracing them against (in my case, my kitchen cabinets)—they didn’t make it in the photo, but they weren’t that pretty anyway.
Also not included in the pic: an iron, ironing board, and sewing machine (unless, of course, you kick it old school and want to hand-stitch all this…in which case…knock yourself out! You may want to after about an hour).
Before you do anything else, you’ll need to measure the width of your cabinets (or whatever you’ll be using to support your tension rods) and decide how far you want your awning to hang down, factoring in the slanted upper portion of the awning as well as the bit that hangs down in the front (hmmm…I really should learn the official terms for these things…if they, indeed, exist). In my case, I ended up with a fabric rectangle – approximately 40”X25”.
*Depending on your preference, you may want to line your fabric to keep it from being too sheer. I did, so I cut another 40”X25” rectangle of ivory cotton to layer behind my pattern.
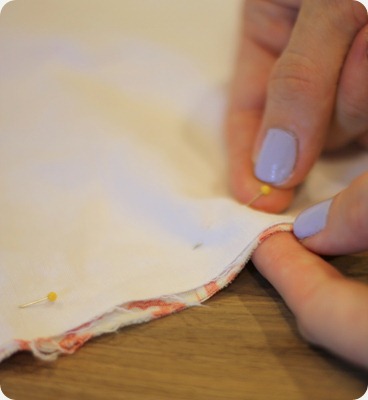
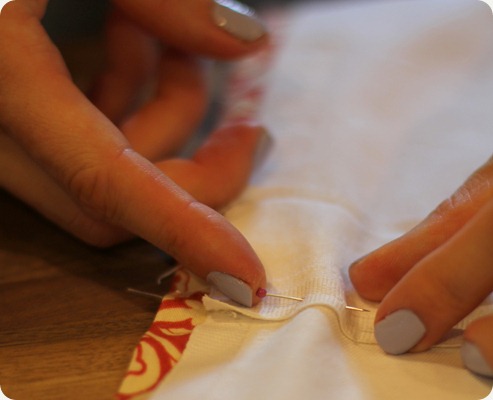
I pinned the two fabrics together…
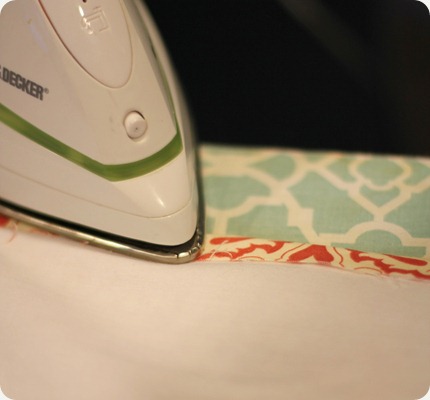
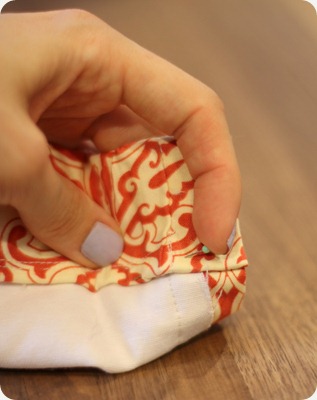
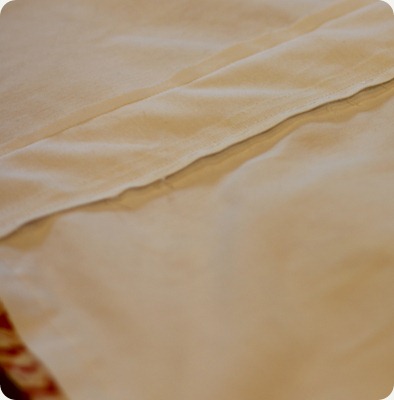
…and folded down the layered edges, creating about 1/2” hem. I then ironed the hem down, eyeballing as I went to keep it as even as possible and continuing all the way around the rectangle until all my edges were folded down.
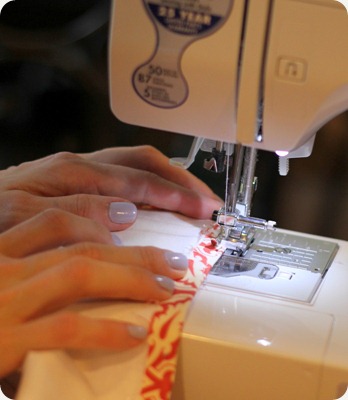
Then, I ran a quick stitch through the 1/2” hem to make sure it stayed down.
Next, I folded and pinned down the entire top edge of my rectangle 1 1/2” to create a pocket for my top tension rod, just like you would for a simple curtain-rod sleeve…if you’ve ever made curtains. If not, forget I just said that. And then…
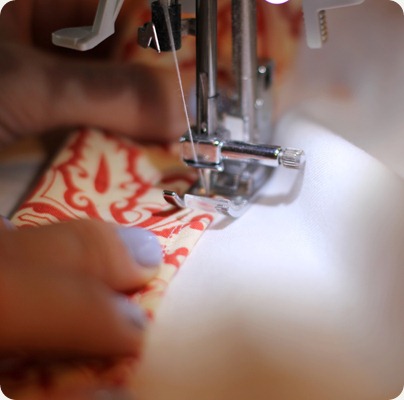
…I stitched the top-edge fold down to keep it from going anywhere (pardon the blurry-edged photo; I’m still figuring out all this photography stuff).
Next, I needed a pocket for my second tension rod, so I cut a 3”X24” strip of my lining fabric.
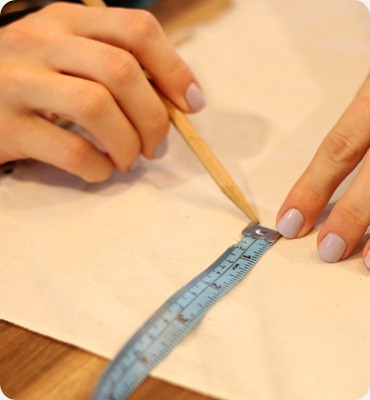
Where you put this second pocket determines how much of the hanging down bit I mentioned earlier that you’ll have at the end of your project. For my purpose, I measured 15 inches down from the top of my rectangle/awning, made little pencil marks across the lining (the underside) of the width of the fabric, and then…
…pinned my sleeve along my pencil marks to ensure that it stayed.
I sewed both edges of the sleeve across the width of the underside of the awning rectangle and ended up with this.
At this point, you should have a functioning awning (yay!). But I wanted mine to be both functional and pretty (demanding, I know), so I decided to add a pleated ruffle to the hanging down bit (okay, I think I’ve officially given it a name; where do I sign up for the patent?), so I chose a coordinating solid fabric, and…
…measured out a 4” strip down the length of the fabric, making a mark every 6 inches or so with my pencil to ensure that my strip stayed the same width.
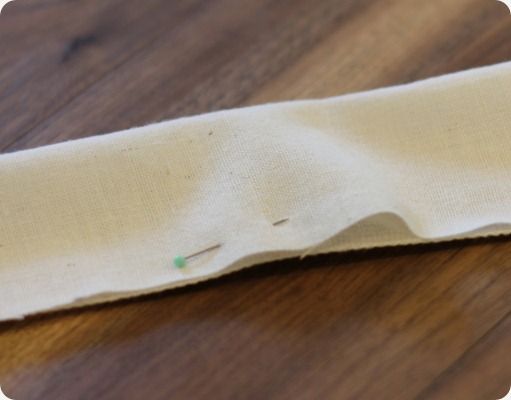
I then folded it in half, and pinned it to keep it in place, thus giving myself a very long two-inch strip of fabric to fold into pleats (I also ironed mine to give my pleats a really crisp line, but if you like a more shabby-chic look, you could get away without ironing).
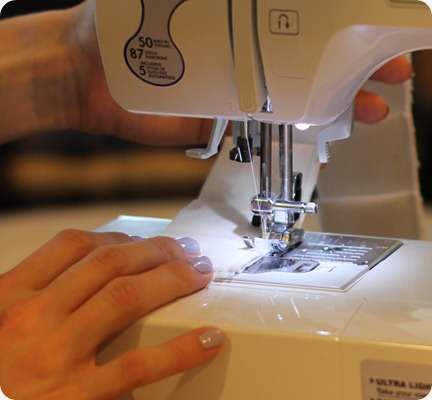
It was time to make the actual pleats out of my two inch strip, and I loosely followed this simple tutorial in lieu of using a fancy-schmancy sewing foot designed for ruffles or doing anything even as sophisticated as measuring/pinning the folds of my pleats. And you know what? The result isn’t perfection, but I’m fine with it.
I folded and sewed and folded and sewed until…
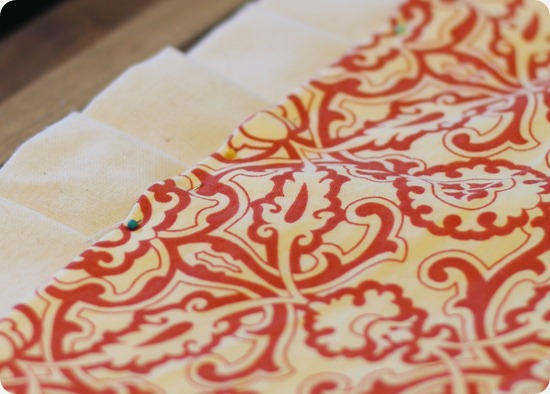
…I had something a little like this to pin to the bottom edge of my awning, which is exactly what I’d just finished doing here.
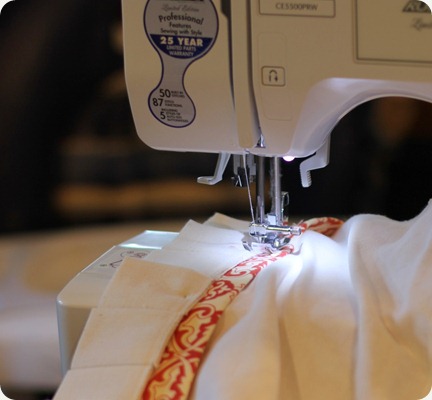
I stitched my cute little row of pleats onto my the bottom hem of my awning, and…
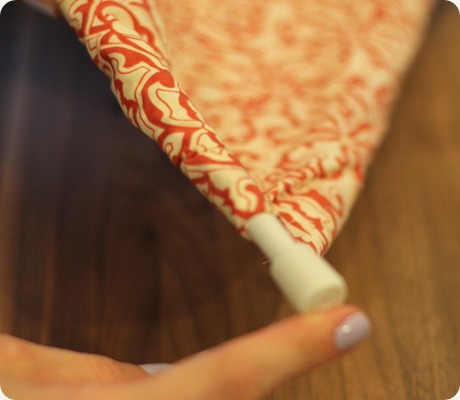
…slid my tension rods into my pockets.
Okay.
Deep breath.
Ready for the big reveal?
Of course you are!
After all, half of you saw this was a tutorial and immediately scrolled to the bottom to see the finished result.
So, here we go:
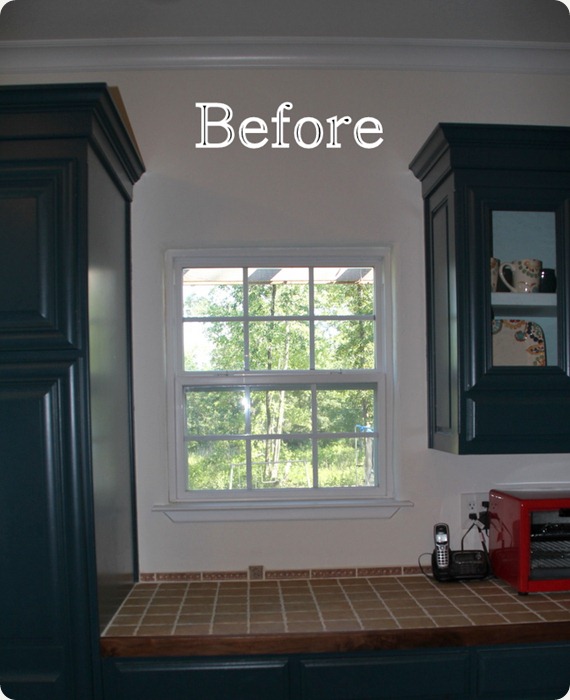
Boring, bare, and blech.
And now…
Soooooo much better (I’m pretty sure those little birdies are staring up in awe and wonder at their fabulous shade awning).
So, how about you? Do you prefer your windows in their birthday suits or all gussied up?
Linking up!:
&

&

&

&

&
&
https://tidymom.net/tag/im-lovin-it/




wow it gives shades to your kitchen its so nice to look!
https://www.rothmanawningco.com/
What a wonderful idea, I’ll definitely try this out the weekend. Thanks.
carports
This home-made awnings are good. It’s so trendy and classy. I’m gonna try this myself if I have enough time.
Nice awning!
Wow! It does make a big difference after the awning was put at the window. It adds style, and you’ve done a great job making it, too. I bet those birds are happy to be put there to enjoy the sunny day. Haha!
I had an awning made in our South Florida home for our family room. I have always adored this look. You did a fantastic job!