Hi there, MSC bleeps! (That’s blog-peeps…I’m not calling you names, I’m promise).
My name is Abbie from Five days…5 ways
—where I literally blog about a little bit of everything, with a theme for every day of the week (Try-it Tuesday: tutorials, Wardrobe Wednesday, fashion, etc. etc.)—and I am beyond thrilled to get to swing by Nat and Holly’s awesome pad to share an ultra-simple way to pretty up your table while saving oodles of money.
Now, I can hardly claim to be a craft diva like these two girls are, and in fact, that whole making-things-pretty-AND- saving-money bit I just mentioned above is an underlying theme in most of my posts (I’m a thrifting/clearance-rack scouring fool!), and almost all of the things I make are inspired by a desire to fill a decorating or fashion gap without breaking the bank in the process.
So when I decided about a month and 1/2 ago to host a summer (well, almost) dinner party on my back patio, I immediately began scouring Pinterest for (p)inspiration.
I quickly fell in love with a certain vibe—laidback bohemian with a sophisticated twist—and I knew my table décor would need to reflect that.
Problem is, “laidback bohemian with a sophisticated twist” can quickly become code for “pay oodles for it at Anthropologie” because they’ve got that look down.
And as much as I love Anthro, I am not cool with paying hundreds of dollars for place-settings and the like.
The guest-list was limited to a dozen, but I wanted us all at one table, so my crazy-talented hubby whipped up a 12-foot-table for us all to sit at.
But since it wasn’t stained or detailed, I needed a tablecloth to cover it.
A 180 inch (minimum) tablecloth to be exact.
And those are hard to come by…especially for a decent price.
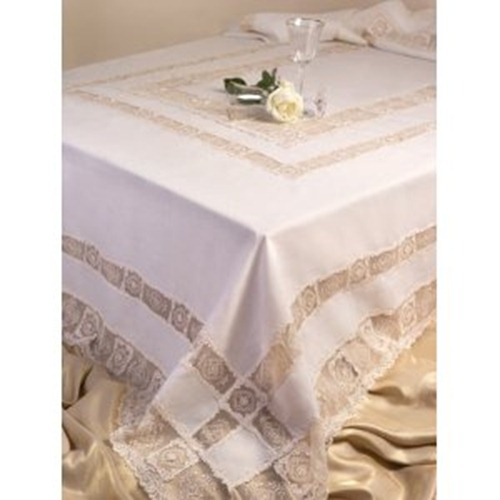
Case in point: this totally-not-what-I-was-looking-for-but-at-least-it-was-the-right-dimensions option from Amazon?
$440.
*Choke*
So, I did what I always do when I can’t find what I want for the price I want it for: I make something close enough.
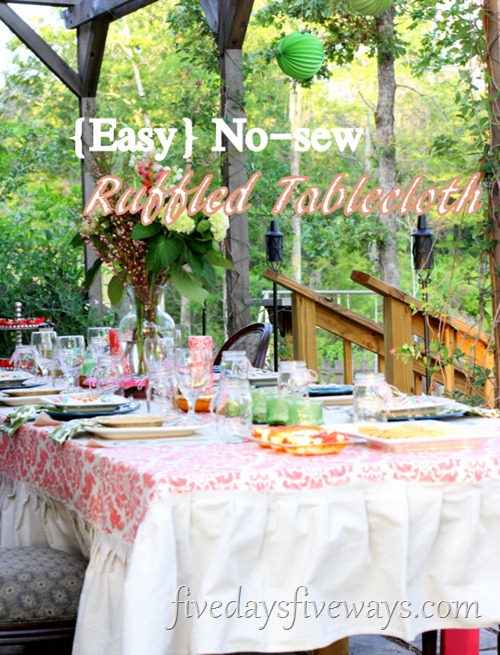
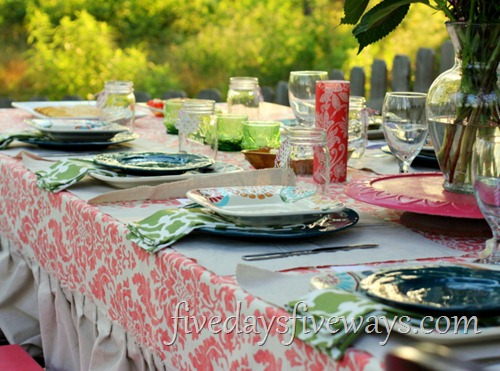
In this case, I found some awesome outdoor-friendly, medium-weight coral damask print fabric that I LOVED at Hancock’s for $6/yd and then added a ruffle-border made from painter’s drop-cloth using—wait for it—hot glue…and ended up with a super-cute, custom-fit, no-sew 180”X82” tablecloth for about $40.
It looked something like this:
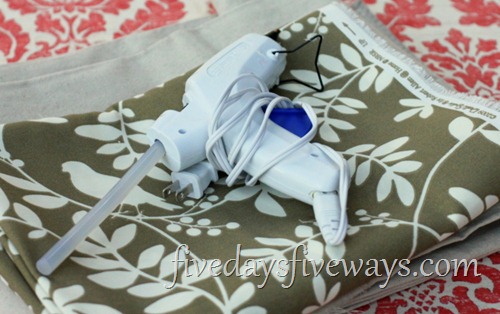
Here’s what you’ll need for your own:
-
Drop cloth
-
Tablecloth fabric
-
Hot glue gun + glue (duh)
-
Scissors (not pictured, and they’re still pouting about getting left out)
And here’s what you’ll do:
1. Cut your drop cloth in strips that are long as you want them to hang down (mine were 12”) by TWICE as long as the length of fabric to which you’ll be attaching them (you’ve got to give yourself enough room for gathering).
I bought 8 oz. 15’X4’ drop-cloths from Lowe’s and ended up using an entire cloth + maybe 1/3 of another.
But keep in mind that my table was HUGE (12’X almost 4’), so a smaller table would require less fabric, which means less $ and less time.
2. There’s zero sewing involved in this project. So I just used the white selvage edge of my fabric as the guideline for where to glue my drop-cloth ruffles and just eyeballed it from there.
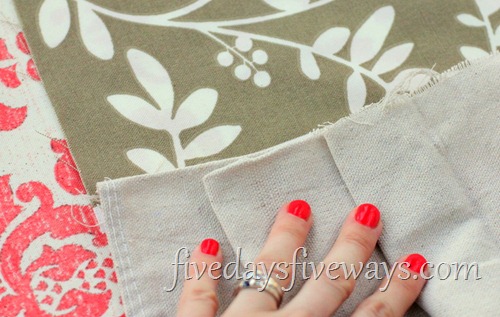
3. Decide how long you want your ruffles or pleats to be (how far apart, in other words), and then practice a bit using your fingers or pins to hold them in place until you’re satisfied with the look.
Obviously, I opted for wide-spaced pleats.
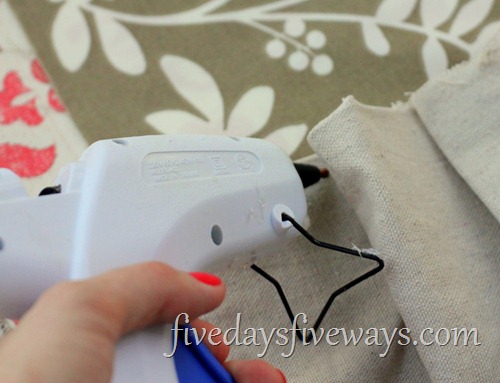
4. Attach your fabric “starting point” with a glob of hot glue,and then begin alternately gluing the underside of the drop-cloth to the body of the tablecloth and then attaching your pleats to the top side with glue as well.
5. Wash, rinse, repeat.
Okay, not literally (though washing your fabrics would probably be advisable if you’re into being proper like that : )).
But, seriously, this is the most tedious part of the whole process since it pretty much takes zero brainpower but a whole lot of patience at this point.
Still, even with such a large perimeter to ruffle, I managed to finish the entire tablecloth in about 2 hours.
And I’m kind of in love with the results! (unfinished edges and all).
Ain’t she purdy? I think I’ll call her Josephine.
If you want to see more party details (the party was actually last Friday, and this whole week, I’m giving a breakdown of party hows, wheres, and whats…including lots of pics, of course) or maybe some of my other projects, thrifty outfits, or room reveals, be sure swing by and say hi!
There’s not much that I love more than meeting new folks, and we always have something fun going on.
Hope to see you soon!
P.S. A huge thanks to the lovely, talented, and extremely nice My Sister’s Suitcase gals for having me by. You girls rock!
