Well, folks, I think I have finally recovered from The Great Dinner Party of 2012.
While I say that very tongue-in-cheek since it was actually a very small party and totally not a big deal in the grand scheme of things, even small, totally-not-big-deal parties can mean a whole lot of work if you have a certain “feel” in mind, and that was certainly true in this case.
Of course, that’s certainly compounded by the fact that we’re pretty much incapable of simply throwing a party.
I don’t know about you, but around here, parties are the times when we get done all those things that keep getting shoved to the back burner in favor of, well, life.
When we’ve got a party deadline, though, all the “extras” rapidly find their way to the front burners and start boiling like mad, if you’ll pardon the extended metaphor.
In this case, we planted flowers, moved the play area from one part of the yard to another, remulched everything, finished the deck, painted the front porch, spray-painted furniture, did belated spring cleaning, organized the craft room (which inevitably becomes the daily dumping ground for anything we don’t immediately have a good place for when we’re in project mode), cleaned up the construction area around the new addition, redid the tile on the patio, weeded, mowed, laid carpet, moved Della from her “hallway bedroom” into the new nursery (for now), and made tables (not even kidding…my amazing husband whipped up a “simple” 12-foot-table for me when I expressed concerns about fitting everybody around our current dining table) and tablecloths (which I’ll show you how to do tomorrow).
And none of that includes the shopping, crafting, food-prep, and actual decorating for the party itself.
Oh yeah, and all the while, Shaun was programming like a madman in preparation for a work trip he had to leave for the Monday after the party (that would be yesterday), and we had a six-year-old’s birthday (the day before the party) to not completely ignore.
To say that it’s been busy around here is bit like saying that Mt. Everest is tall.
But pretty much everything that needed to happen got done (barely), thanks in no small part to family (Love you, Mama!) who helped watch the kids, a couple of friends who showed up early for the party to help out with the last minute details, and an incredible neighbor lady named Teresa that my husband hired to help me out the last couple of days when all the food, etc. had to get done. That woman is a marvel and a wonder, and I don’t think I could have maintained my sanity without her.
Saturday was Ezra’s party, which was a very low-key trip to the spray-park, with a couple of our closest friends who have kids the same age as ours.
And for the last two days, I have done very little other than hang out with my family, migrate from one couch to another, and take naps every chance I get.
I feel almost normal again today, and my ankles are no longer three times their usual size, so I thought it was high time I actually showed you some of the details of this party that I’ve been talking about for weeks and which turned out great and was enjoyed by all (I’m pretty sure).
I’ve got a little to show you each day, but I thought I’d start with the one element of the party that I’m most proud of because I came up with it (almost) entirely on my own.
A while back, I was flipping through an old issue of Better Homes and Gardens and stumbled upon a “recipe” for DIY scratch-off cards.
The craft from the article was geared towards Valentine’s Day, but I figured I could adapt it for some party purpose or another.
After a bit of noodling, I came up with this:
First, I’ll show you how I made the cards, and then I’ll explain the game’s concept, which is really quite simple and works as a fun icebreaker.
Here’s what you’ll need to make your own “Getting the Gist of It” Game.
- Cardstock
- “Getting the Gist of It” PDF template (or make your own!). I’ve included it in teal and mustard. (Just click the “download” button on the link page to get the file. Oh, and ignore the second page that prints. For some reason, I couldn’t get the table to delete correctly and keep the dimensions on the first page right).
- Pencil
- Fine-tipped marker
- Small craft brush
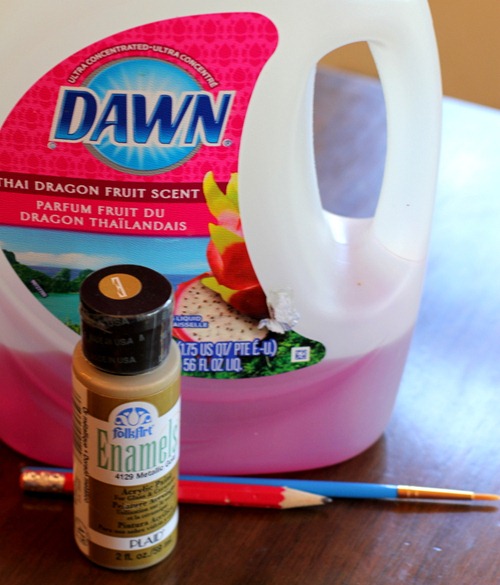
- Metallic Craft Paint
- Dishwashing Soap
- (Optional) Washi tape (or scrapbook paper + double-sided tape for my homemade version)
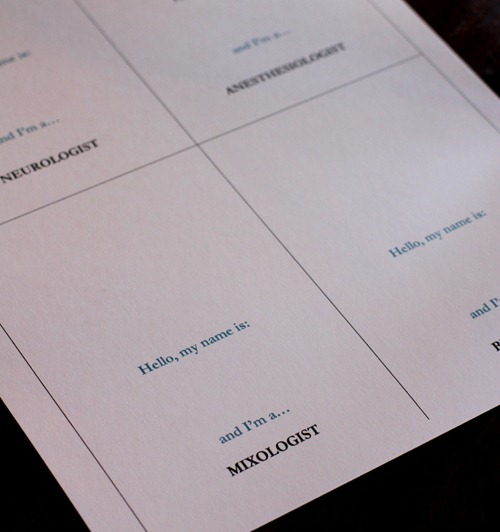
1. Print the “Getting the Gist of It” template on 8X11 cardstock and then cut out each card, using the table lines as guides.
2. Fold the cards in half.
3. You can either use the fine-tipped marker to write your guests’ names directly on the cardstock, or you can add washi tape for a little definition/decoration and then write on top of that.
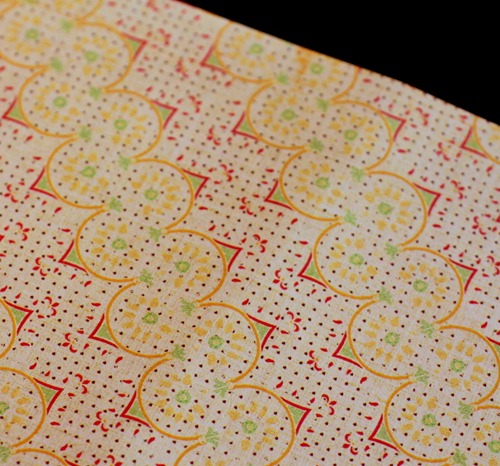
4. I chose to add “washi tape,” which I made using scrapbook paper:
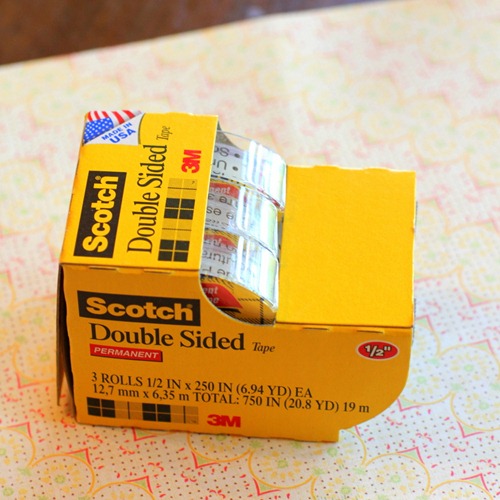
…and double-sided tape:
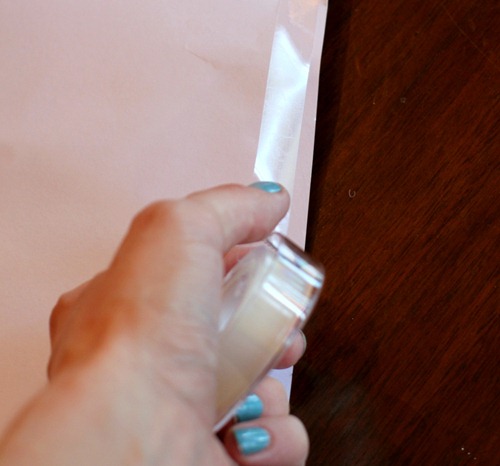
To make your own washi tape, simply line up one side of your double-sided tape with the edge of your scrapbook paper, like so:
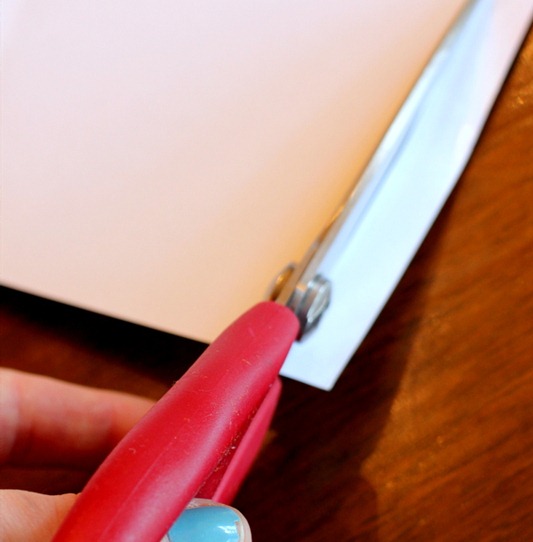
…then cut the strip out along the tape edge…
…and snip it into the lengths that you need for your project—in this case about 1 1/2” long.
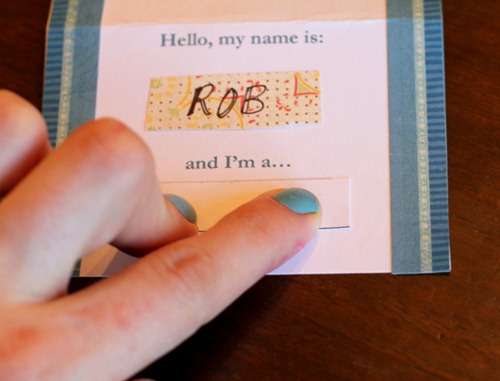
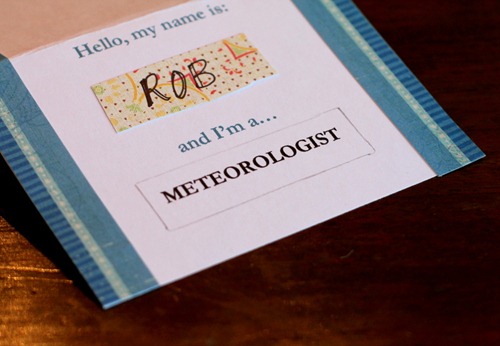
You can even use a contrasting color/pattern to add a border to your card:
5. Using a small strip of cardstock and your pencil, outline the “gist” word so that you you know where your paint should go:
6. Mix your scratch-off paint, using 1 part dishwashing soap to 2 parts metallic craft paint.
7. With your small craft brush, paint a layer of scratch-off paint inside the pencil border and allow it to dry. You’ll have to repeat this process at least 3 times (it took me 4) until the paint is no longer streaky and you can no longer see the word underneath.
(You can see the original Better Homes and Gardens tutorial and their Valentine’s Card Templates here).
8. Divide blank pieces of cardstock into 4 sections, cut them out, and number them, bullet-style, with the number of game participants you will have. These will be your score-cards.
9. Provide coins for the big reveal (you could even tape a penny to each card!).
Okay!
So, your cards are made…
Now what?
Here’s where the fun starts (as if painting 4 layers of paint onto small rectangles one dozen times wasn’t fun enough!).
Getting the Gist of It—THE RULES
1. Give each participant their card (or, if you’re using them as place-cards like I was, have each person sit in the appropriate place).
2. Explain that they will have an allotted amount of time (I chose 6 minutes…random, I know) to reveal and gather as many clues as possible about their own profession as well as those of their fellow players. Make sure that they know that each profession ends in the words “gist.”
3. Also, make sure they know to write something down and keep moving since the person with the most correct answers wins, which makes a guess better than a blank. It’s best if none of the players confirms or denies another player’s guess. (Also, they should be sure to write the name of the person beside the profession since they probably won’t remember…you also could do this for them ahead of time when you number the score cards if you wanted).
4. Count it down and let the scratch-off mayhem begin!
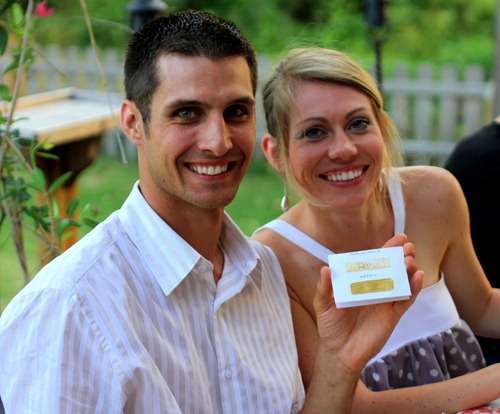
Here are Rob and Jolinda, one of the most ridiculously photogenic (and nicest!) couples I know getting ready to role play (you can also see here what the card looks like painted since I forgot to snap a picture once I’d finished with all 48 coats of paint).
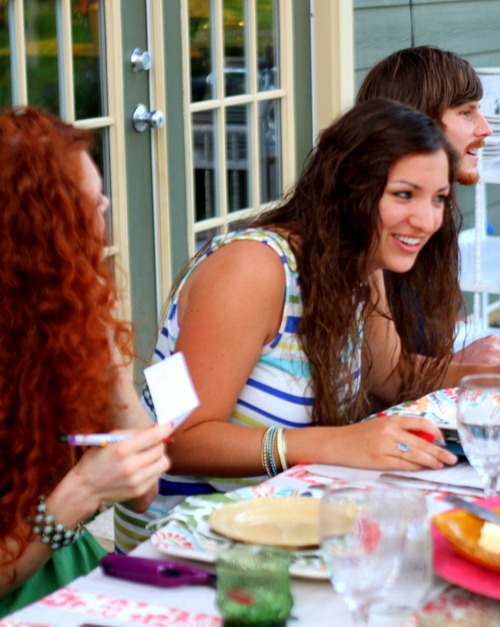
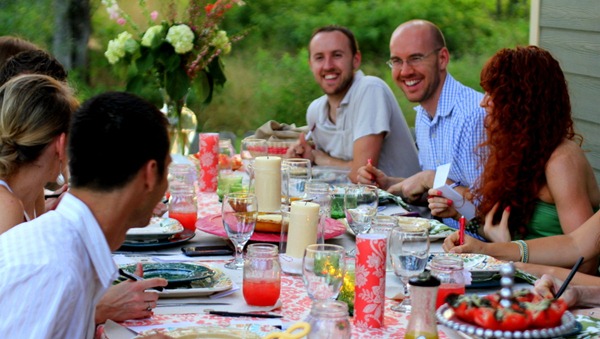
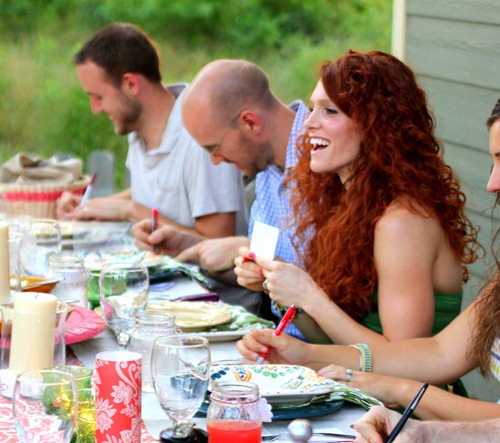
And here are a cosmetologist, a neurologist, and a mixologist yukking it up as they try to figure out exactly who their fellow dinner guests are supposed to be.
Since I already knew the answers, I couldn’t fully participate, but I had a blast watching everybody drop silly clues, and I’d say, judging from those big smiles, that the everybody else liked it too!
And here’s Mandy, looking pretty happy with herself, and with good reason too, since she won with 6 correct answers!
**I chose to include several obscure “gists” to make it harder/more fun, so if you do that, you may have to whisper an explanation in a participant’s ear if even they don’t know what they are!
Hopefully, I’ve explained the game clearly enough (when you come up with something yourself, it’s pretty easy to assume that what’s in your head makes perfect sense to everybody else whether it does or not!).
If you’re still wondering about anything, be sure to leave me a comment or question.
And hopefully, I’ve whet your appetite a bit for more party details (coming soon!).
Wouldn’t want to give it all away at once, right? : )

Superb pics.I would like to read your more updates.Keep them coming.
This is my first time reading this blog. Definitely won’t be my last though, really enjoyed it.
Nice post. Really you have mentioned some great points with us. Most of people are looking these types of valuable posts. Keep in touch with us.
I remember seeing that “recipe” too and wondered what other fun way it could be used. I’ve been wanting to have a small dinner party (reluctant entertainer for sure) and this sounds like so much fun! I just might have to try it! Thanks for sharing.
Test comment.
What an excellent and fun idea! I love how cute the party table was decorated too!