Thanks to Friday’s stomach bug, y’all never got to see the final (ha! I’m sure it will get changed all-too-soon) shelf configuration. And I’m guessing you had a hard time concentrating on anything else this weekend, just wondering what I might possibly have done with that darn wall.
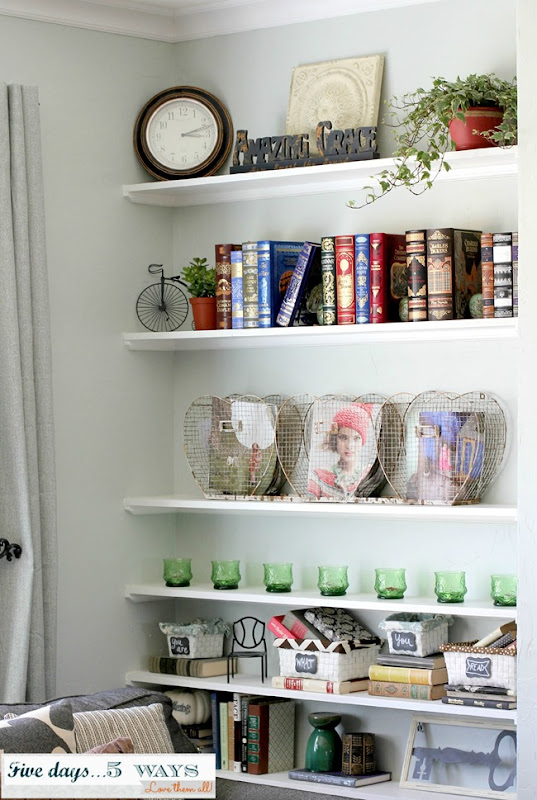
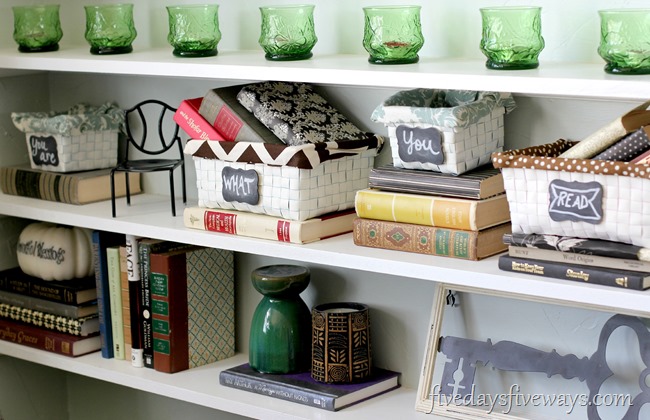
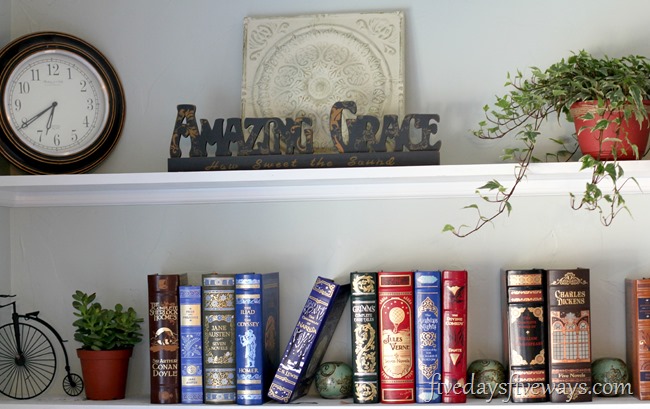
So, rather than leave you in suspense for even a moment longer, here’s what I ended up with:
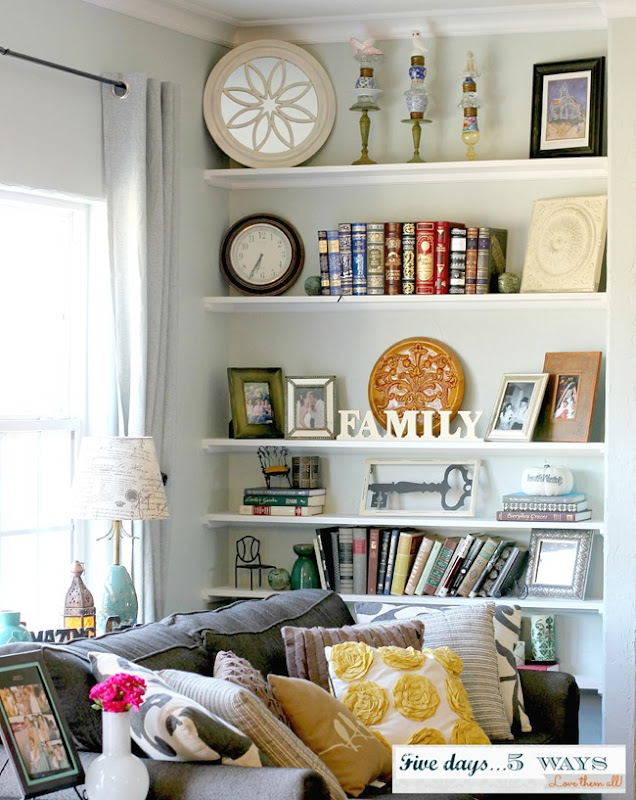
Just as a refresher, here’s what it looked like after my first round of sprucing:
Now, don’t get me wrong. I didn’t hate that version. But you guys made some great points: it was too symmetrical (what can I say? I like symmetry), too cluttered, and too lacking in anything organic (that’s a poor summary of all your great critiques, but those were the most common themes).
The other most frequent thought was to paint the shelf-backing a different color or add some fun paper. But as much as I love that idea, I wasn’t quite ready for something that “drastic” (read: time-consuming). Plus, I already had quite enough texture and pattern going on that I didn’t want to clash with anything more complicated than the current background.
So, what exactly did I change?
Well…
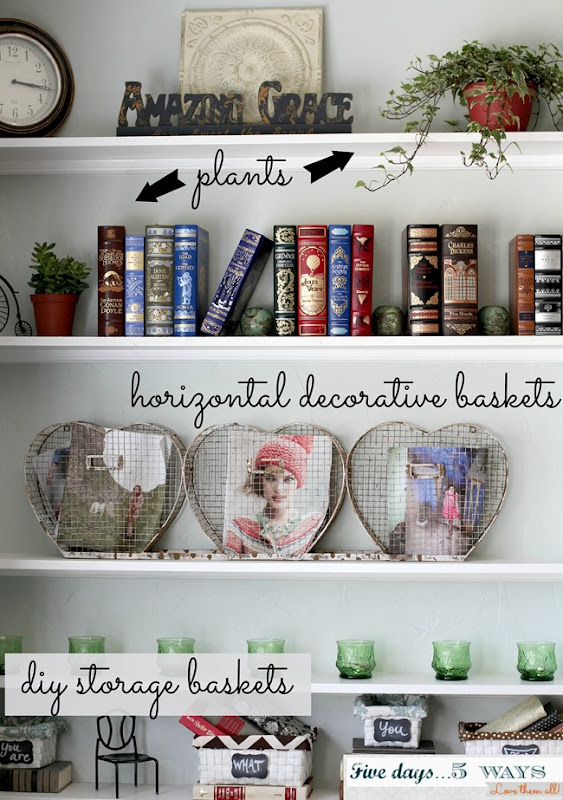
I highlighted the biggest tweaks in the shot above. Some of you thought the clock was too dark for the rest of the display, but I refer to that clock. A lot. It’s what keeps us from being late to school. So, for practicality’s sake, it stayed. And then I worked in a little pot of trailing ivy…
…which I wrapped with some twine to make it a tad more custom.
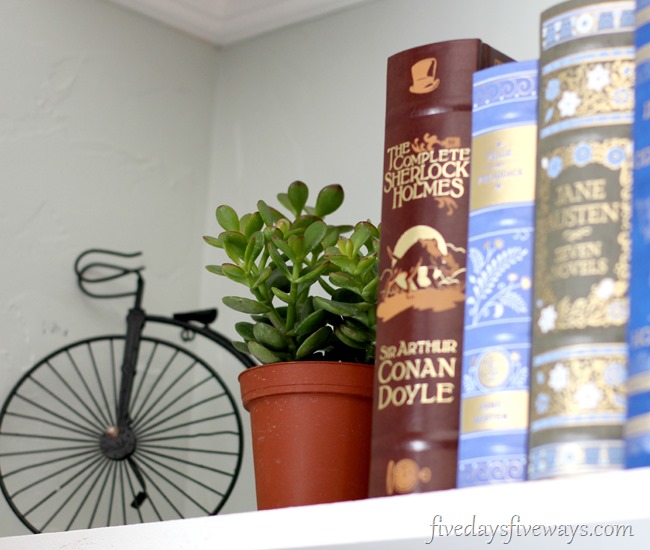
I also added that cute little succulent (his name is Steve).
We’ll see how I do with keeping both of them alive. I don’t have a stellar track record in that department. But hey. I named my cactus. Now I’m kind of honor-bound to water him, aren’t I?
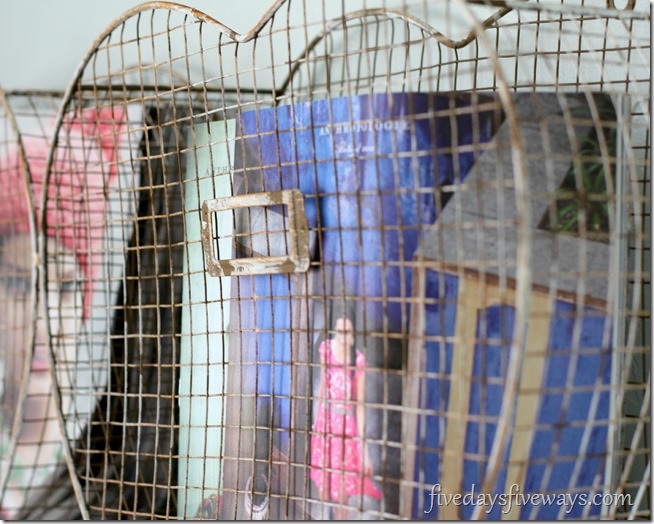
I stumbled across these heart-shaped, vintage-inspired display baskets at Marshall’s last week and bought them without even knowing exactly where I’d put them. Turns out they were the perfect height and width to fill out one of the larger shelves without overwhelming it. They now house the stack of Anthro catalogues I’ve been hoarding because they were just too pretty to throw away.
Of course, the element that I love the most because of the time/effort that I put into it is those chalkboard label baskets.
And they were extremely easy to make!
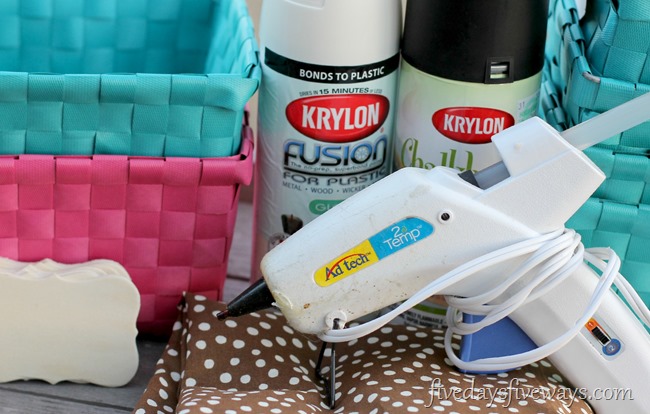
I just started with a little of this:
-
Dollar store baskets (the small ones are 2/$1, and the large are $1 each)
-
Wood chip labels (mine are from Michael’s, $0.29 each)
-
Fabric (I used a variety of scraps)
-
Spray paint (I used Krylon’s Dover White, which is my favorite off-white spray paint color)
-
Chalkboard spray paint
-
Hot glue/gun
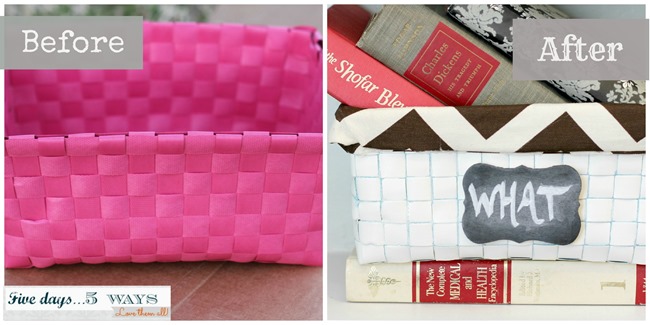
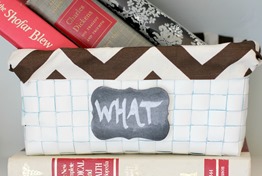
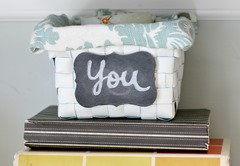
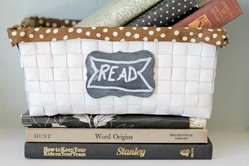
And ended up with this:
How?
So glad you asked!
::STEP 1::
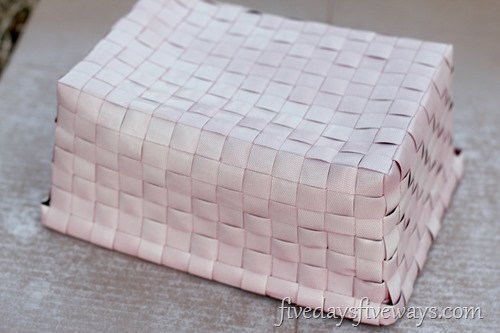
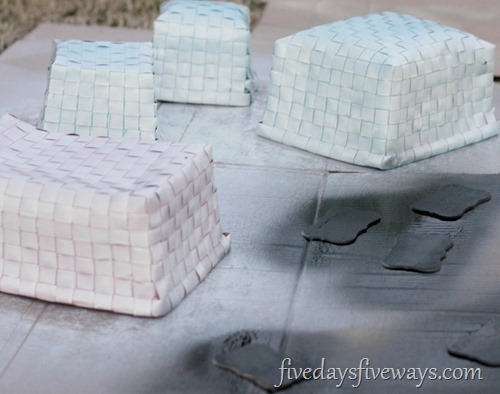
Turn your baskets upside down (you don’t have to worry about spraying the interior because it will be covered with fabric) and give them several light coats of spray paint, allowing a few minutes for drying in between each coat.
Note: I’m not going to lie—these plastic baskets don’t give up their color easily. Even after 5 coats, there were still hints of pink and blue peeking through the white. But I was okay with that.
::STEP 2::
Repeat the spray-painting process with your labels, except this time with your chalkboard paint. Leave everything out to dry completely for at least a few hours.
::STEP 3::
Place the uncut fabric of your choice inside the spray-painted basket, taking care to push it all the way to the bottom of the basket so you can best estimate how much you need to cut.
::STEP 4::
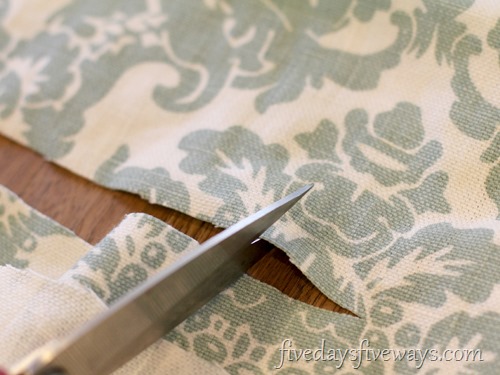
Cut your fabric to size for each basket, leaving enough for a bit of overhang.
::STEP 5::
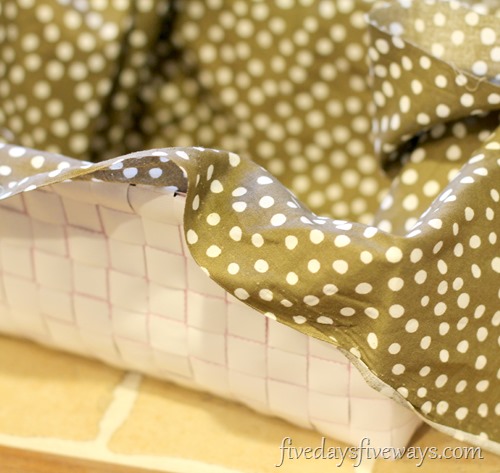
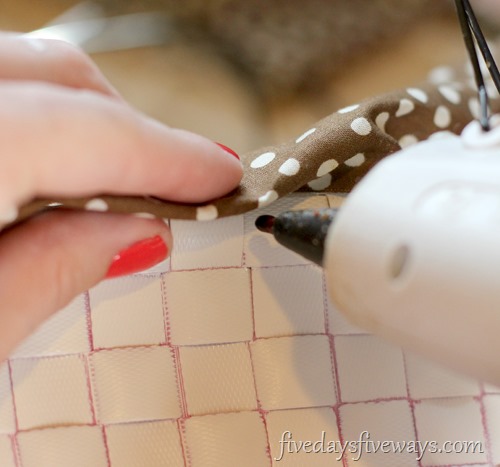
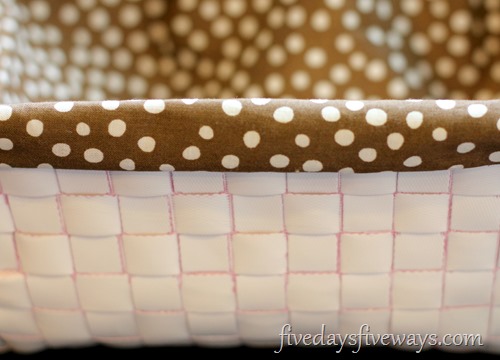
Fold the edges of your cut fabric under to give it a more finished look and then hot glue it to the lip of your basket’s circumference.
It’ll look something like this:
::STEP 6::
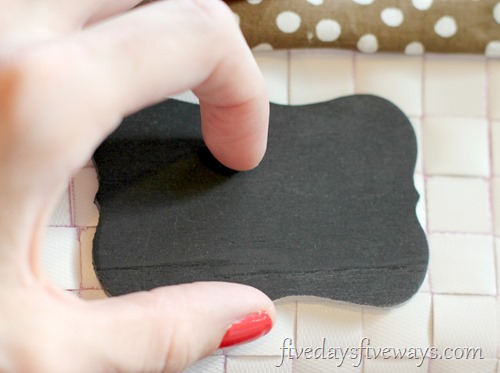
Glue your chalkboard labels to your baskets.
::STEP 7::
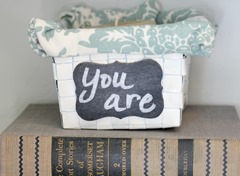
Write something cute on your labels (or, you know, actually use them to label things). Bravo to the reader from last week who guessed that I was watching, “You’ve Got Mail,” while making these.
And there you have it! Fun little baskets to put useful things in or just to take up space on shelves that need a bit of filling. Or both.
And the best part of all?
The finished versions of the little baskets cost less than $1, and the large ones are about $1.50. (I couldn’t find any cute baskets anywhere for less than $7 a pop, and most were much, much more expensive than that).
What’s that you say?
You’d like a few more detail shots of the finished shelves?
Oh, by all means!
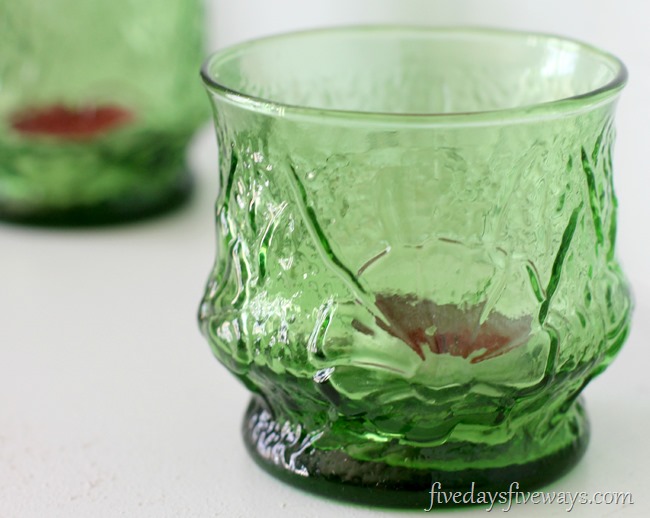
Remember these little Goodwill glasses from last year’s dinner party? So glad I got to use them again.
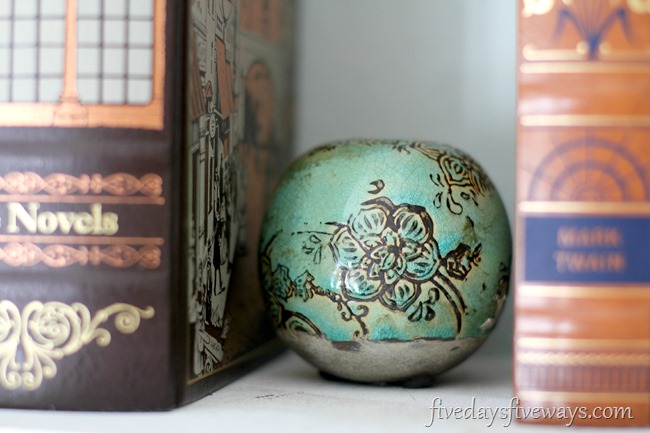
Pretty much adore these decorative jade balls from Hobby Lobby (years ago) for maybe $1 each.
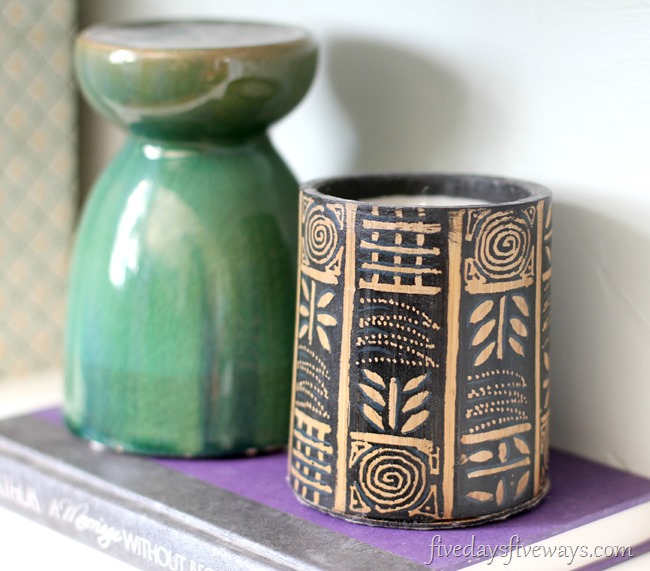
More jade and a fun candle (another cheap-o piece from Hobby Lobby).
So, what do you think? Is the new shelf setup a keeper?
Do you have any baskets lying around that could use a makeover? I love mine (and especially how cheap they were to make).
Any fun projects on your plate this week?

Thank you for the ideas with the baskets. I have big plans now on how to redo some baskets I have in a hallway. 🙂
I actually bought a bunch of these baskets last year to use for Easter. I just changed the colors in my bathroom and the baskets don’t work as well in there. Never thought of fabric to cover them! You’re genius! Thanks for sharing!
I’m so making these baskets. I’m currently homeless waiting for my house to be built and having projects to keep me busy…..and that the kids can help with had been the perfect distraction.
Great job! I love all the touches you added. The “organic” plants add just the right touch. And all the fun tchotchkes…..just perfect. I love a space that is truly “yours”… and you did a great job. (well, considering I don’t really “know” you in real life…but I feel like I do, LOL 😉 The baskets are genius…I would have never thought of that. And the saying on them is so awesome. Bring on the next decorating dilema!
Thanks, Leigh Anne! And I definitely feel like I “know” you too! : )
And I’m thinking I will keep showing you guys my decorating dilemmas…you’re so good at solving them!
Love the baskets! I want to look at my dollar store for them! What material are they made out of?
Thanks! They are made of plastic.
Love Love Love the baskets that are holding your old anthro mags. They are gorgeous!
Thanks! I’m a fan too! ; )
Steve looks like a jade plant. I love jade plants! I’ve found them difficult to kill off (meaning I’ve neglected a few in my lifetime). 🙂
Oh good! I’m so glad he’ll be hard to kill!