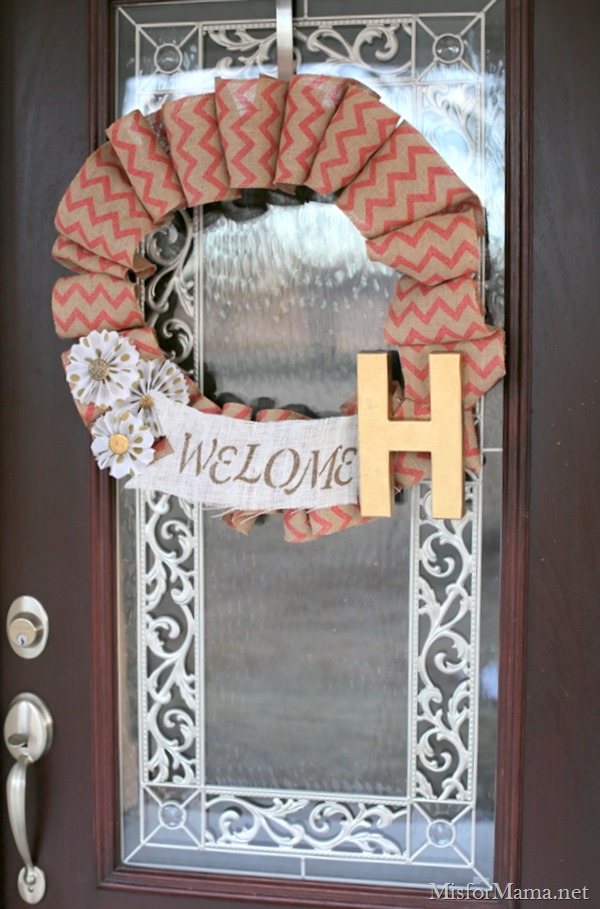
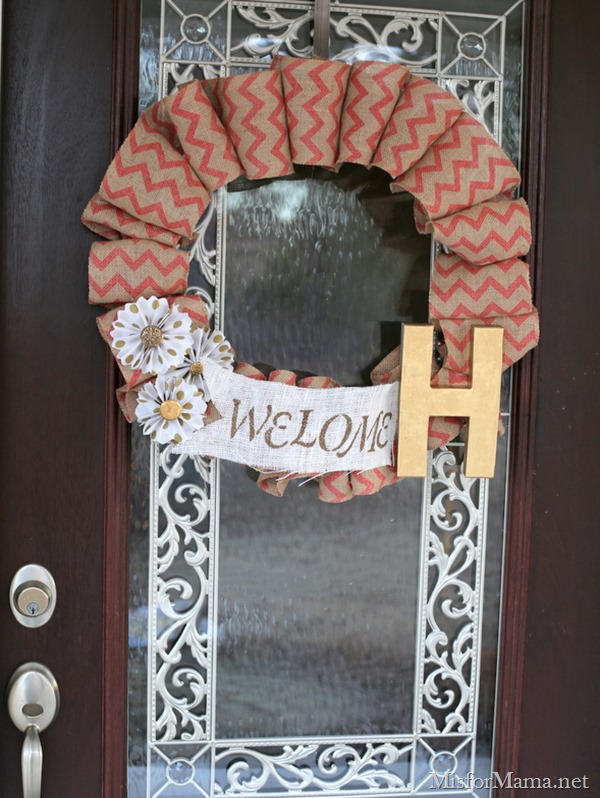
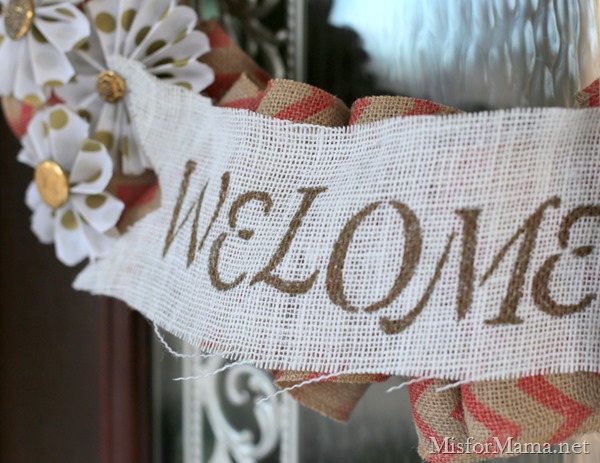
Edit: no, “Welome,” is not the new “in” way to spell, “Welcome.” I mention in the post how I was trying to hurry when I made this, but apparently, I got in a bit TOO much of a hurry.
(And I was so excited because I got the whole word to fit!)
Grrrr… Especially irksome to a girl who works hard not to have typos…only to have…stencil-os? Either way, the real question is: exactly how long will it take me to fix it?
What do you do when you have two kids down with the flu, it feels like 10 degrees outside (according to a Facebook poll I just did, that’s an average of about 20 degrees warmer than most of y’all, but still, it’s cold for us), and your husband’s gone on work trip?
You watch loooooooootttsss of movies and play looooooottttss of cards and wash everybody’s hands loooooootttsss of times.
Oh yeah. And you make that wreath you’ve been wanting to try for—oh, I don’t know—a year.
Back in April of 2013, I hosted a wreath-making party at my house. Very few of us actually made wreaths (me not included), but several of the ones that did were using a pretty looped burlap technique that I’d never seen before.
I bought the basics for it a while back, but I was still missing a few elements, so I ended up putting my own twist on the process out of necessity (since taking 5 kids, some of whom were doing their best impression of a wet noodle, out in the freezing weather to Walmart for “crafting necessities” seemed like something some people might call “a bad idea”).
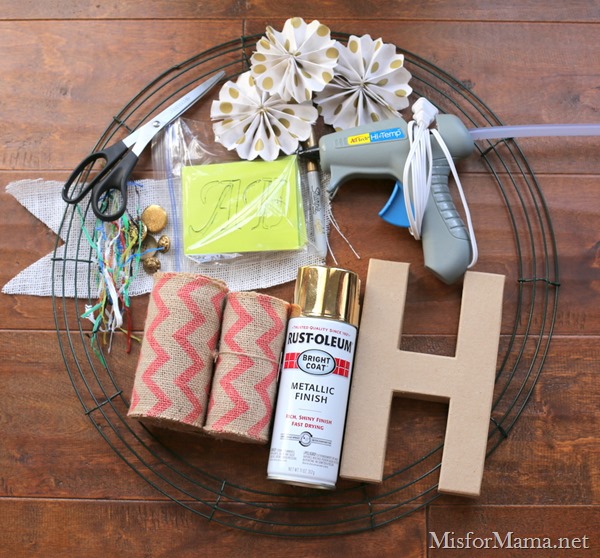
Here’s what I started out with:
- Metal wreath form from Hobby Lobby
- Hot glue gun
- Burlap ribbon ( I used both of those rolls, which was about 7 yards total)—found at Walmart
- Scissors (I only used the scissors to cut the piece of burlap into a pennant shape)
- Small piece of burlap (for the pennant)
- Twist ties (these were supposed to be pipe cleaners, but I made do with what I had)
- Vintage buttons
- Paper pinwheels (I snagged these from the banner I had hanging in my living room over Christmas)
- Gold spray paint (I really love this Rustoleum Bright Coat brand; works like a {very shiny} charm)
- Cardboard monogram letter
- Letter stencils (I bought mine at Walmart)
- Gold Sharpie marker
Disclaimer: this is not going to be as much of a step-by-step tutorial as I normally do, since the embellishments are entirely up to you, but I am showing you how I did the burlap looping process.
::STEP 1::
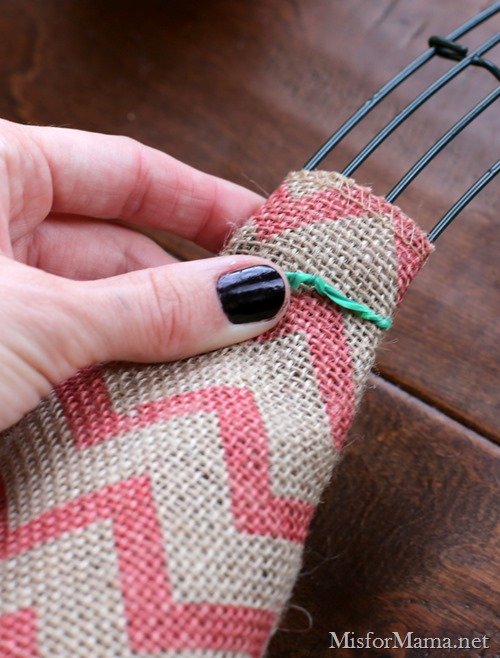
Unroll the tail of one roll of burlap ribbon and twist-tie it to any point on your wreath form.
::STEP 2::
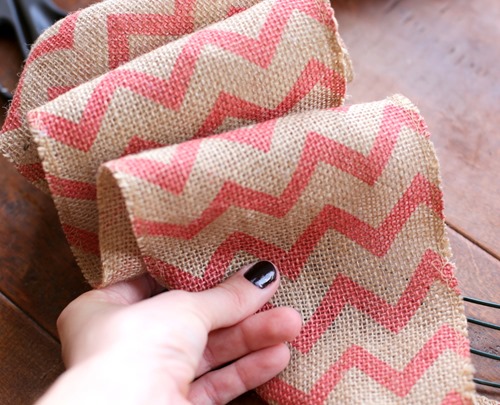
Start bunching your burlap into loops to get an idea of how you want it to look. I generally bunched about 3-4 loops at a time.
::STEP 3::
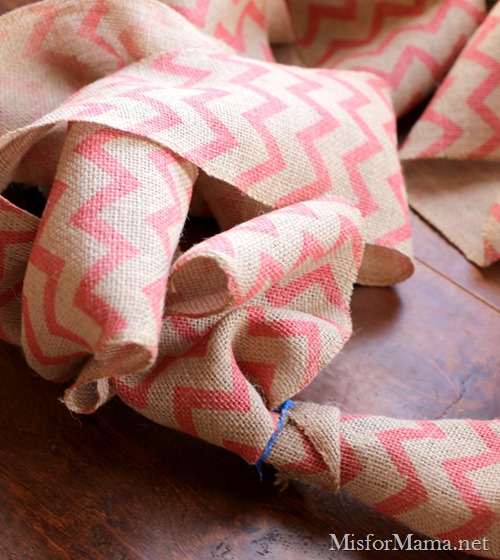
Every 3-4 “practice loops,” secure the burlap to the wreath form with another twist-tie.
I know this looks like a mess, but basically, what I’ve done is exactly the process I described above (secure, loop, loop, loop, secure, loop, loop, loop) all the way around my wreath at this point.
::STEP 4::
Now you’re ready to actually secure your loops with hot glue. This is a process of trial and error, and if I’d had my way, mine would have been less uniform and a little wilder looking, but my goal here was speed since the episode of How to Train Your Dragon we were watching was ending, and it was time to make dinner.
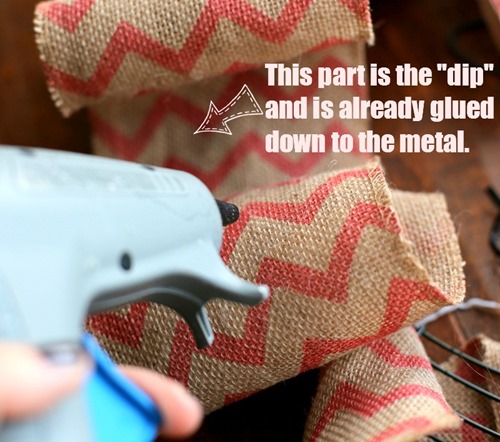
The hot gluing process is two-fold. First, you’ll hot glue the “dip” of a burlap loop (the part in between the raised loops) to the metal, and then you’ll place a dab of hot glue between the two loops…
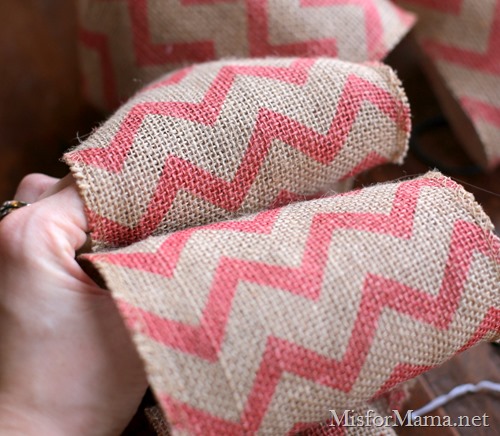
…and then squeeze the loops together to secure the glue.
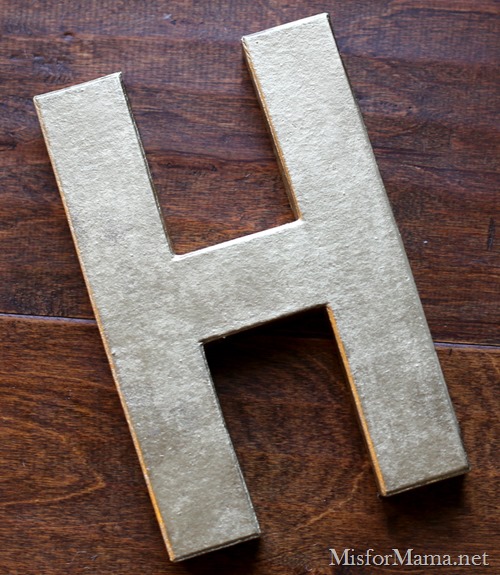
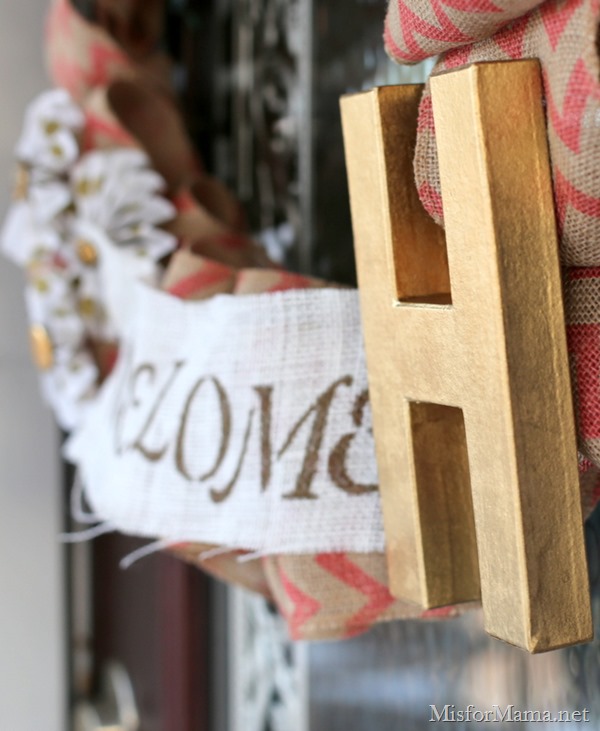
That’s really IT, as far as making the wreath goes, but the fun comes from the details. I stenciled my banner, spray-painted my “H” (and nearly froze my poor, dumb bare feet off doing it)…
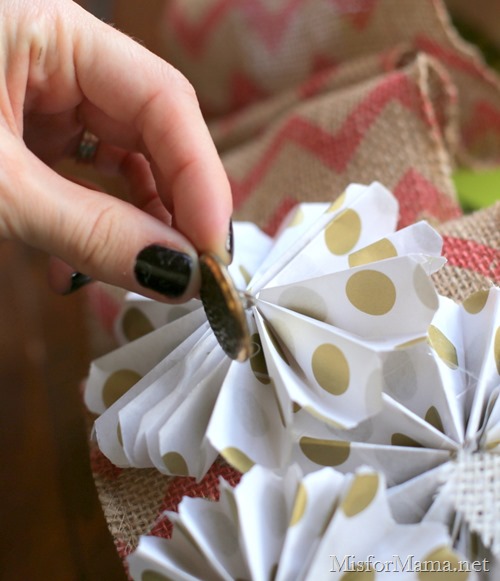
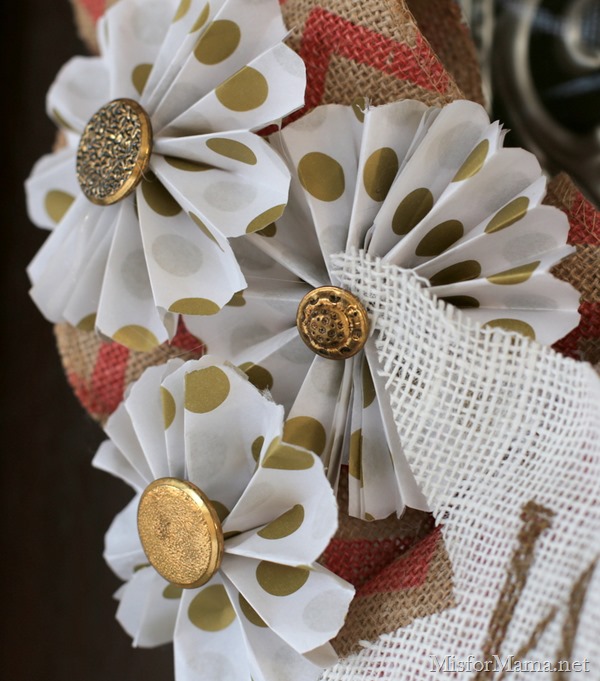
…and glued the vintage buttons to my paper pinwheels to give them a bit of a floral flare.
Then, I hot glued all of my decorations onto the burlap loops, and hung the whole contraption on my front door.
TADA!
It should be evidence of my love for you that I stood outside taking pictures long as I did. And it should be evidence of my stupidity that I still had not put any socks on at this point. (Because, apparently, I think it would be a good idea to catch pneumonia when I’m home alone taking care of sick kids).
Again, I would have been perfectly happy to have my loops look a little more carefree and less uniform. But you know what makes me even happier? That I finally (FINALLY) got this checked off my list!
It may not be exactly what I envisioned, but it’s a whole lot better than a pile of crafting supplies collecting dust on my breakfast nook table.
I love how my vintage button pinwheels turned out!
WELCOME, Y’ALL!
I’m kind of obsessed with stenciling things using Sharpie markers. It’s so much quicker and less messy than paint!}
P.S. In case you’re wondering why this wasn’t a Project Elephant post, it pretty much is. I mean, it’s something I’ve been wanting to check off my list for a while. But, honestly, there has been so much sickness happening around here for the last few days that making a list and then checking it off and then posting about Project Elephant PLUS getting the wreath done just wasn’t going to happen.
I’ll have a new list for you and an update or two this upcoming Monday. I’ll also be continuing my MOMbassadors series next Friday, January 17th, so that’s something to look forward to as well. I’ve got some fabulous mamas lined up for you to meet!
This is a late comment… very nice! I love the “welome”… I think our brains play tricks on us when we really want something to happen (like letters to fit). As a kid, I made a “Happy Mother’s Day” plaque for my mom with nails and yarn (for the letters) on a wooden background. I panicked when I realized “mother’s” wouldn’t fit but then, miraculously, it did! I even told her how wonderfully it happened. It was two days later when I realized it actually said, “Happy Mothe’s Day.” I am glad you still posted it. 🙂
Very cute. You can blame “Welome” on the mommy brain syndrome. I have it bad, and I only have one kid. Thanks for the tutorial. I’m gonna attempt to make a wreath this week for a baby shower.
lovely!
but the pictures of the banner hide the ‘c’ in welcome…or is it there?
I kept thinking I was reading it wrong…Looks fabulous, but it’s missing something…. 🙂