Hello, Try-it Tuesday! Get ready to be transformed from a ho-hum day that’s too-close-to-Monday-to-like but too-far-from-Friday-to-get-excited-about into the coolest day on the calendar (my lame-o attempt at a “coolest kid on the block” reference…moving on).
I am boy-less this week because my fantastic mom/dad/bro took my two oldest ankle-biters with them to Colorado on vacation (seriously, who does that? very nice people, that’s who). And believe-you-me, after a steady diet of two rambunctious boys + a baby, having just one itty-bitty, lil’ 7-month-old (today! hey, happy seven months, Della!) girlie to take care of feels like dessert and a half.
So, last Thursday, after dropping off the boys with my mom in the hopping hamlet of Henderson (my hometown), I took the opportunity to check out a few of the new local shops that have cropped up since I’ve lived there.
First stop? The Mustard Seed, an indoor flea market with (mostly) fabulous stuff. So much so that I strapped Della in the Ergo Baby and meandered contentedly through the booths for an hour and 1/2.
Pictures were not allowed, or I would have shared some of the cuteness with you here, but I did see one thing that I knew I had to replicate right away.
So, without further ado, I present you with The Embellished Headband (you should hear a monster-truck announcer-voice when you read that).
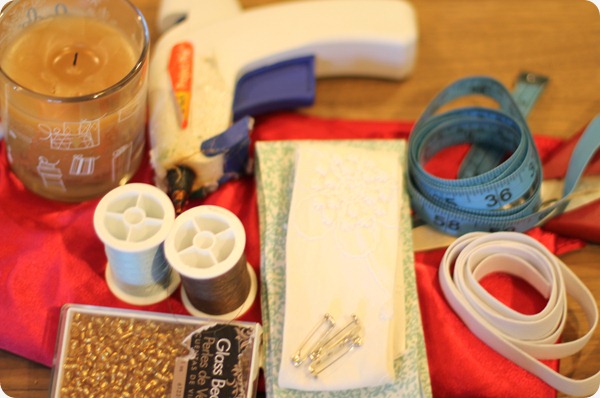
Here’s what you’ll need:
- Satin-y material
- Two strips of material in the colors/pattern of your choice (I chose a small print for the background, and an embroidered solid for the top layer of my headband – both 100% cotton)
- A candle
- A hot glue gun
- Tape measure
- Scissors
- Elastic (I used 1” width)
- Thread (I chose to contrast my thread color with my fabric) + needle
- A brooch pin
- Beads for embellishing
- Pins (sorry, my pins didn’t make it in the picture)
1. Take your two fabric choices (the non-satin ones) and cut one strip of each. They will stack on top of each other, and the bottom layer should be approximately 20”X3”, and the top should be slightly shorter/thinner. Mine was 17”X2”. You can adjust both sizes according your preference/head-size.
2. Fold the edges of each strip of fabric and iron them down (I folded mine over somewhere between 1/4-1/2”. I just eye-balled it because the beauty of this headband is that the “homemade look” only adds to its charm). You’re going to stitch the fold down as a rudimentary hem to keep your headband from fraying.
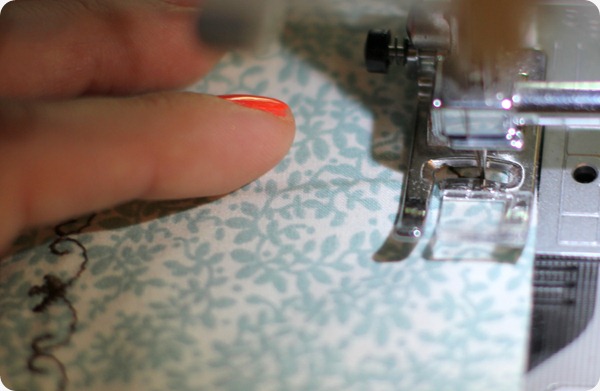
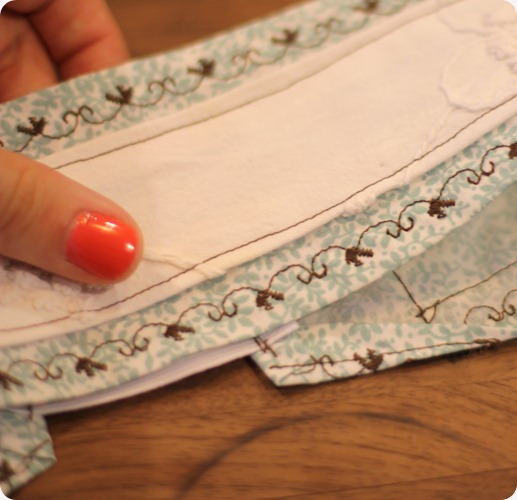
3. Run a stitch down both sides of the edges of your bottom layer only of fabric to anchor the folds. My sewing machine has some fancy stitches that I hardly ever use, so I took advantage of them to add some pretty to my anchor stitch. And because I used a contrasting thread-color, it showed up great. See it over there on the left? Boom, baby! (Emperor’s New Groove love, please).
4. Next, fold under just the ends of your top layer strip, and anchor them with a quick stitch.
5. Pin your top layer strip of fabric to the bottom, positioning it so that it’s centered length/width-ways.
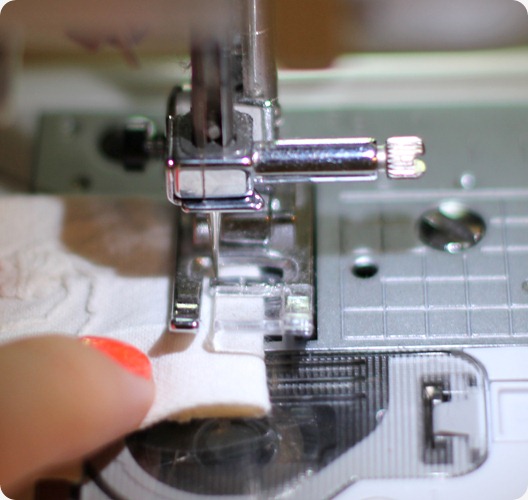
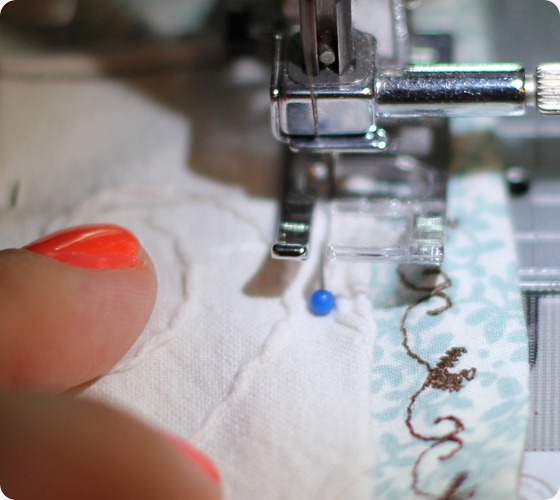
6. Sew the top layer to the bottom layer (I promise I didn’t stitch over my pin, even if that’s what it looks like I’m fixin’ to do here). I just used a plain ol’ straight stitch this time since I didn’t want to slap anybody in the face with fancy border-stitch overkill. Two-for-one alert: as long as you stay close to the outside edge, you’re stitching your hem for the top layer at the same time as you’re attaching it to the bottom layer. Sweet!
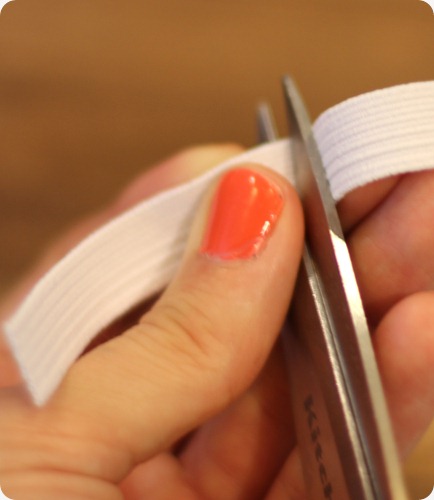
7. Cut about a 2” piece of elastic
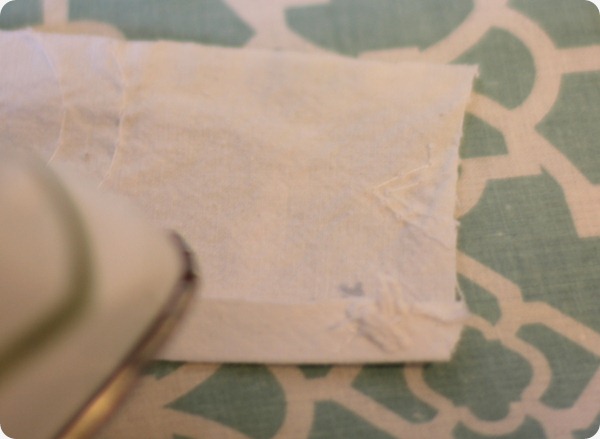
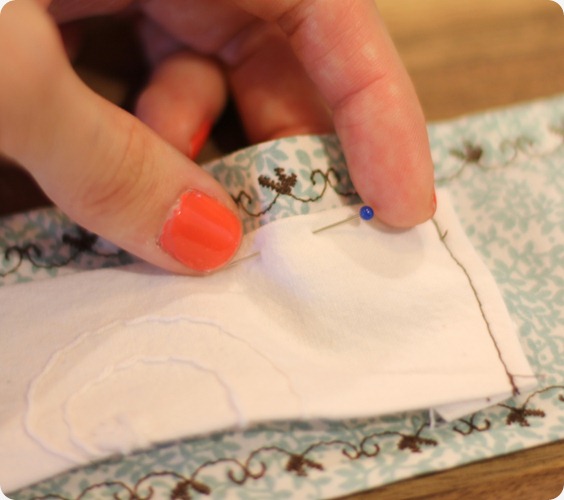
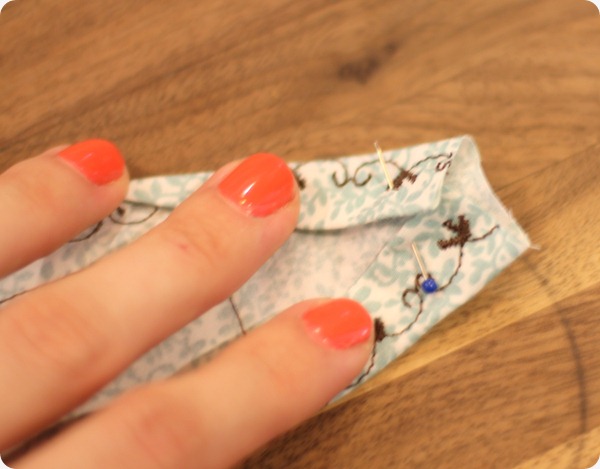
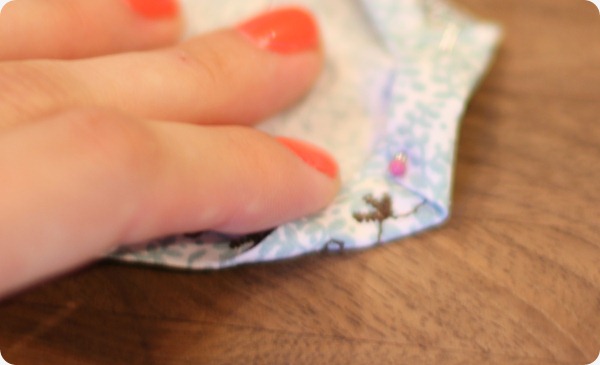
8. Take your two-layered fabric piece and fold the end-corners toward each other until they are just touching and then the tip over, envelope-style, and then poke a pin in it to keep it from going anywhere. You should have this…
…then this…(sorry about the blurry photos)
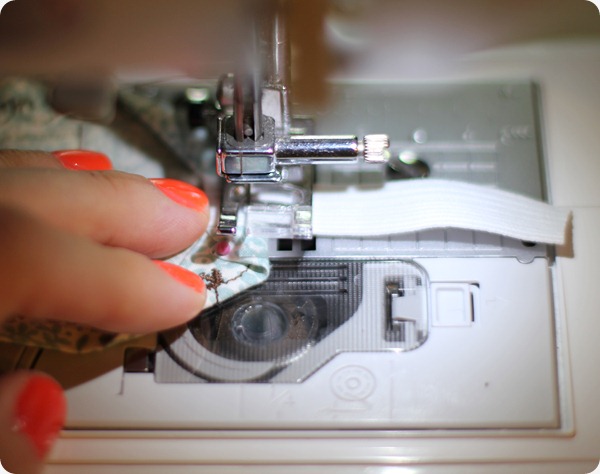
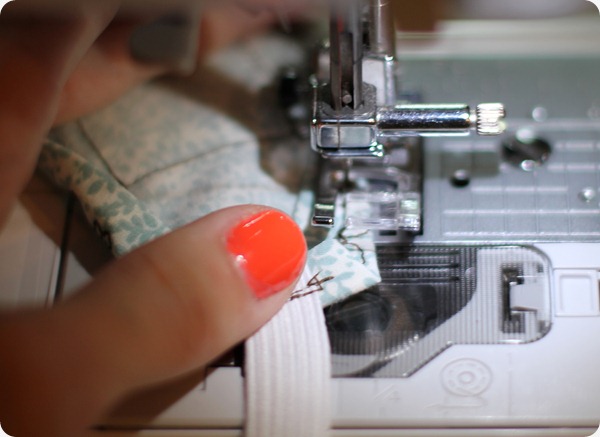
9. Center one end of your elastic strip on the envelope-fold you’ve just made (allowing about 1/2” to overhang the headband part, leaving 1 1/2” out to the right so that you can do the same on the other side), and stitch back and forth until you feel like you have securely attached your elastic to the end of your headband fabric. Turn the headband around and repeat on the other side, making sure not to twist the fabric. Each time you do this, the wrong side (the side you don’t want to show) of the fabric should be facing up.
P.S. If you want to sew down the angles of your envelope-fold, like I did, you can:
10. Your headband is done!…and should look something like this:
But WAIT!
This is a tutorial is for an embellished headband. And, yes, I know we did our fancy-schmancy stitch thingy, but not everybody has that option, so I think we need something else for just a touch of special.
Behold, the satin(y) flower-brooch.
Disclaimer: this flower tutorial is everywhere and your grandmother’s house on the internet, and I in no way claim any rights of ownership or originality. But since you’re here, you might as well read mine.
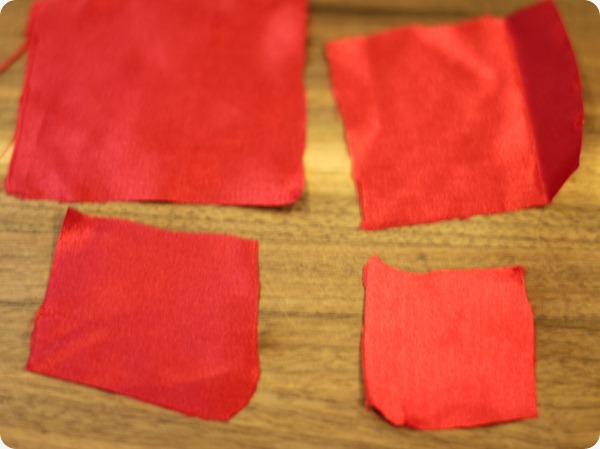
11. Take your satin-esque fabric (pretty much any slippery, silky, shiny fabric will work, though the silkier, the better) and cut it into as many squares are you want, with each square becoming successively smaller. I chose the number 4 because I like it.
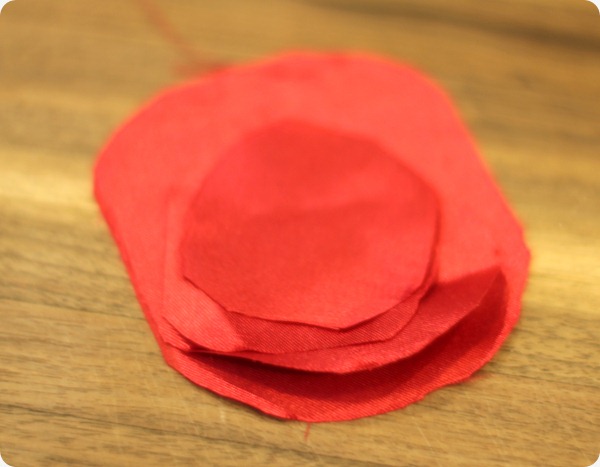
12. Round the edges of each square. They should look something like this:
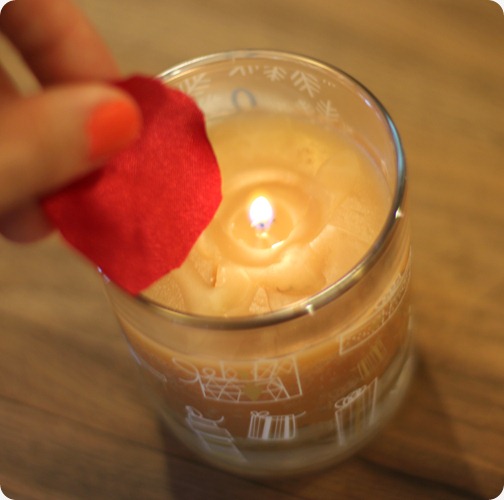
13. Light your candle (dang! I forgot to include some sort of flame-oriented device in my list of supplies…but you guys are smart…I betcha figured it out!), and carefully hold each petal up to the flame until the edges begin to soften and curl. When you light one on fire, don’t panic. Just blow it out and don’t touch that part for a while as it will feel like molten lava. What do you mean, “Am I speaking from personal experience?”
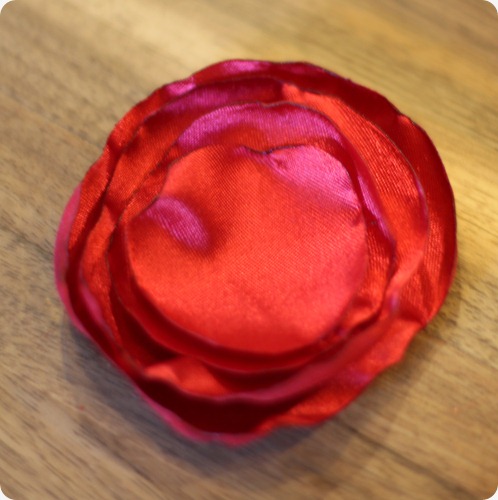
14. When you’re done toasting your fabric, your petals should look like this:
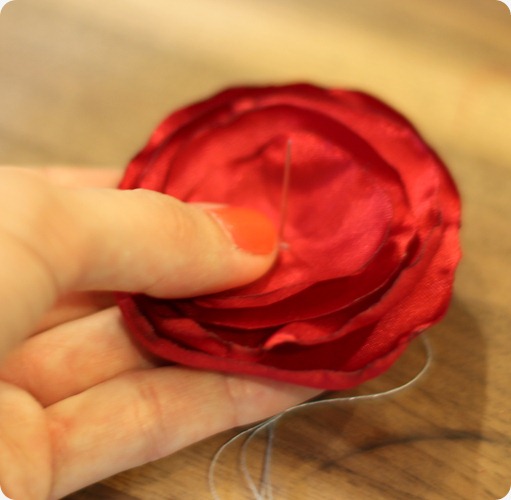
15. Grab your needle and thread (whatever color you choose), and put a couple of stitches right through this pretty little thing’s heart to keep hold the petals together.
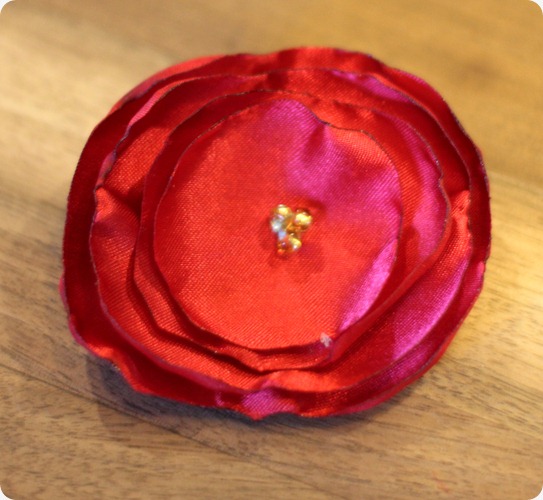
16. You can use the same needle to thread/sew a couple of beads in the center to hide your anchor-stitch. You should end up with something like this:
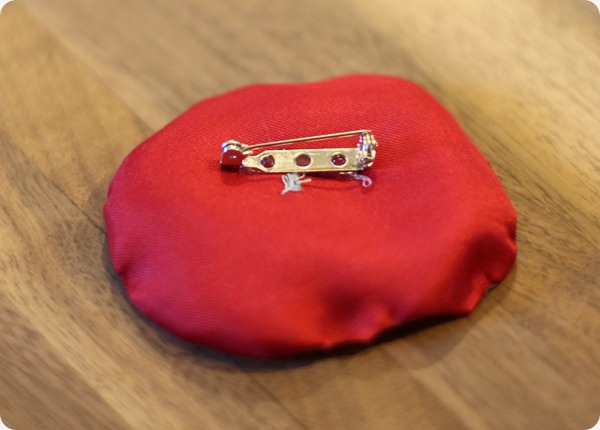
17. FINALLY, it’s time to use the hot-glue gun, but only for the briefest of moments. Run a thin bead along the back of your flower and attach your brooch pin, like so:
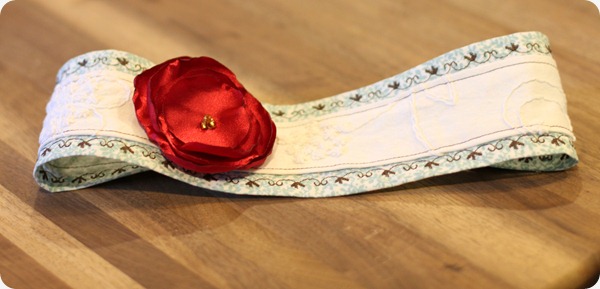
18. Pin that puppy on your headband, and…wait for it…you’re DONE!
A stylish and unique headband that only took 18 steps and 3 1/2 hours to make.
KIDDING!
You could easily make this little girl in under an hour (30 minutes if you have all the materials nearby and are handy with sewing accoutrement), but stopping every two seconds to snap a picture cert-ain-ly made it seem longer.
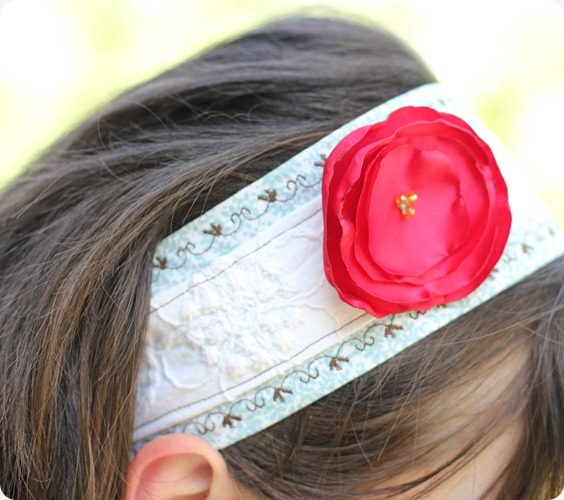
Here’s a shot of it worn:
Fetching, no?
And now, for those of you who are really good title-readers and have been impatiently waiting for me to tell you this, here it is:
I’m willing to part with this beauty if, and only if, you’ll do the following for me:
1. Leave me a comment telling me where you would wear Lola (oops! now I’ve named her, I don’t know if I can give her up)
**Bonus Entries**
2. Go to the Five days…5 ways Facebook page and click “like” (It’s a MAAAJOR work-in-progress…like…needs all of the work…has none of the progress). If you’ve already done this, leave me a comment saying so.
3. Share this post via Facebook and/or Twitter (leave a comment for each place shared) using the handy-dandy buttons at the bottom of this post.
4. Blog about this giveaway and leave me a comment telling me where you did it.
Giveaway comments close Monday, June 27 @ 12AM (midnight)
Now, go forth and be crafty.
Oh, and come back tomorrow for Wardrobe Wednesday and a new round of SPENDY!! (She Paid Essentially No Dough, Yo!!) **as she chuckles in self-derision and thinks, “Did I really just post that?”**
Kiki, you’re too sweet (and I LOVE that your username is “Kiki”).
You’re welcome. And, yes, it is a super-easy project!
Abbie, you are awesome! Your writing is so beautiful and engaging (and the headband is pretty, too!
now that is something even I could do, it looks great. I need to try that flower technique.
Thanks for sharing
Hurrah for feeling more awesome!
Okay, I want to enter too! I would probably wear the headband to church since that’s about the only place I go these days that I get out of my t-shirt and athletic shorts. Also the youth girls at church would probably give me all kinds of compliments making me feel a bit more awesome!
Oh. my. goodness. You are not allowed to wear my lovely headband in Paris unless you take me with you!!! How exciting! I remember your talking about the possibility, and I suppose the time has come, eh? A little jealous, I must admit.
Liked your page on FB… I would wear your lovely headband to PARIS, where we’re going (barring visa disasters) to live this next year!
A 4th of July boat parade at your mom’s cottage? That sounds too cool for words!
Oh I think that beauty would look adorable if I wore it to the annual 4th of july boat parade at my Mom’s cottage.
Dress up jeans and a white t-shirt! Liked on FB!!!
So cute! I would wear it on casual Fridays at work!
I would wear Lola on my head. Definitely. :0)
Seriously, so cute! I love the red flower! I’m a new follower. Of you, not Lola.
Checked it out! Thanks for the heads-up! You ARE on a roll! ; )
I am on a roll! Just blogged about you at http://www.haysinhouston.blogspot.com
Also, see my post from today on VBS 2011. 🙂
I love it! I liked you on Facebook. 🙂
I would wear this beauty on a hot date with my honey!