HAPPY THANKSGIVING!
I’ve been making a “giving suggestion” each day as part of my participation in:
…and Giving Suggestion #10 is: Give someone in your life more time than you usually do. Maybe it’s playing games with your kiddos instead of reading that next chapter in your book that you’ve been dying to, or stopping in the middle of dinner prep to listen to your husband talk about his work or taking a friend to lunch even though your day is slammed. Whatever. It will be significant to that person all the more because you gave of your time to add to theirs.
The theme for this week’s:
…is:
Party Time
I would love it if you would link up (or leave comments about) 5 party-related thoughts (projects, Pinterest inspiration, Thanksgiving table-settings, recipes…bring it all on!) but if you’d rather just link up 5 pieces of randomness or a different theme, I’m totally fine with that as well.
The “rules”:
-
Please link up to your specific “5 Things” post rather than your blog’s homepage, and
-
Please place the Five Things Thursday button (left sidebar) somewhere on your page or post so that others can join in the fun.
That’s it!
Happy list-making! : )
So, if you read Tuesday’s DON’T Try-it post, you know that parts of Della’s party did not go exactly as planned. But there were still elements of it that I loved, so I thought I’d share those with you. If you recall, the theme was, “Della’s Dotty 1st Birthday!”
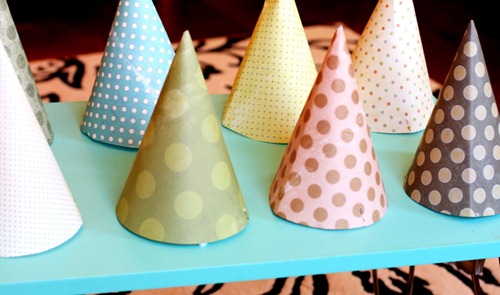
1. Polka dot party hats.
I used this template from Jones Design company, and they were both easy and cute.
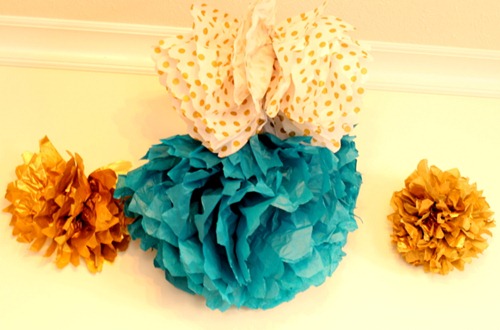
2. Tissue Paper Poufs.
I used this simple tutorial that I found on Pinterest.
3. Happy Birthday glitter banner.
I used the templates from my own Reversible Love Bunting Banner and free-handed the letters with glue, sprinkled the glitter on liberally, and then tapped the excess off into a bowl to reuse for each letter. I was determined to find as many uses for the ginormous book of polka dot scrapbook paper that I bought just for the purpose of, well, finding as many uses as possible for Della’s birthday.
*If you missed out on seeing her DIY ladybug invitations, be sure to check them out!
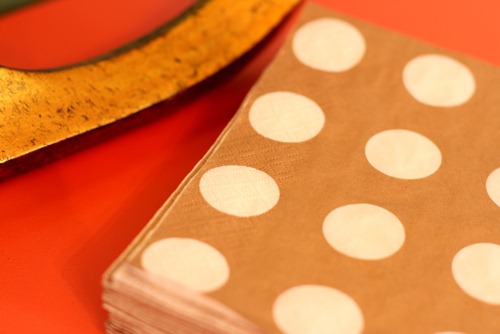
4. Polka dot napkins in the perfect shades of cream and champagne from Target.
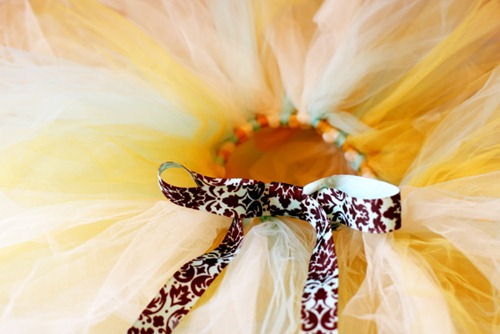
4. Della’s party tutu.
I promised you a tutorial for this tutu on Tuesday, but I didn’t quite manage to get to it. Even so, you hardly need a tutorial from me. Google “tutu tutorial,” and you’ll come up with about a bazillion different versions—all of which will probably work fine.
But still…I don’t write a blog so that you have to google tutorials elsewhere, so here’s the brief skinny:
- To do our version, you’ll need elastic (at least 1/2” or larger…depending on the size of your tutu-wearer), tulle, a needle/thread, ribbon, and patience.
- Take a piece of elastic, and measure the circumference of your little princess’s waist.
- Deduct 3 inches. That may sound drastic, but that’s what we did, and we still ended up with too long of a piece since the tulle-tying process stretches your elastic a lot.
- Cut your tulle into strips 6” wide (or buy it in the 6” wide rolls) and twice as long as your desired finished length. Ours were only 16” long (so 8” after folding them in half) since Della is such a tiny little thing.
- Layer 2 or 3 strips of tulle, then fold them in half.
- Tie each layered section of tulle to your elastic with a slip-knot (fold in half, place “looped” end over elastic, wrap ends around the elastic, feed them through the loop, and pull tight). Here’s what a slipknot looks like, just in case that made zero sense:

- Continue slip-knotting sections of tulle until you have covered the elastic and reached your desired level of fullness.
- Our elastic stretched too much to still fit Della, so I snipped off the excess and stitched a ribbon streamer to each end of the elastic. I actually really like this method since it gives you the option of using a fun ribbon like the aqua/chocolate damask I chose, and it ensures that your tutu can grow with your little girl.
- Trim any irregularities in your length, and…
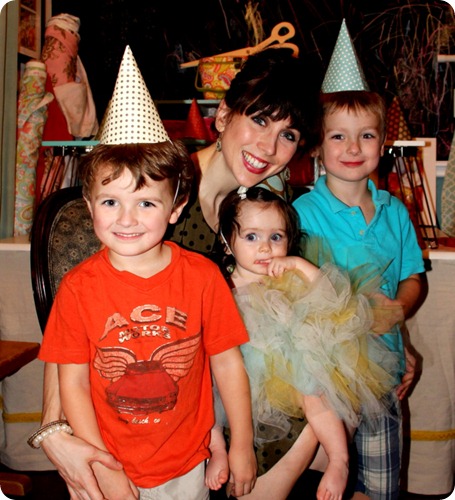
…tie it on your little cutie-pie. (I love this pic of all of us; my kids rock!).
**Sorry. World’s most adorable baby does not come with this tutorial.
If you have any questions about the tutu tute (ha!) or anything else in this post, or just want to say, “Hi!” don’t hesitate to leave me a comment!
Oh, and try to avoid slipping into too deep of a Tryptophan coma because I’ve got something uber-fun to show you for tomorrow’s Feature Friday. Think: before and after.
Here’s the teaser that I showed you last week:
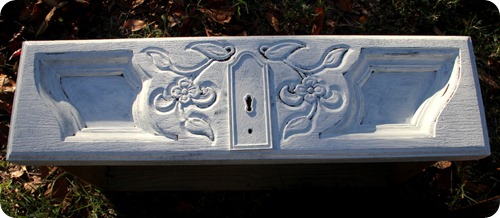
P.S. You might have noticed that I kept saying “our” when I was describing the tutu-making process. That would really have more accurately been “his” because it was this incredibly patient man who did everything I described above other than adding the ribbon.
Yes, that’s right, folks. I told him the basics, and then my husband made his little girl a tutu. You think he loves her a little, maybe? I can assure you the feeling is mutual (this pic was taken when Della was about 7-month-old, and I can hardly believe she’s changed so much already!)
So…what about you guys? Ready to paaaartay?
Linky, linky!
Linking up:




So pretty! Would LOVE it if you would link this up at my turquoise lovin’ party going on right now!! (and red during the holidays!) https://www.sweetlittlegals.com/2011/11/turquoise-lovin-15.html
I love the polka dot theme. The hats are too cute!