Hi there, folks!
I could go on for half a page about how excited I am to be here guest-posting for Mrs. Limestone, but…I have a feeling that’s not what you’re here for. Still, I have to say that Brooklyn Limestone was quite literally my gateway into the blogging world—the very first blog that I faithfully followed and a constant source of inspiration. I am so thankful to Stefanie for having me over for a visit!
My name is Abbie from Five days…5 ways and Secondhand or Bare Bottom. Yes, that’s right. I run not one but two blogs. Because being a home-schooling mama to three children under 6, teaching fitness classes, trying to keep my house reasonably clean, knocking out a few DIY projects now and then, and spending time with my great husband doesn’t keep me busy enough.
Yeah. Right. : )
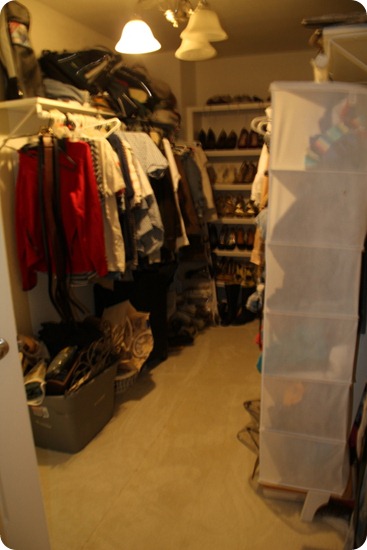
Today, I’m sharing a taste of my master closet, which I recently overhauled so that instead of looking like this:
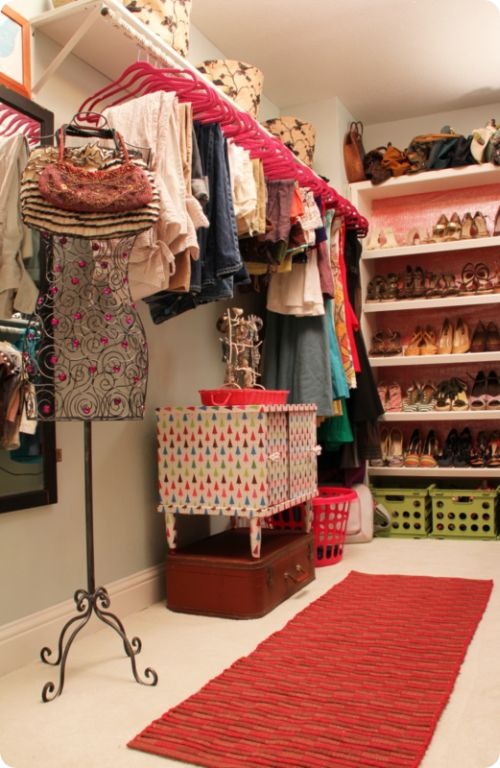
…it now looks like this:
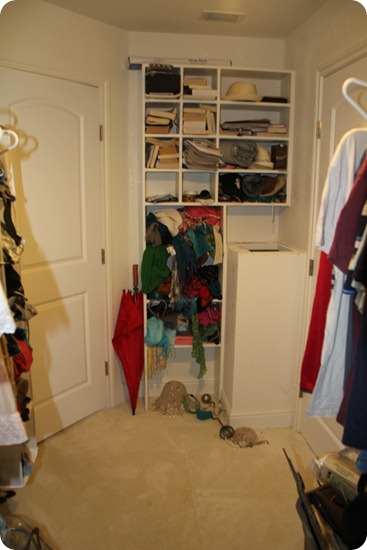
…and from this:
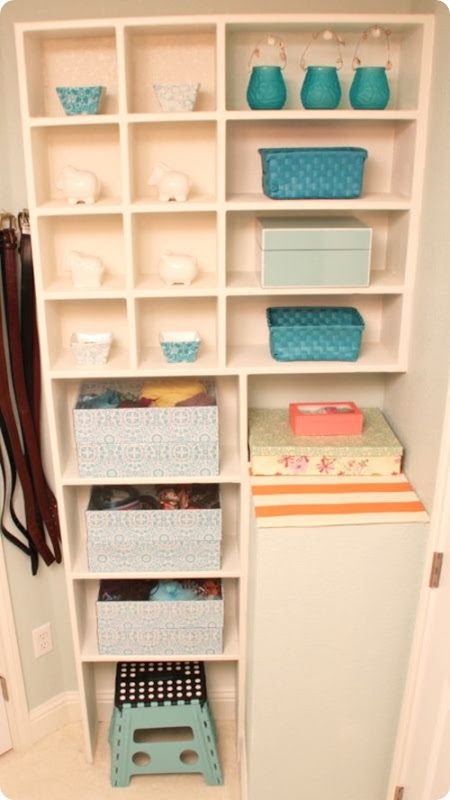
…to this:
It was basically a classic case of good bones (my hubby built the custom shoe-shelf, the closet-rods, the cubbies, and the laundry chute) and bad styling and use of space.
But it was nothing a little (okay, a lot) of DIY elbow grease couldn’t fix.
Actually, grease may have been one of the few gooey substances I didn’t use, but there was a lot of paint, glue(decoupaging = messy magic!), and sweat.
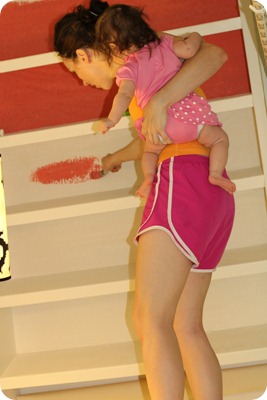
Of course, as you can see from the above pic, I did have help.
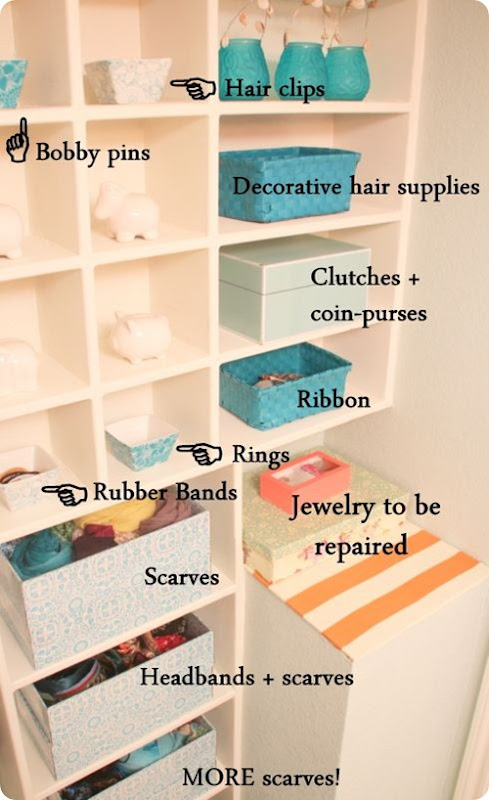
Here’s the organizational breakdown for my formerly chaotic cubby wall.
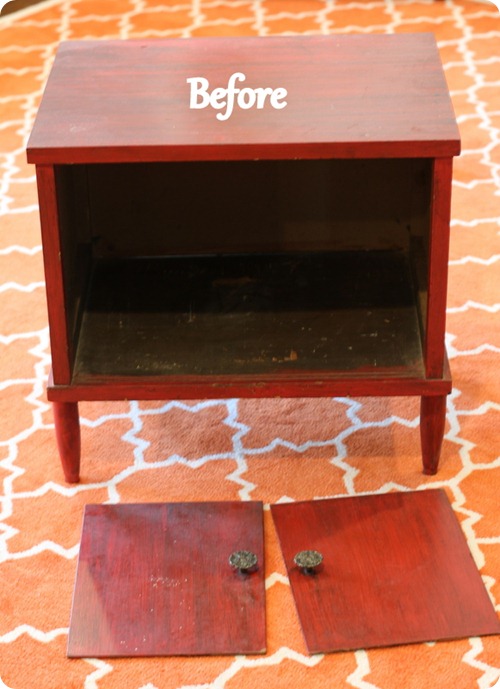
One of my favorite details is this mini-console makeover (Goodwill: $5):
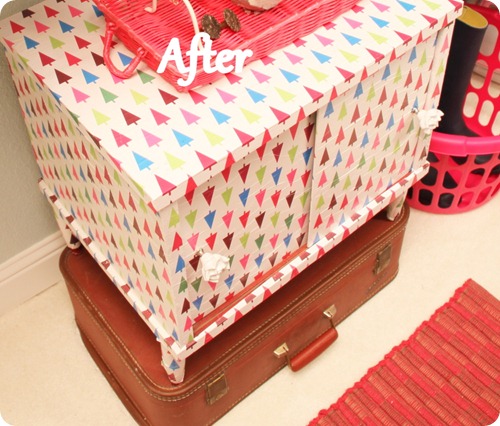
After some decoupaging action, this dowdy lady morphed into a very pretty girl:
…complete with fun clearance knobs from Hobby Lobby:
But maybe my favorite project of all was another decoupaging job.
I took our Plain Jane closet rods and covered them with some “Mr. and Mrs.” wrapping paper that I found at Walmart.
Let’s face it—there never was a Mister that got his fair share of a closet, but I did leave him one rod!
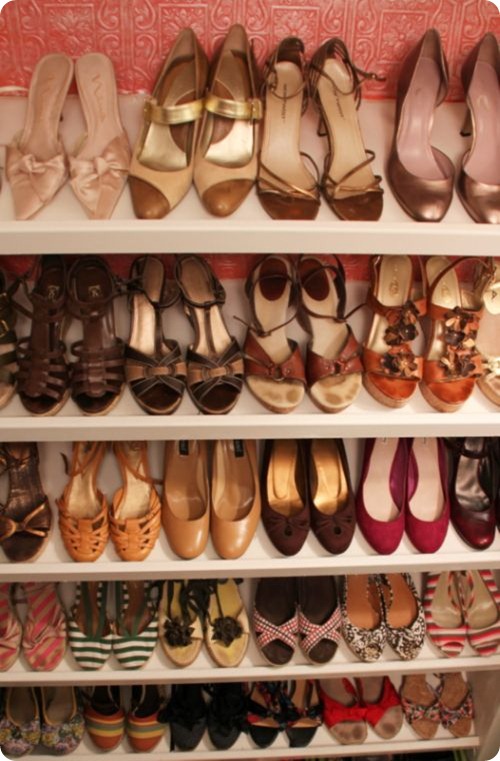
The shoe shelf also got some organizational help as well as a little paint + wallpaper love.
This project was all about the details, which made it rather slow-going, but I took my time finding pieces I loved (for cheap!) from my usual haunts, which include Target, Goodwill, Marshall’s, and Hobby Lobby.
And by working with a lot of supplies I already had on hand (I custom-mixed my paint colors from leftovers I had lying around) + trolling for bargains, I managed to keep the entire the entire closet redo total under $150!
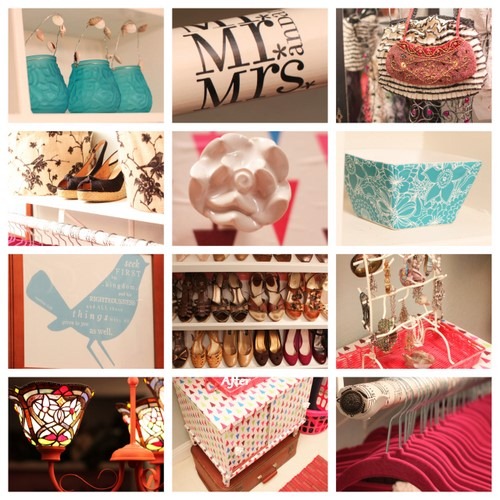
Here’s a collage of some of my favorite details:
Oh, aqua and fuchsia, how I love thee!
So what do you think?
Worth the effort?
(I know my answer to that! ; ))
Want to see the entire transformation? Here you go.
I hope you’ll stop by for a visit and say hi. I love meeting new friends!
Oh, and thanks again, Mrs. Limestone, for letting me share a bit of my corner of the blogosphere with your readers! It’s a huge treat for me!
