I’ve got something FUN to show you today!
But first…the back story:
For quite a while (like 6 months), my boys’ room décor consisted of blank walls and a mattress on the floor.
No joke.
Poor little guys.
Of course, they didn’t care at all.
After all, it was almost like a slumber party or a campout on their bedroom floor every night.
Then, finally, we found a set of bunk beds on craigslist, and I bought a comforter set (cowboy-themed in neutral tones) and coordinating curtains, and…
That was it.
I didn’t like it, but my boys were really into horses at that point, so I thought I was doing them a favor.
I’m not sure they ever noticed their mother’s clever nod to their equestrian obsession, but I sure did.
Every time I walked in the room, I shuddered a little.
See, I’m not a big fan of themes.
My least favorite are of the “bedroom in a bag” variety where everything comes prepackaged and has the Disney logo emblazoned on every last pillowcase and wall decal.
But my “subtler” cowboy theme wasn’t doing it for me either.
Problem was, I didn’t have any better ideas.
Seriously, my mind was a total blank.
I can plan girls’ rooms.
But how do you make a fun room for a couple of small males whose idea of stylish home décor is hanging socks and mittens on every single one of their dresser knobs? (Not that that’s ever happened at our house or anything).
And then it hit me: COLOR!
I already love it. And I am already a firm believer in its transformative powers. And I certainly ain’t skeered of it.
So why not go a little crazy with it in their room?
Which is exactly what I did, and I’ll show you more of that next month.
But for today, I wanted to show you one piece that I had in mind from the moment the word “color” became my inspiration for their room makeover.
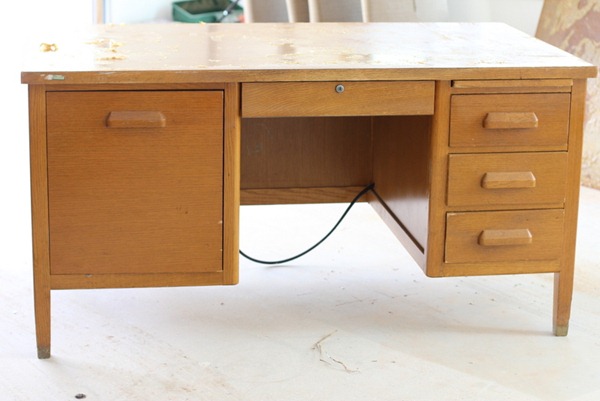
Ain’t she a beaut? And so colorful too, right?
Um, no.
Truth is is this beast is one of my mom’s Goodwill scores for practically nothing that she let me steal from her and make-over.
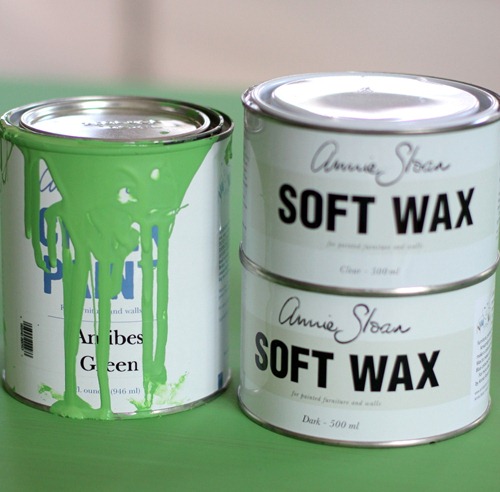
With a little of this:
Clearly, I was so eager to get at the paint that I did just that before I ever remembered to take a picture.
Now, I know I’ll probably get at least one comment saying something like, “Why in the world are you redoing furniture when you have newborn twins?!!!”
And it’s a fair question.
But they still do a whole lotta this these days:
{See how I managed to work in a gratuitously cute twin picture?}
And, quite honestly, projects help keep me sane.
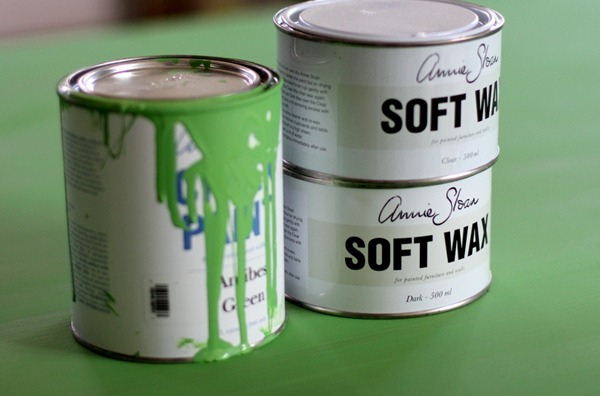
So when I got the chance to try out Annie Sloan’s famous chalk paint, I jumped at the chance.
Especially since they had one shade—Antibes Green—that just so happened to be about an exact match for the funky, fresh color that I’d had in mind for a desk for the boys’ room.
Now, I am no furniture whiz—mostly because I’m too lazy to do all the prep necessary to make the end product really turn out well (I am not a fan of sanding or priming or any of that other business).
But that was the best part. Because word on the street was that you didn’t have to do any of that mess when working with the magical properties of Annie Sloan’s paint.
Just paint, wax, and—voila—instant furniture genius-ness!
And you know what?
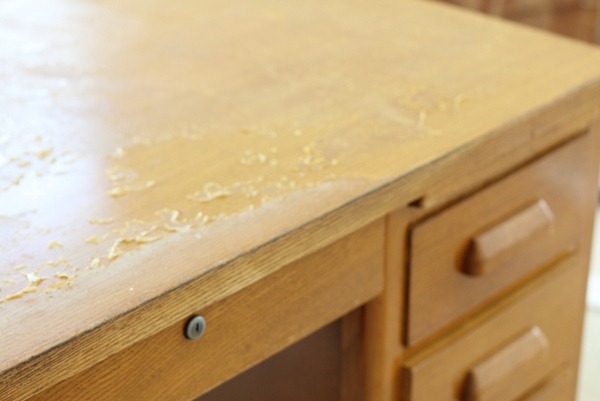
That totally would have been true if it hadn’t been for this:
Yup, that would be all the glue left over from an ugly veneer top that we pulled off.
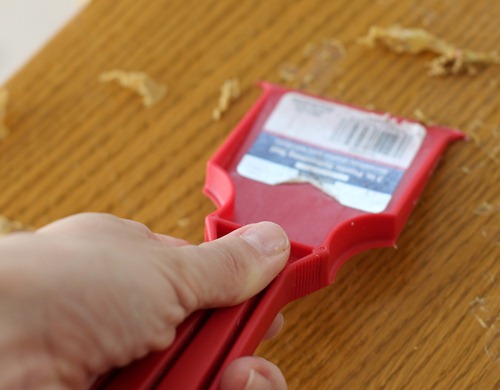
To remedy that eyesore, I started out with this:
Yuck.
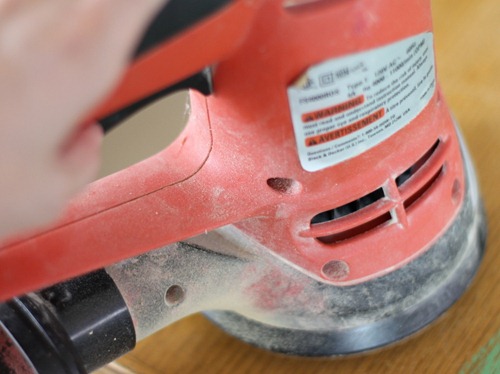
Eventually, though, I got a brain and transitioned to this:
Aaaaah. Muuuuuch better. Especially since power tools = FUN!
And then I got to the really fun part and start brushing on the paint.
And you know what?
It really is magical.
This stuff goes on super-smooth (I used a 2 1/2” angled Purdy brush like they recommended) and dries with zero stickiness.
Again, I’m not much of a painter, but even with a rather beaten up piece to start with and my uneven brushing, the brush-strokes were minimal, and the application couldn’t have been easier.
It dried quickly and only took two coats to completely cover the wood tones underneath.
{Here’s the green without any wax and after only one coat}
The wax was just as simple to apply because it was super-soft and pliable and wiped off easily.
They recommend using a 1” brush or a rag for the wax.
I chose the rag approach, beginning with the dark wax and applying it to all the desk’s creases, crevices, and corners, wiping off the excess as I went.
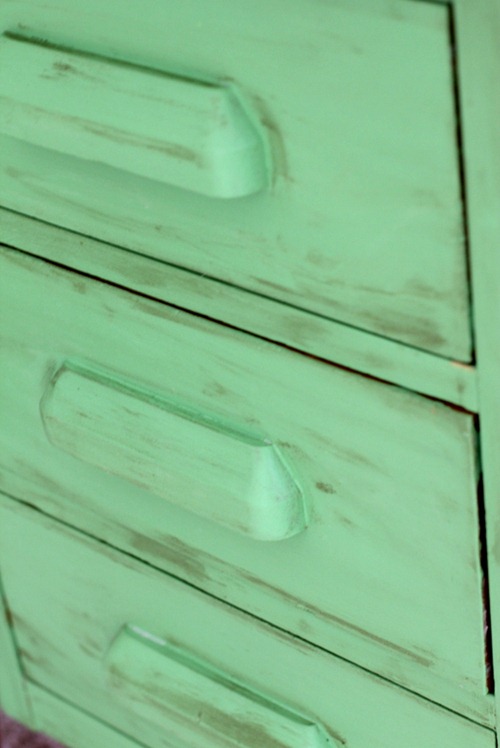
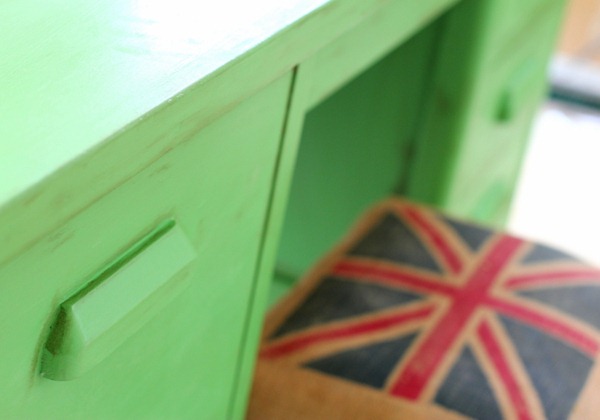
Then, I smudged it all over the desk for a bit of a distressed look.
At which point, I had this:
Finally, I sealed the entire thing with a layer of clear wax and buffed it with a soft cloth.
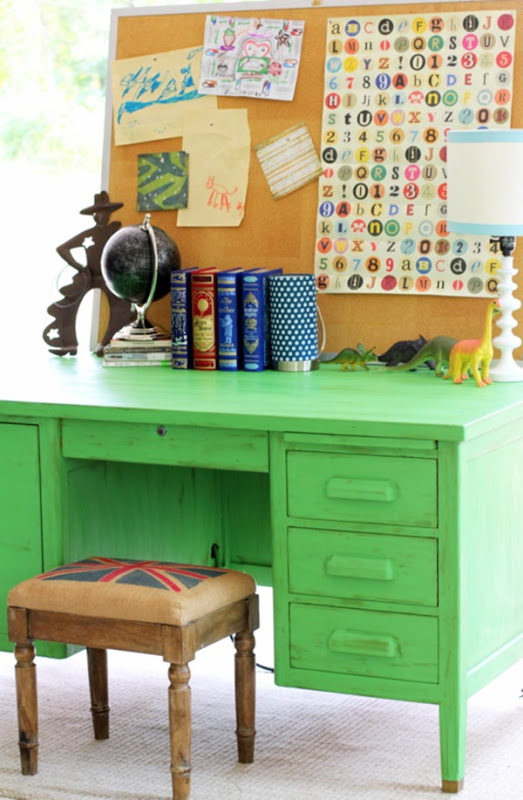
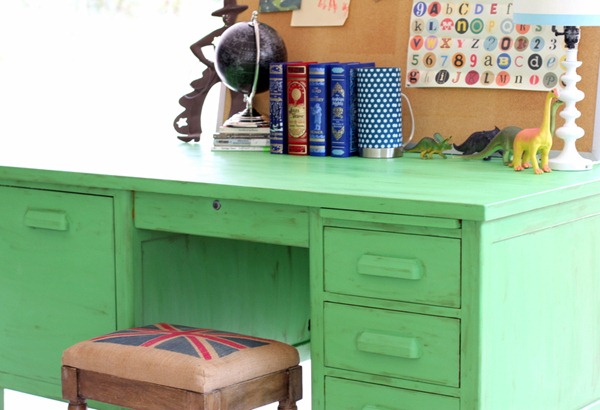
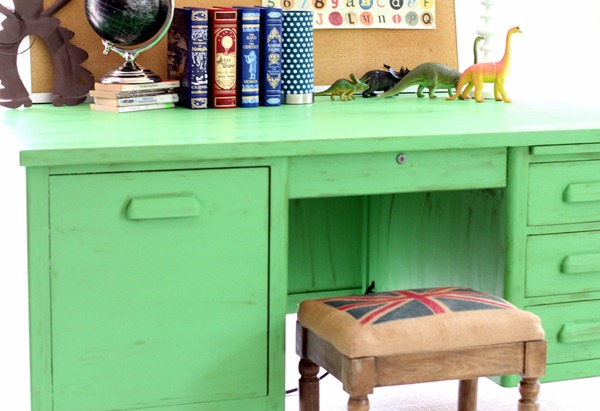
And then, I did a little styling (because that’s the FUN-NEST part of all!) and came up with this:
Color galore!
Be still my heart!
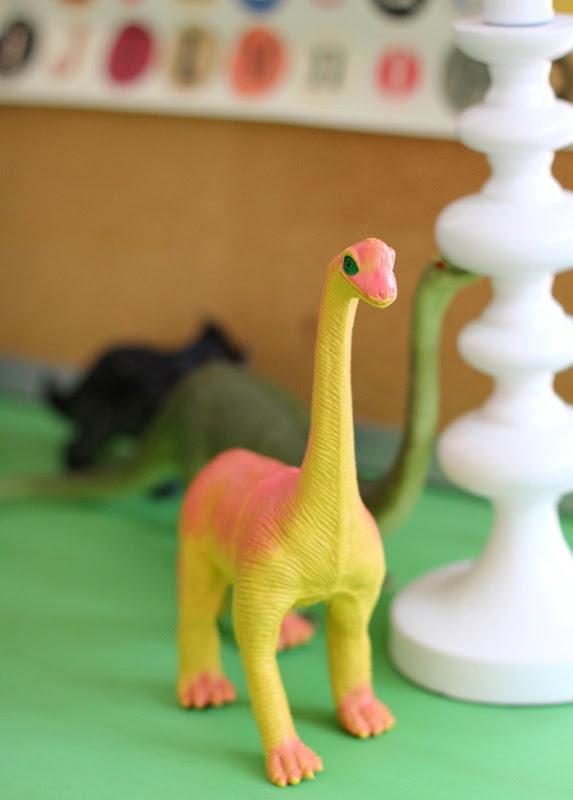
No themes here. exactly, but—really—what little boys’ desk would be complete without a dino or two to watch over the joint?
A huge thanks to Annie Sloan for sending some of their fabulous paint and wax to try! I’m a huge fan and would happily redo another piece using their products.
So…
What do you think of the boys’ green desk?
Did it make you curious to know what I’ve done to the rest of the room?
You’ll have to be a bit patient for that one, but I’m pretty excited about how it’s all coming together, and I can’t wait to show it to you!
P.S. Stay tuned for Wardrobe Wednesday tomorrow! I’ve done some {FUN!} retail research for you that you won’t want to miss.


The teacher’s desk brought back fond memories of the several I used while I was teaching. Love that green and how you staged the top with the globe, artwork and dinosaurs. All little boy favorites.
Love this in EVERY way! Way to save a yucky old piece and make it current and cool!If you have a sec this weekend, I would love for you to share at Get Schooled Saturday! https://too-much-time.com/2012/11/get-schooled-saturday-50.html
xxx
Kim @ Too Much Time On My Hands