I know that I haven’t shared much about our new house process here lately. I’m sure you can’t possibly guess why, since I clearly have nothing else going on in my life right now.
Ahem.
But!
Even outside of the baby-feeding and cheek-kissing that is taking precedence over house blogging, there hasn’t been too much interesting to show. We’ve been making steady progress, and Shaun still spends every spare moment out there plugging away. But, even though sheetrock and garage doors are super exciting to me, they make for fairly lame blog fodder. We have sheet rock and garage doors now. Huzzah! Consider yourself updated.
But! (again)
Cabinets?
Now, that’sprogress.
And we have cabinets, people!
Custom cabinets throughout the house were an item on the “if we had our druthers” list that I had no idea whether it would happen. We knew we’d be using the same guy who did our kitchen cabinets in our current house. He does great work, is reasonably priced, willing to negotiate, and so easy to work with. We were planning to use him for the kitchen again and for a mudroom with custom built-in wooden lockers. But beyond that, it was more of a wish than a plan.
Thankfully, because we’re proceeding steadily but slowly–which means that Shaun is able to again do 95% of the work–we’ve saved so much money that we were able to present the list to our cabinet guy, get a quote back, do a little haggling, and get every last door and drawer we’d asked for.
We had him do:
- the kitchen
- the mudroom
- the living room built-in shelving
- a kitchenette upstairs
- the laundry room
- 3 bathroom vanities
- built-in shelving in the master bedroom
- a lingerie chest in the master closet
And guess what? They delivered all of those gorgeous pieces last week! They’re still working on finishing the installation, but it’s enough progress that I thought it might warrant a post.
Prepare yourself for a completely unedited picture dump (because if I take the time to edit, the baby’s going to wake up before I’m done, and I’ll never get this thing posted).
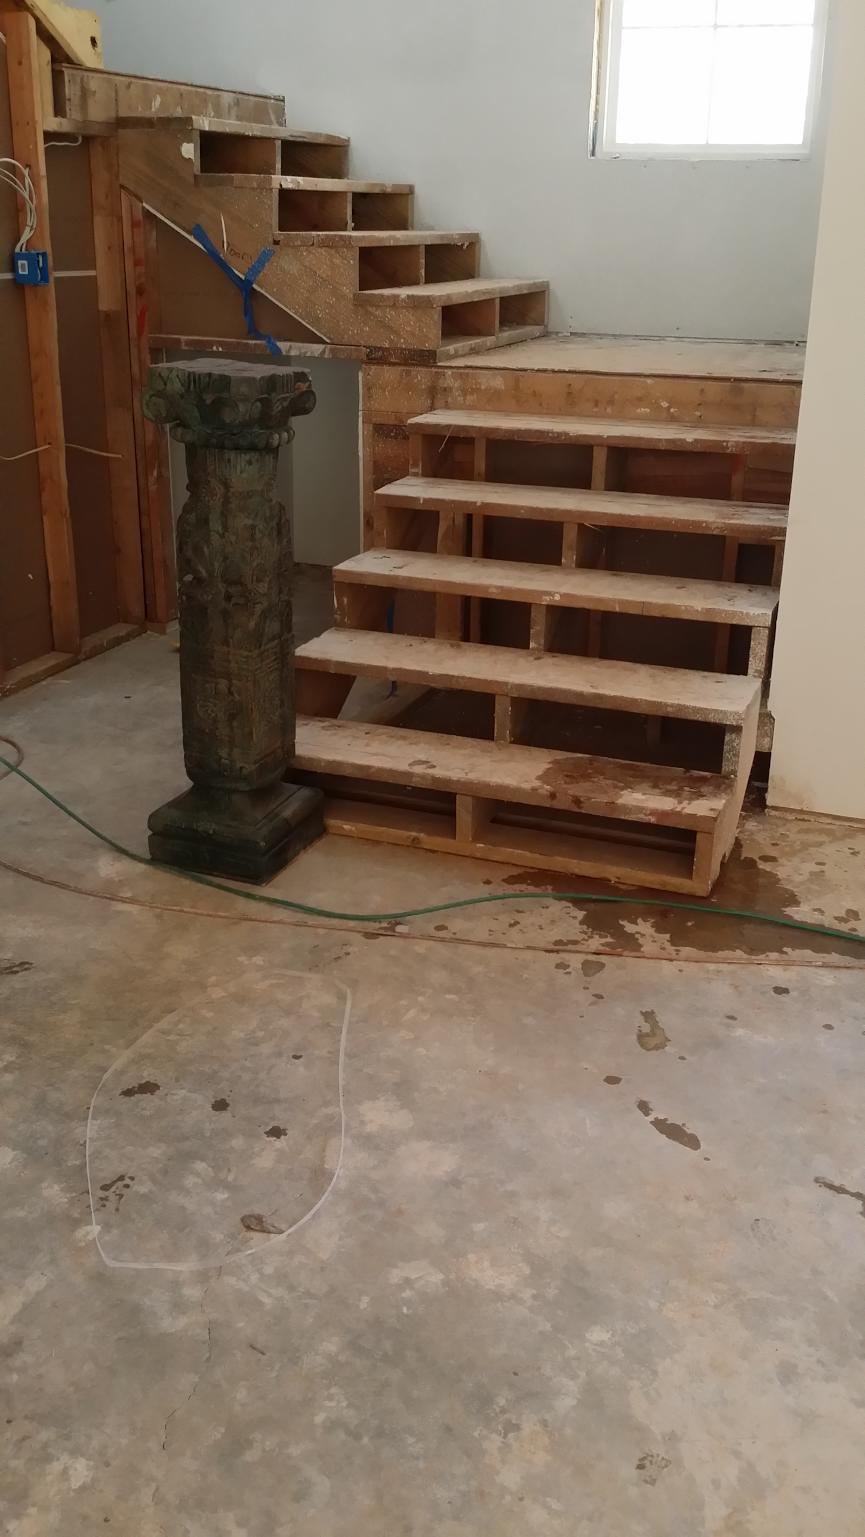
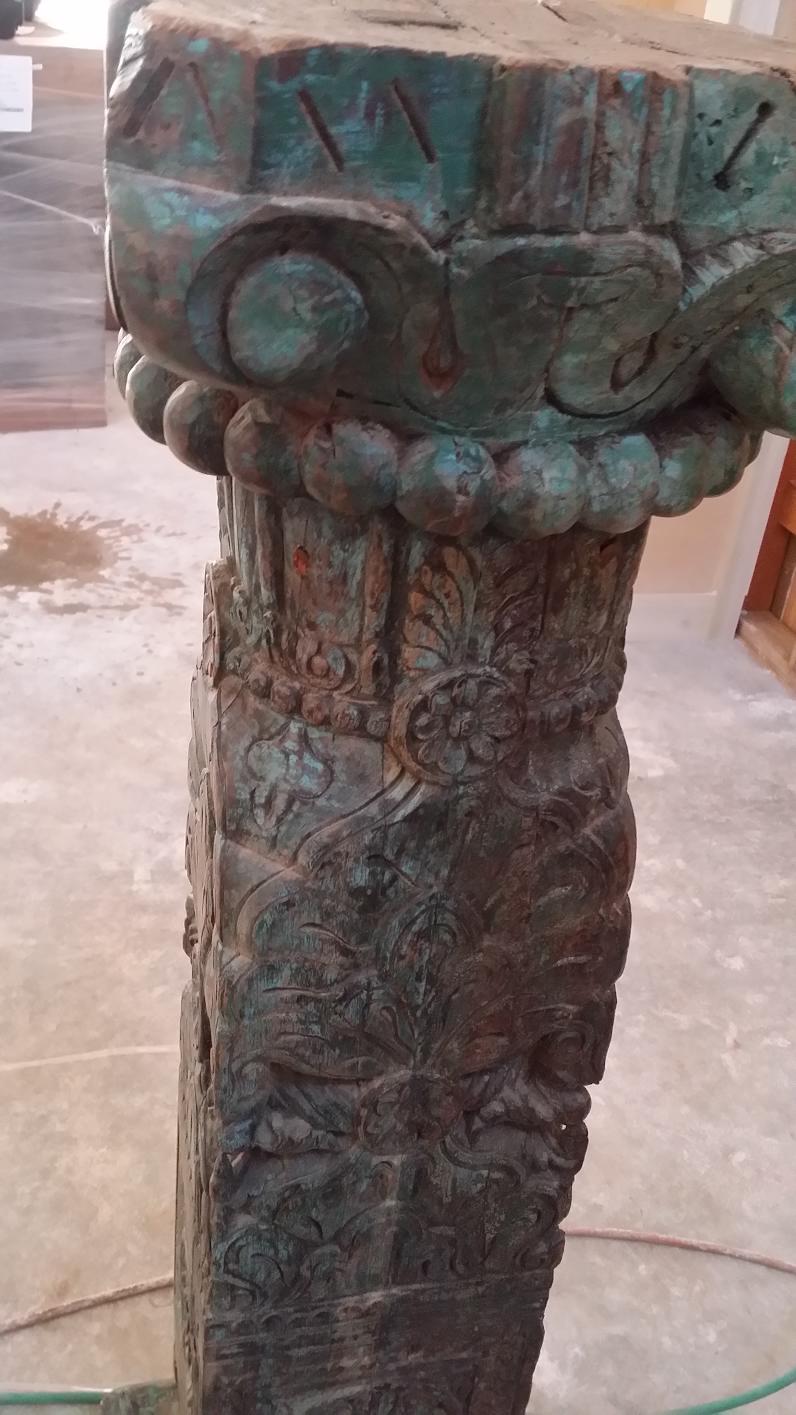
Okay, so this is not cabinets, but I found this ah-mazing 100-year-old architectural salvage post for a great price on a local Facebook swap and thought I’d share. I honestly don’t know what it was in its former life, but I’m trying to figure out a way to make it our bottom stair newel. It’s just a wee bit massive, though, and doesn’t have a top, so I haven’t quite wrapped my brain around it. I will be using this bad boy (girl?), though, because it’s just too rad to sit in somebody’s garage.
Thought y’all might appreciate a closeup of all of the intricate carving. If you have a brilliant idea for a topper, I’m all ears.
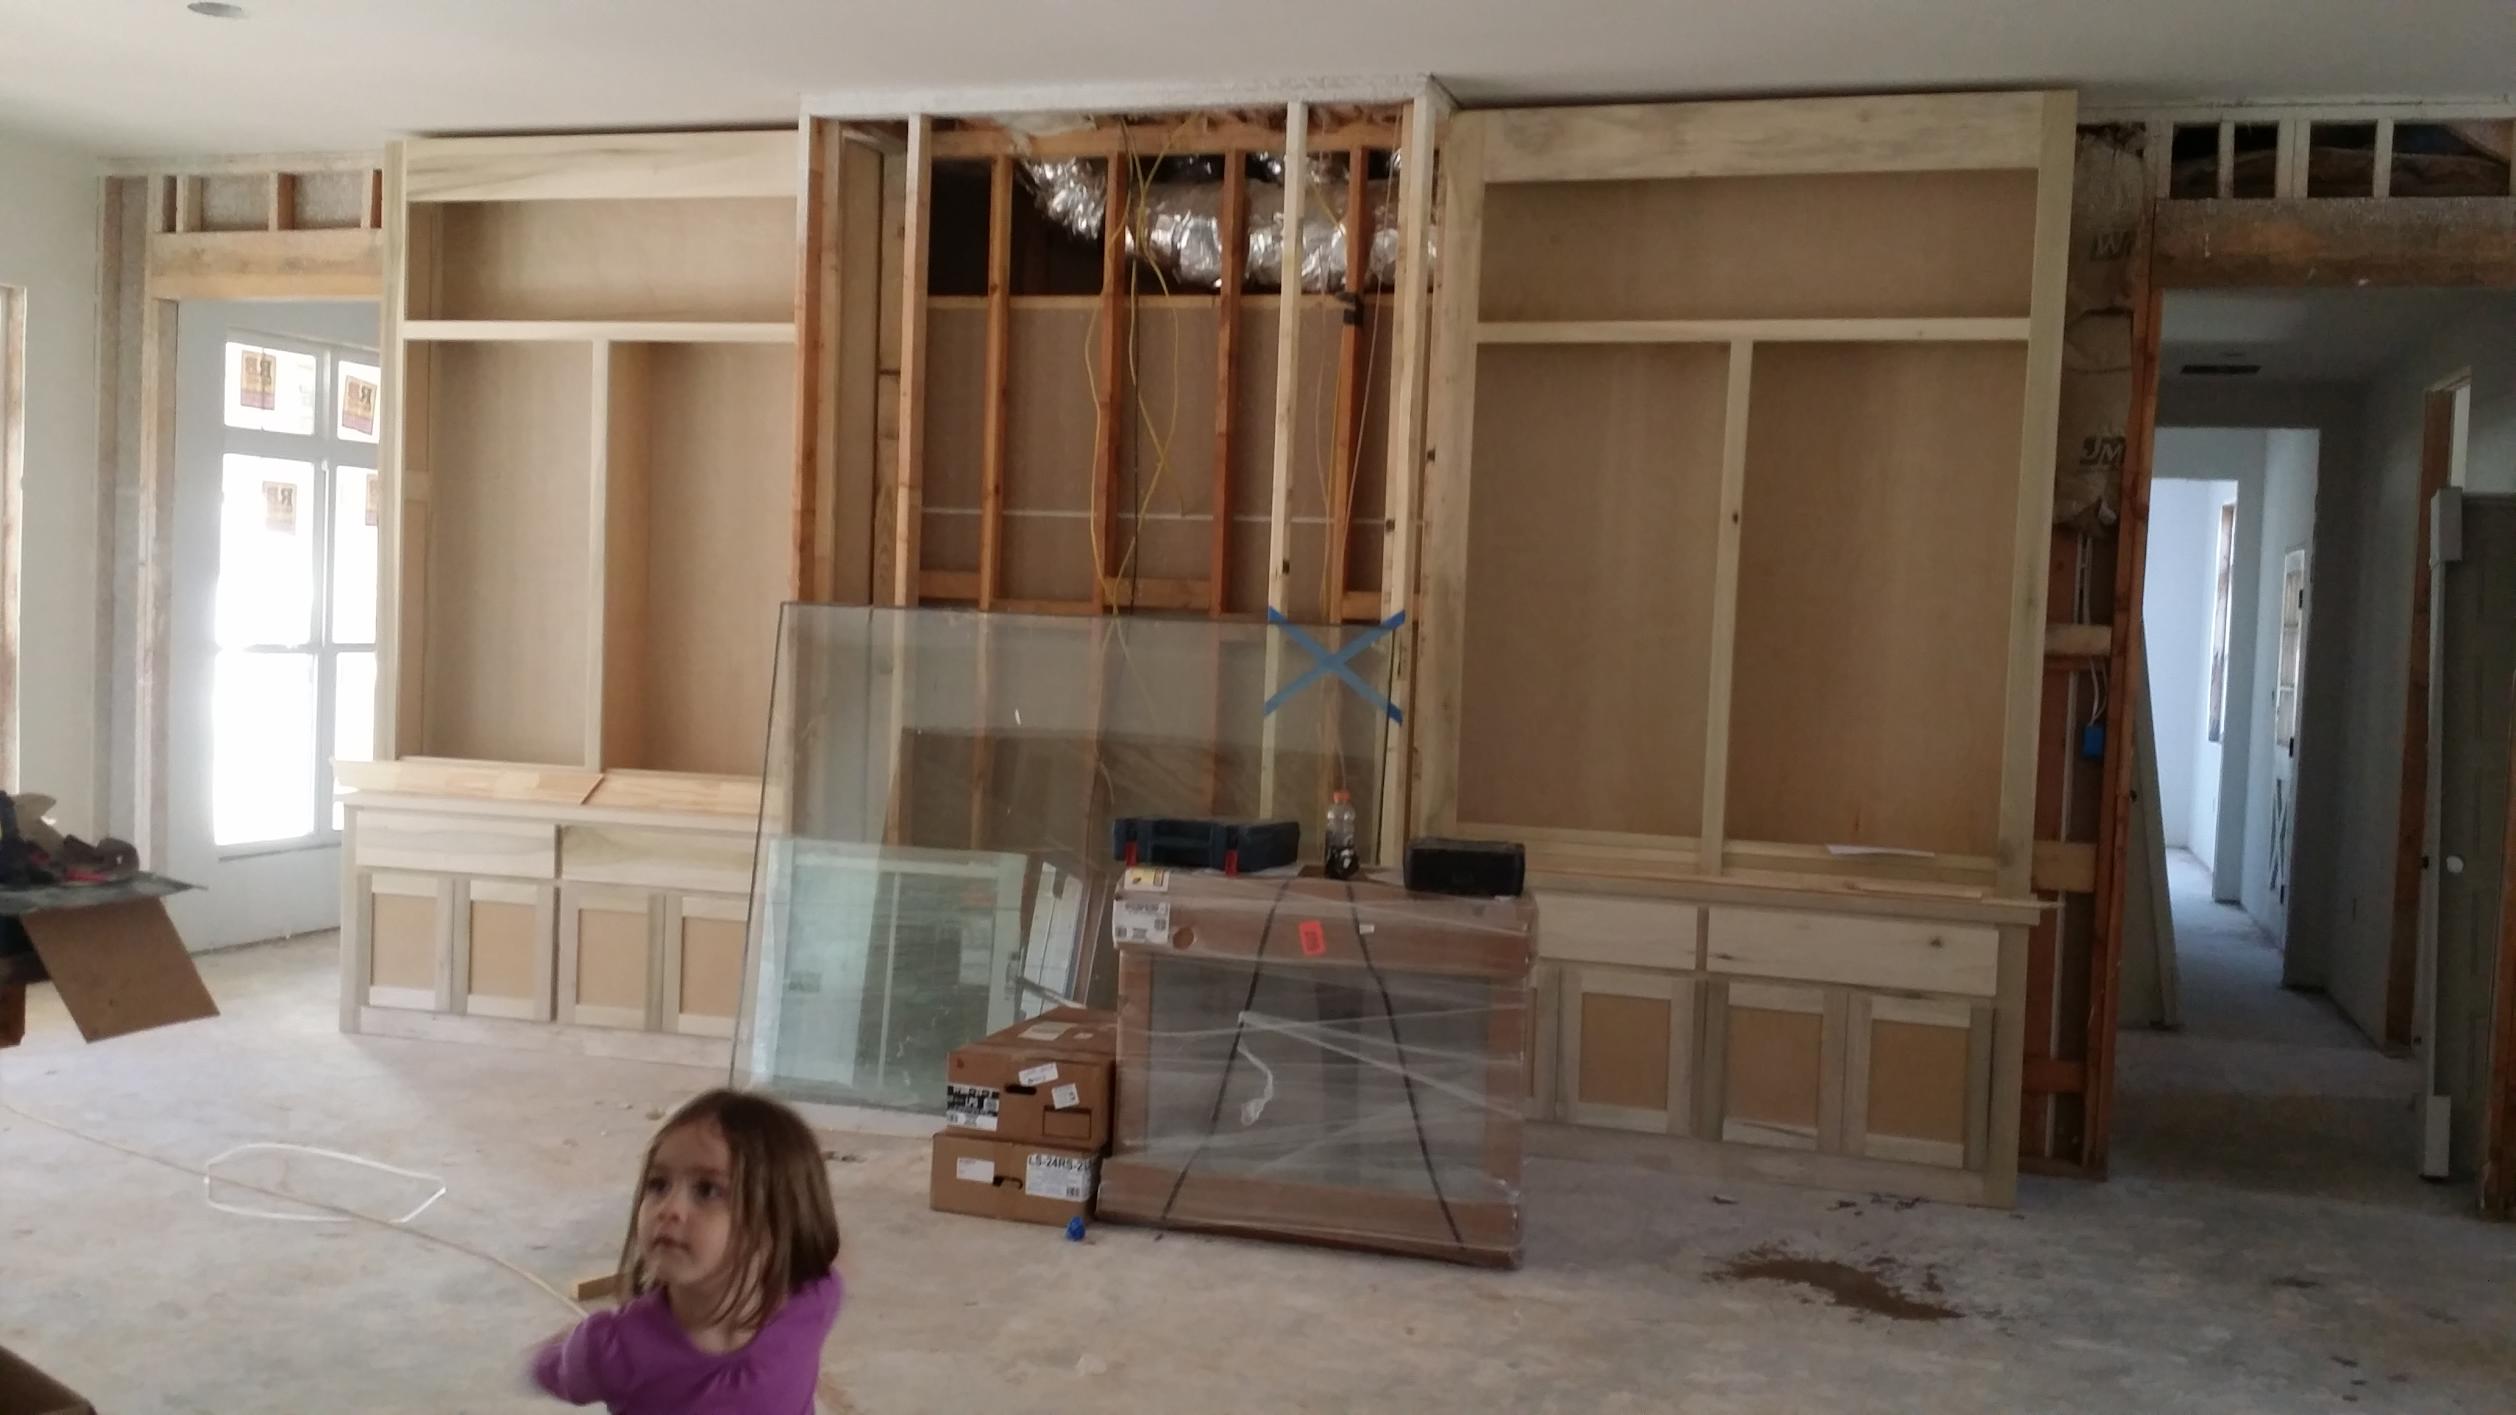
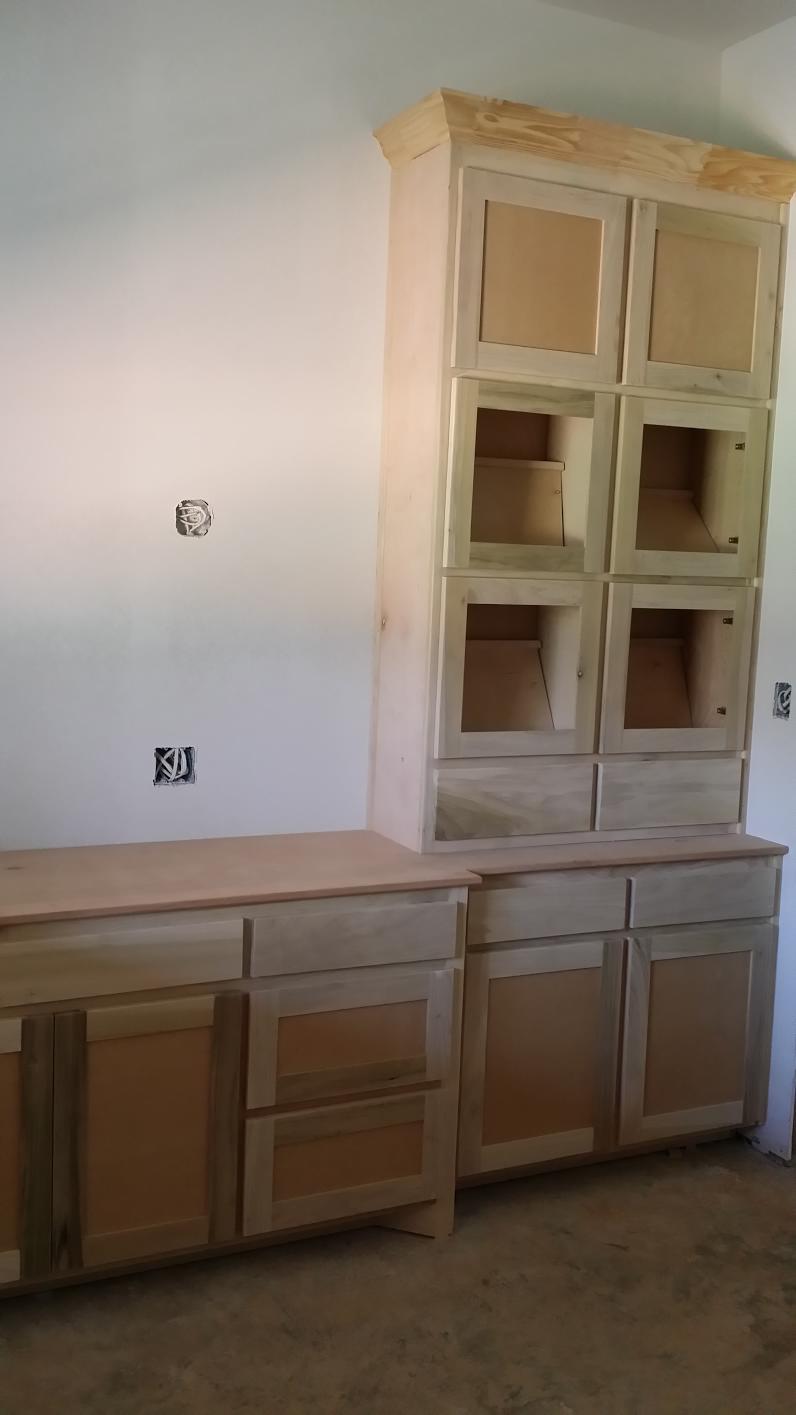
Hooray for living room built-ins! I actually hadn’t intended for that long horizontal shelf to be at the top of the units, but it was my fault because I sent an inspiration picture to Jeff (cabinet guy) so that he could see the way I wanted the trim and failed to specify that the rest of it should be ignored. It’s kind of a happy accident, though, because, otherwise, the shelves would have been really tall, and Shaun suggested using those long ones at the top to house my globe collection (smart man!). I’m not entirely sure the taller ones will fit, but I’ll give it a go!
Oh, and that pic above is basically a zoomed out, straight-on view of our living room (and Nola looking rather vague…told you these weren’t edited). The stairs you saw are just to the right out of the shot. The hallway to the right leads to the schoolroom, the main downstairs bath, the guest room, and Shaun’s office. The door on the left with all of that gorgeous light flooding in from the big windows is the opening to the schoolroom.
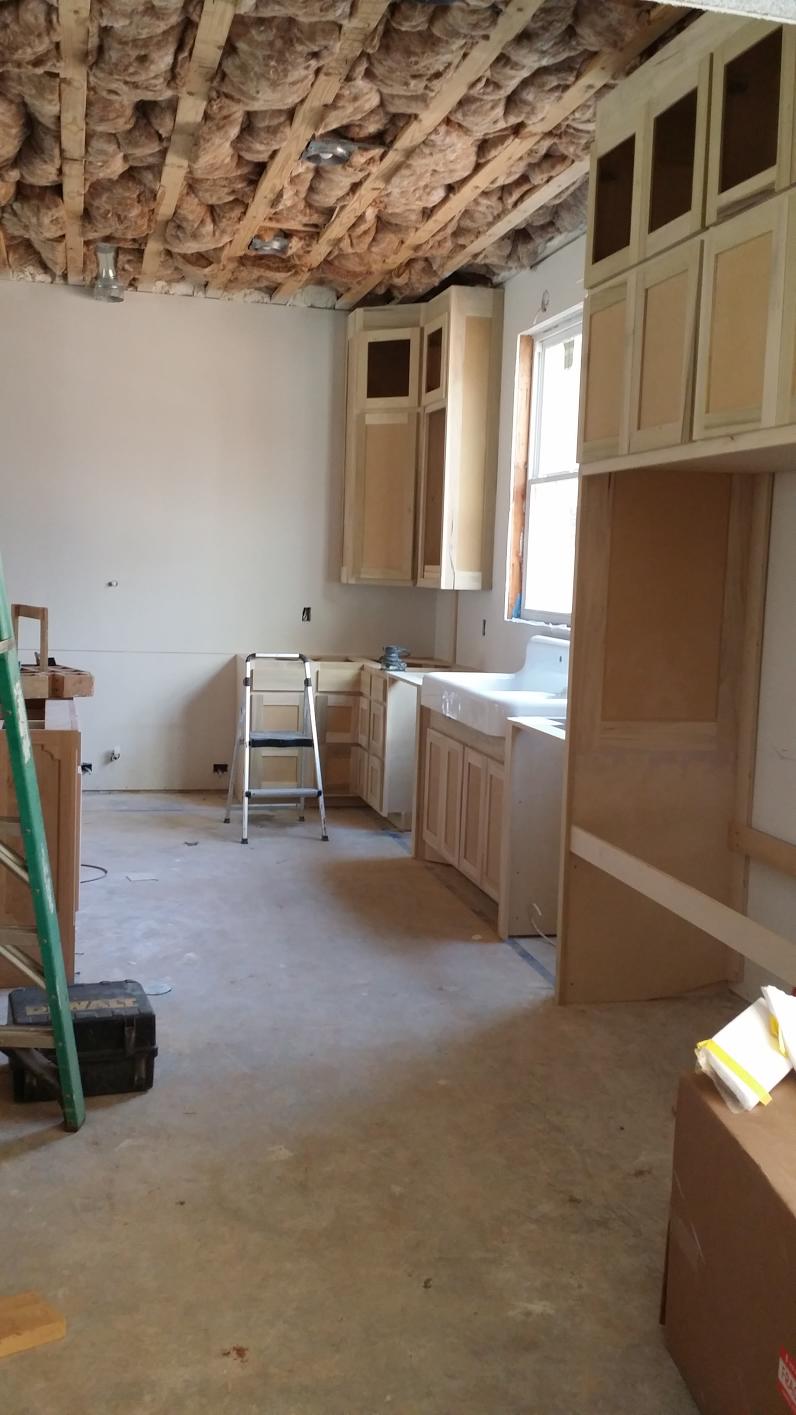
Turning around to look back into the kitchen, this is what you’d see. To the right are the cabinets that will encase the fridge/freezer, my big NBI Drainboard Sink, and a bank of beee-you-tee-full windows! The spaces below either side of the sink are for, not one, but two dishwashers (which, of course, I managed to score for the price of one!). The big blank wall just ahead is the area behind the range and vent hood. It will have open shelving on either side of the hood as well. 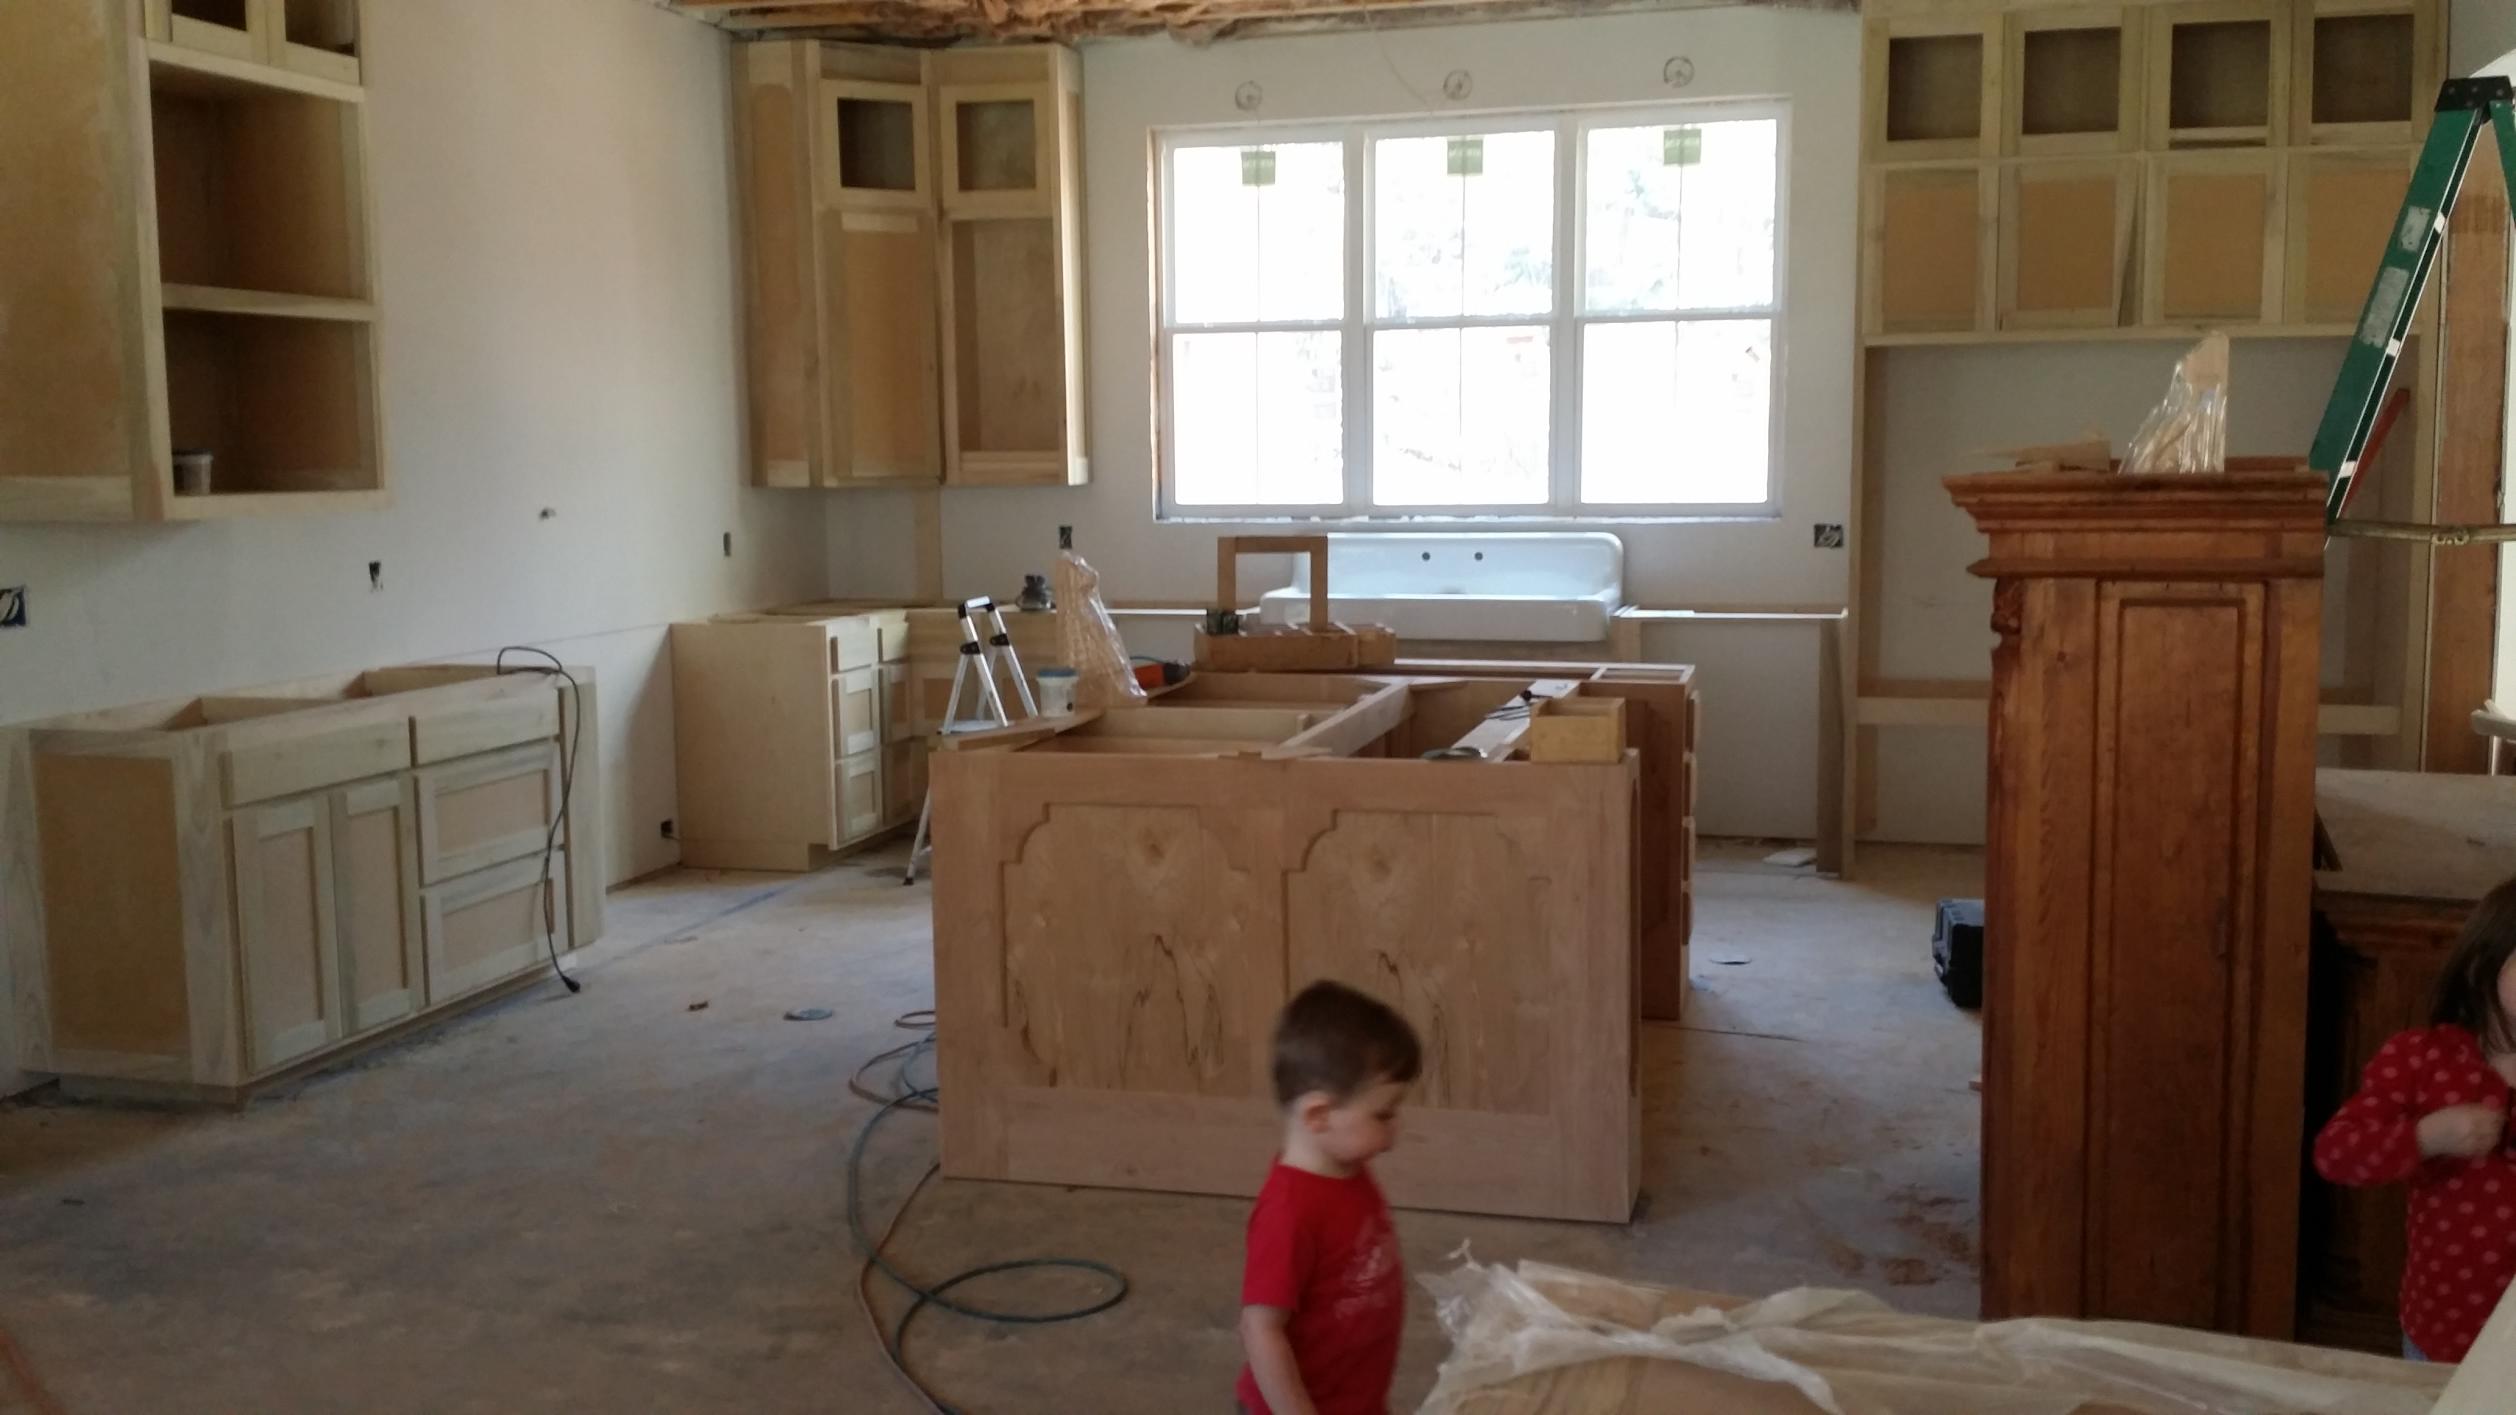
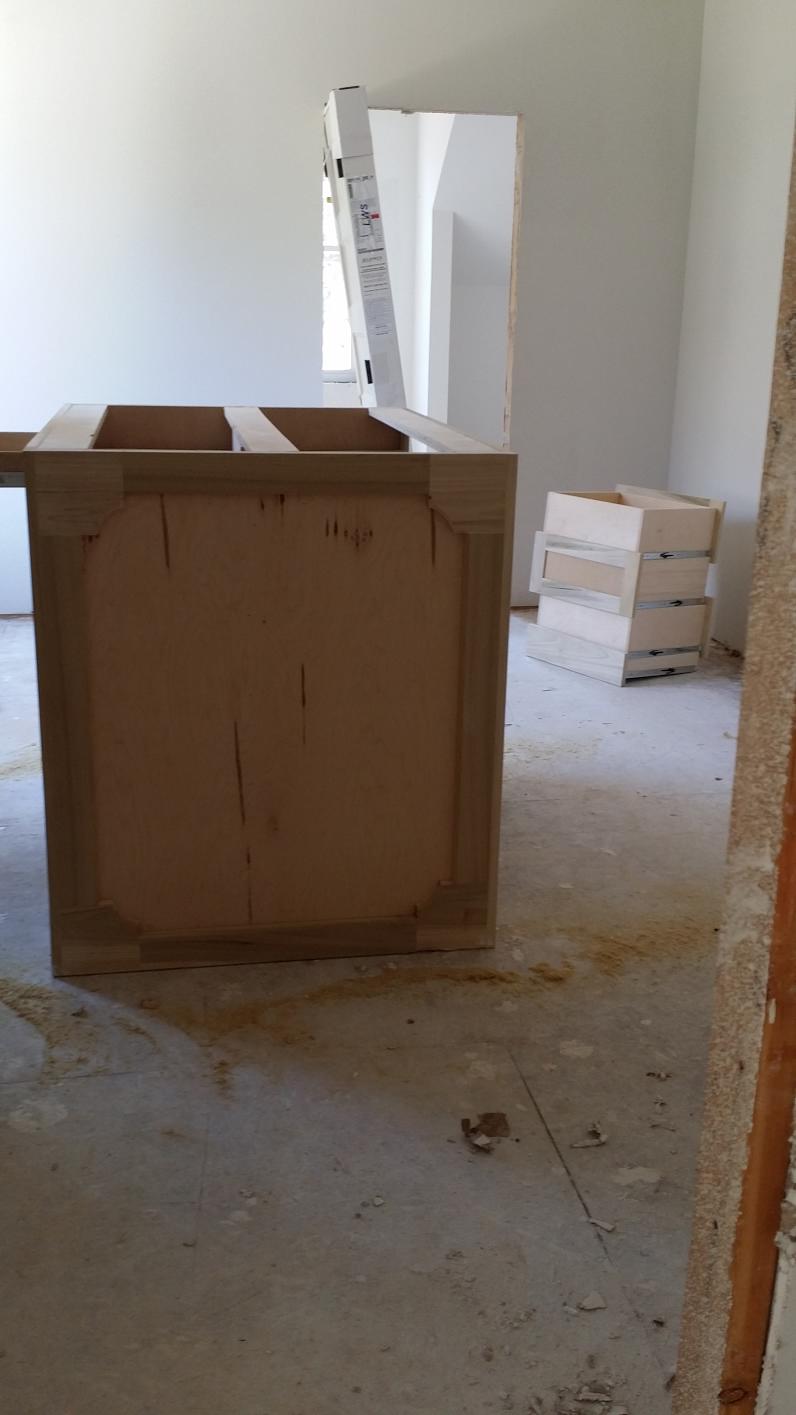
This view is from the dining room (which flows into the kitchen) back toward the kitchen. And that island is, by far, the most exciting piece of cabinetry we’ve gotten yet. I wanted it to look like a piece of furniture in its own right, so I designed those decorative panels. And it came out even better than I’d hoped. (It’s hard to tell, but the edges are routed, giving it even more detail and depth). 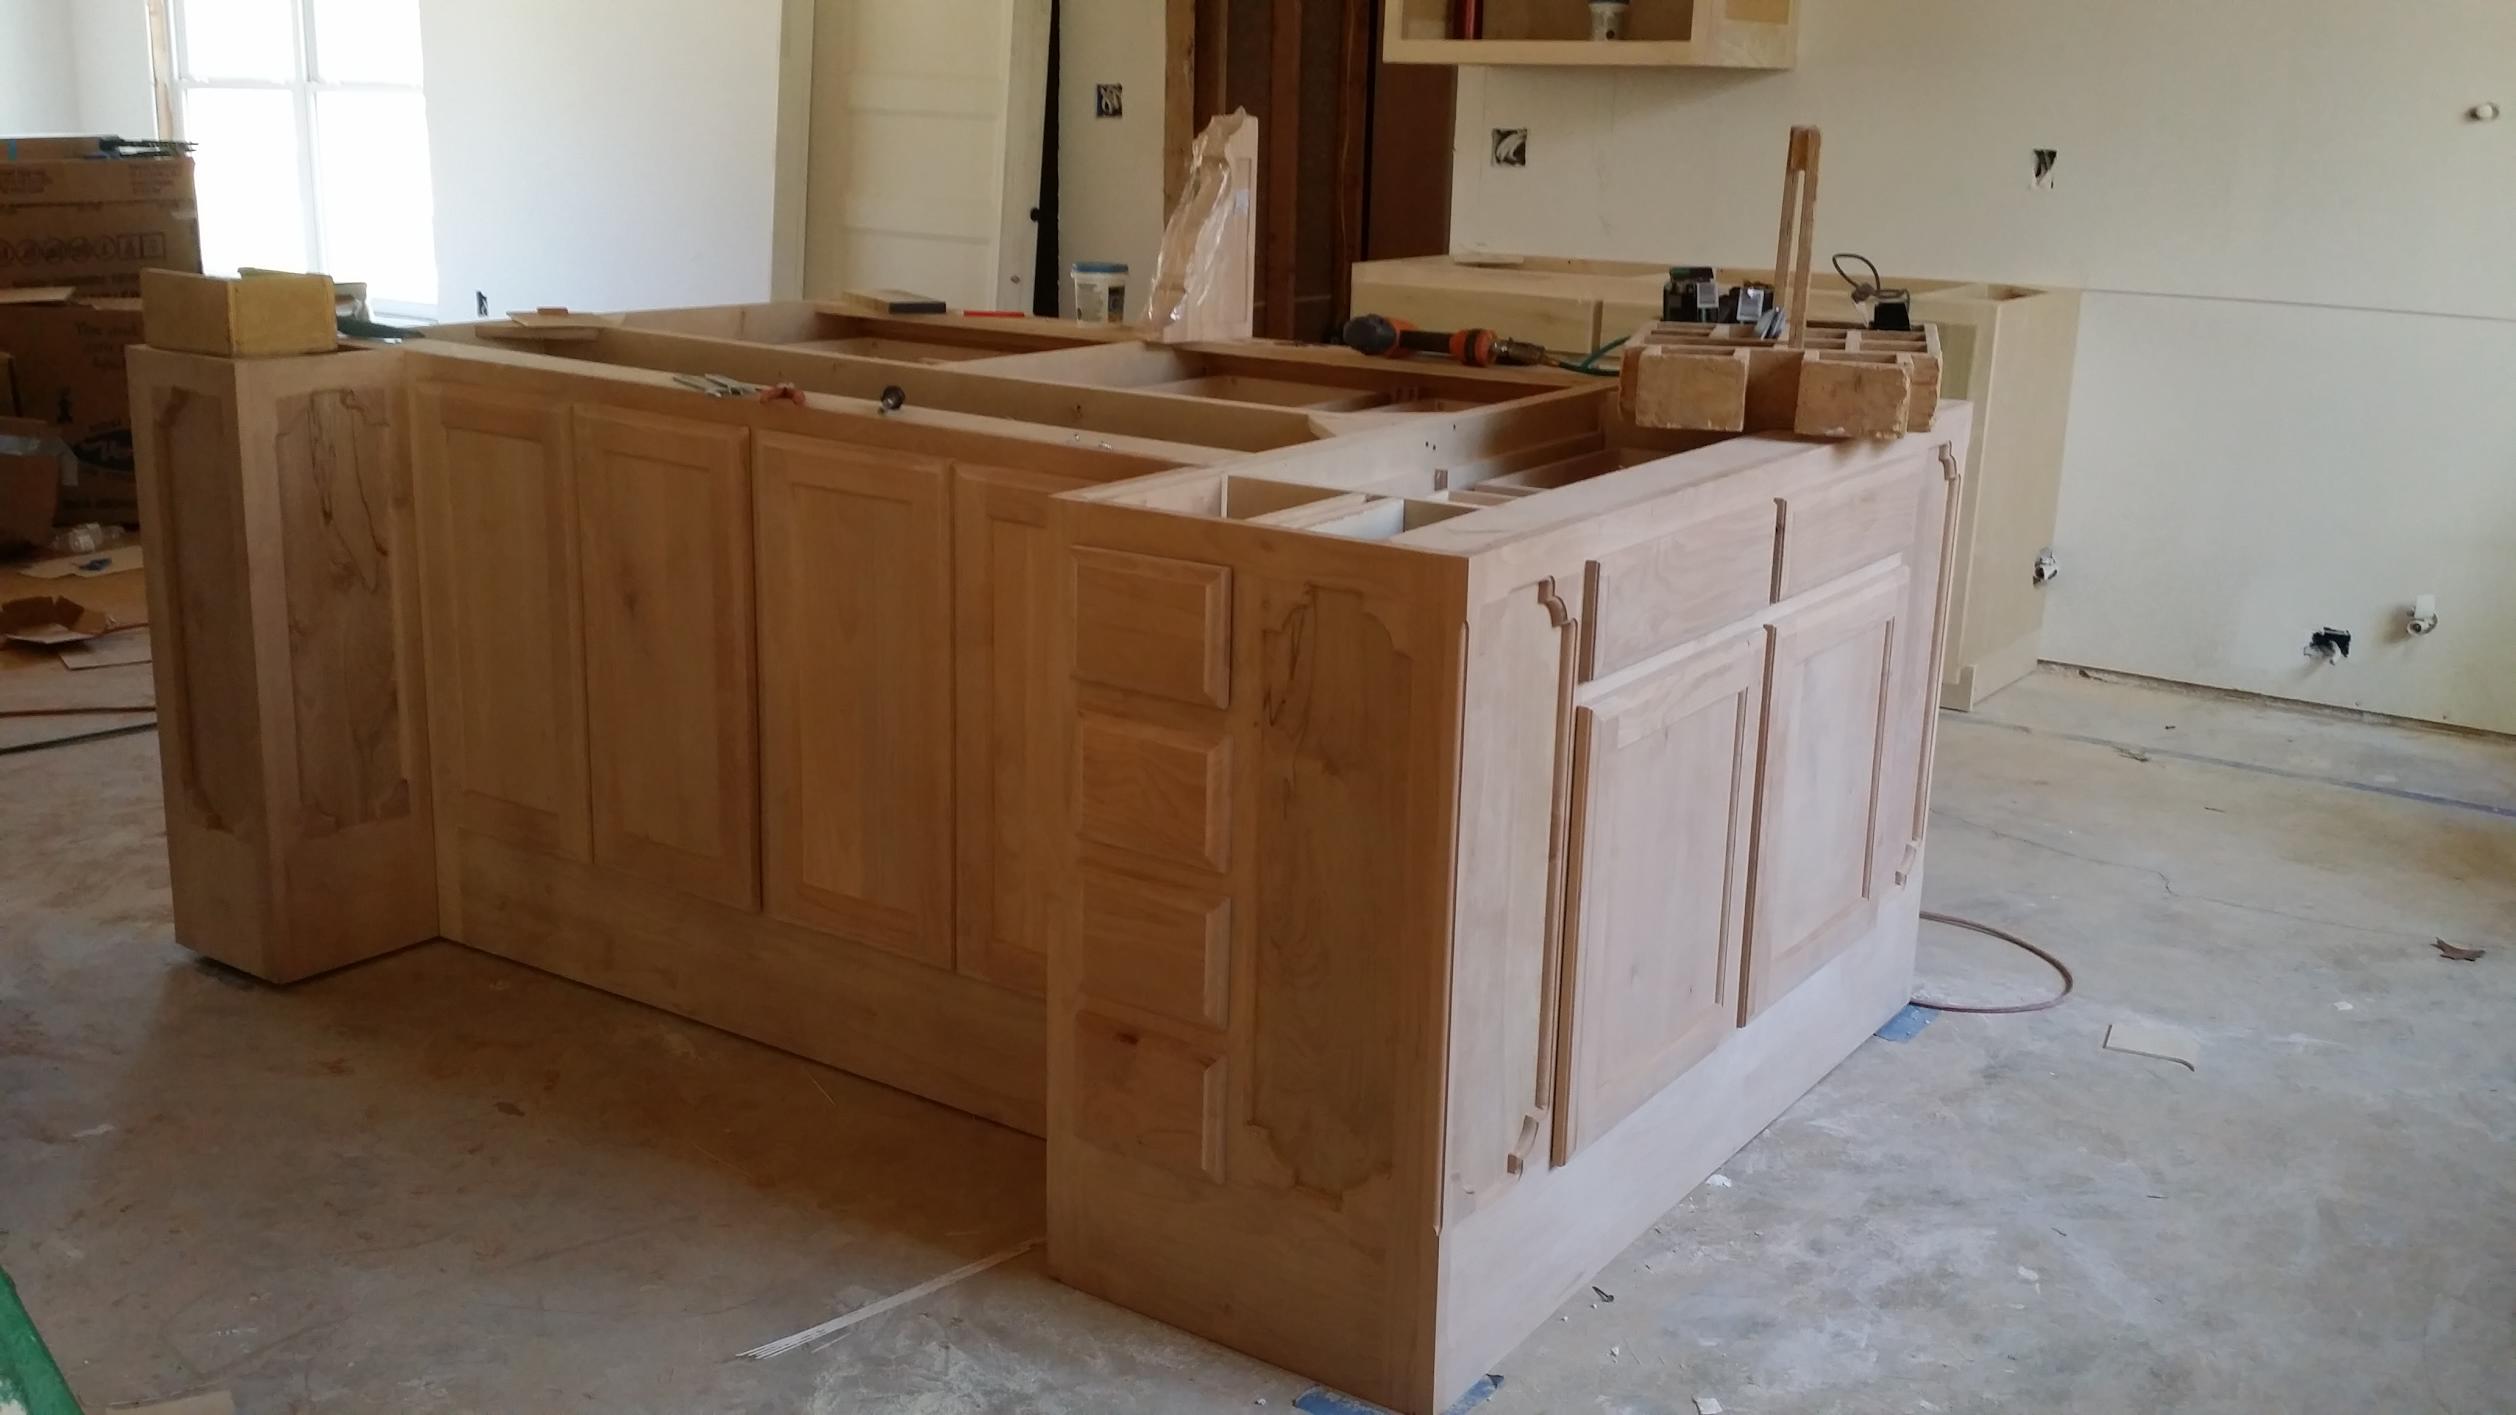
Another view of the island. It’s recessed there in the center to allow for stools and a counter overhang, and those drawers on the end (to the right) are two built-in trash cans (WITH built-in trash bag holders behind them! Oh, the things that make you happy when you’re an adult).
The door that you can see open behind the island leads to the mudroom, which just might be my favorite room in the house besides the kitchen.
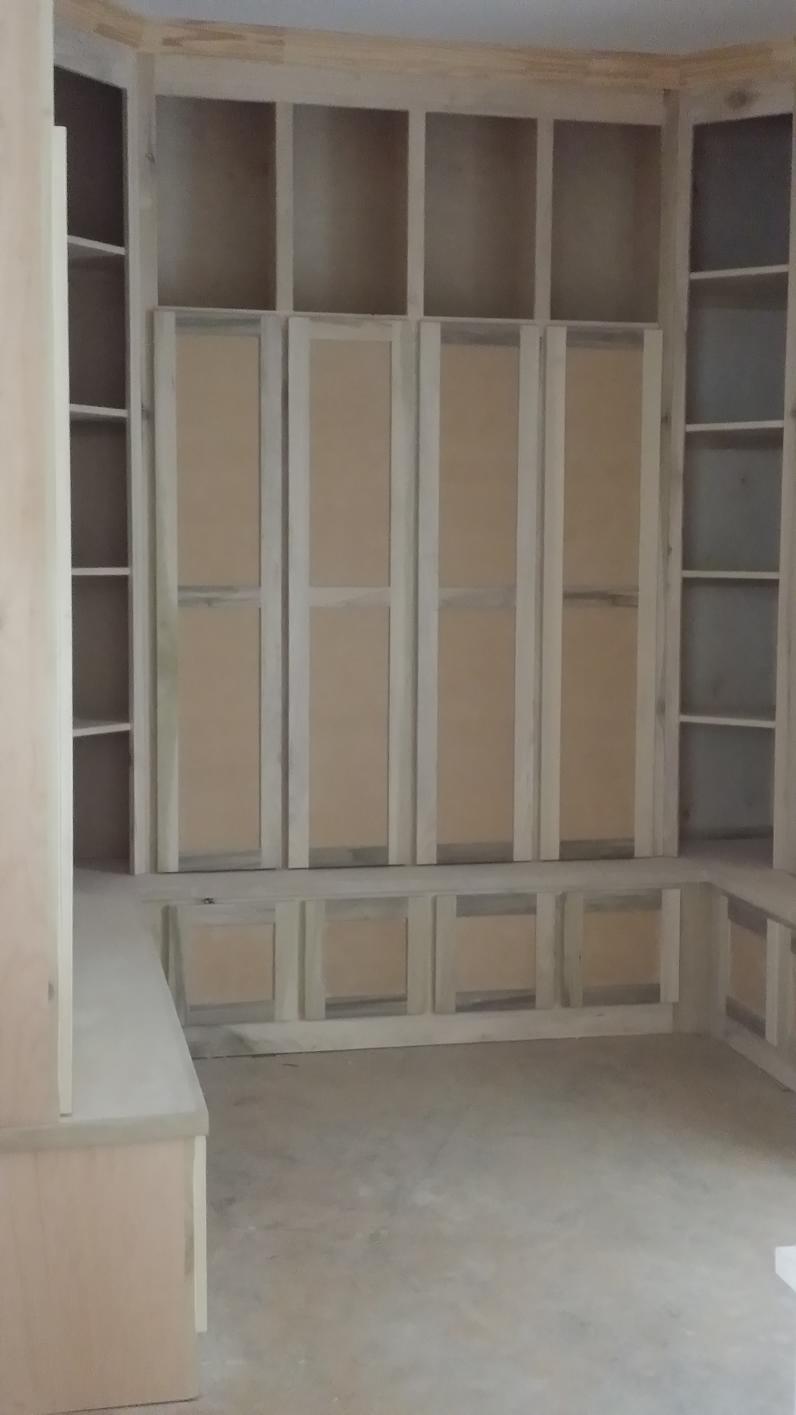
That view is so purdy, my friends, that just want to kiss the screen. Call us optimistic (or crazy…or over-planners…whatever), but there are 11 (!!) wooden lockers in there, complete with bottoms drawers for shoes and overhead storage for off-season items like hats, gloves, floaties, goggles, etc.
We don’t have anything like this in our current house, and I can’t tell you how excited this organizationally-challenged girl is to have a room that can hold all the things. No more backpacks hanging on the stairs. No more constant struggle to find the best place for coats and shoes. Happy, happy day!
The main downstairs bath is a fun one. There will be black/white floral wallpaper on the wall you see there. The cabinets will be a moody teal with brass hardware. And we’re going with stained wood for the countertop (we’ll just seal it with Waterlox). 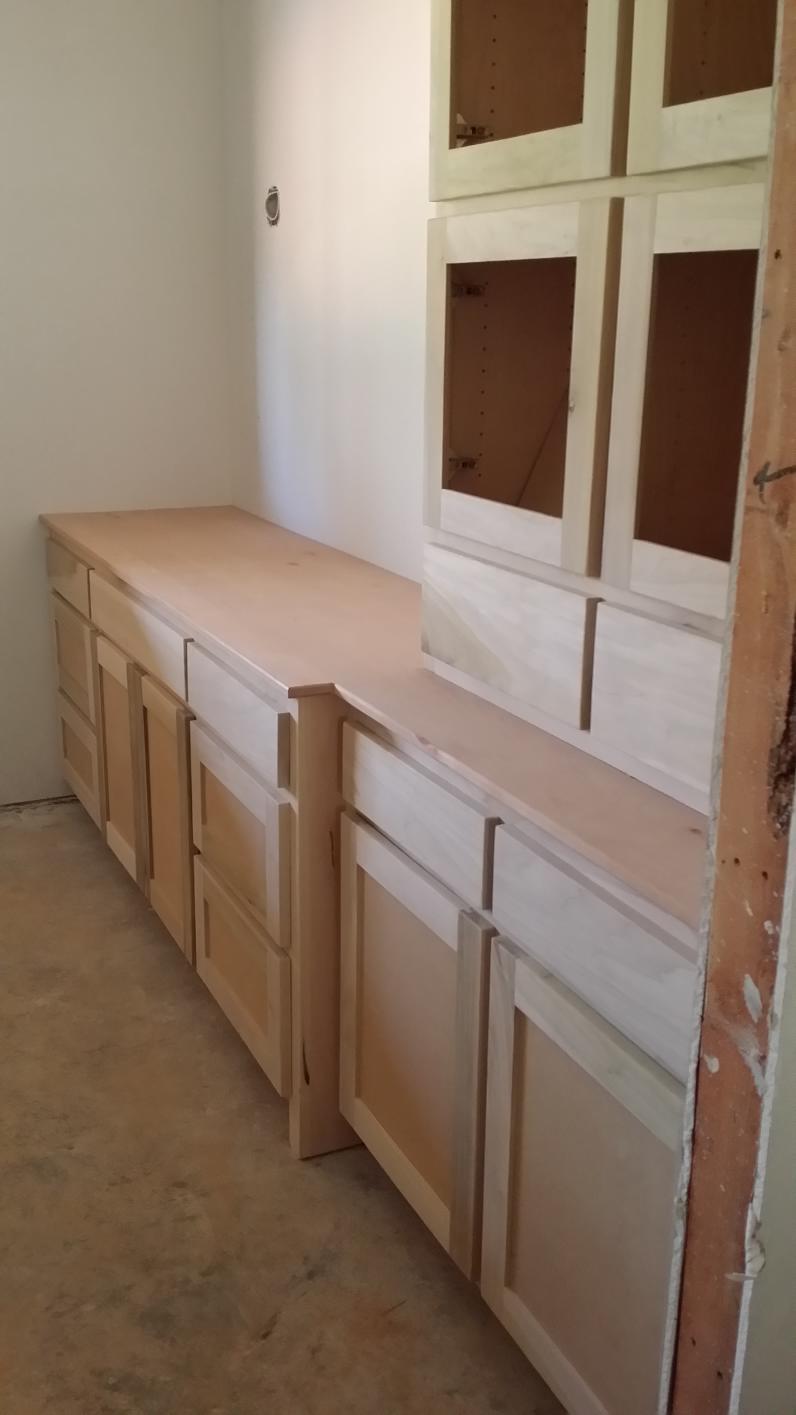
Same room, from the entry angle. 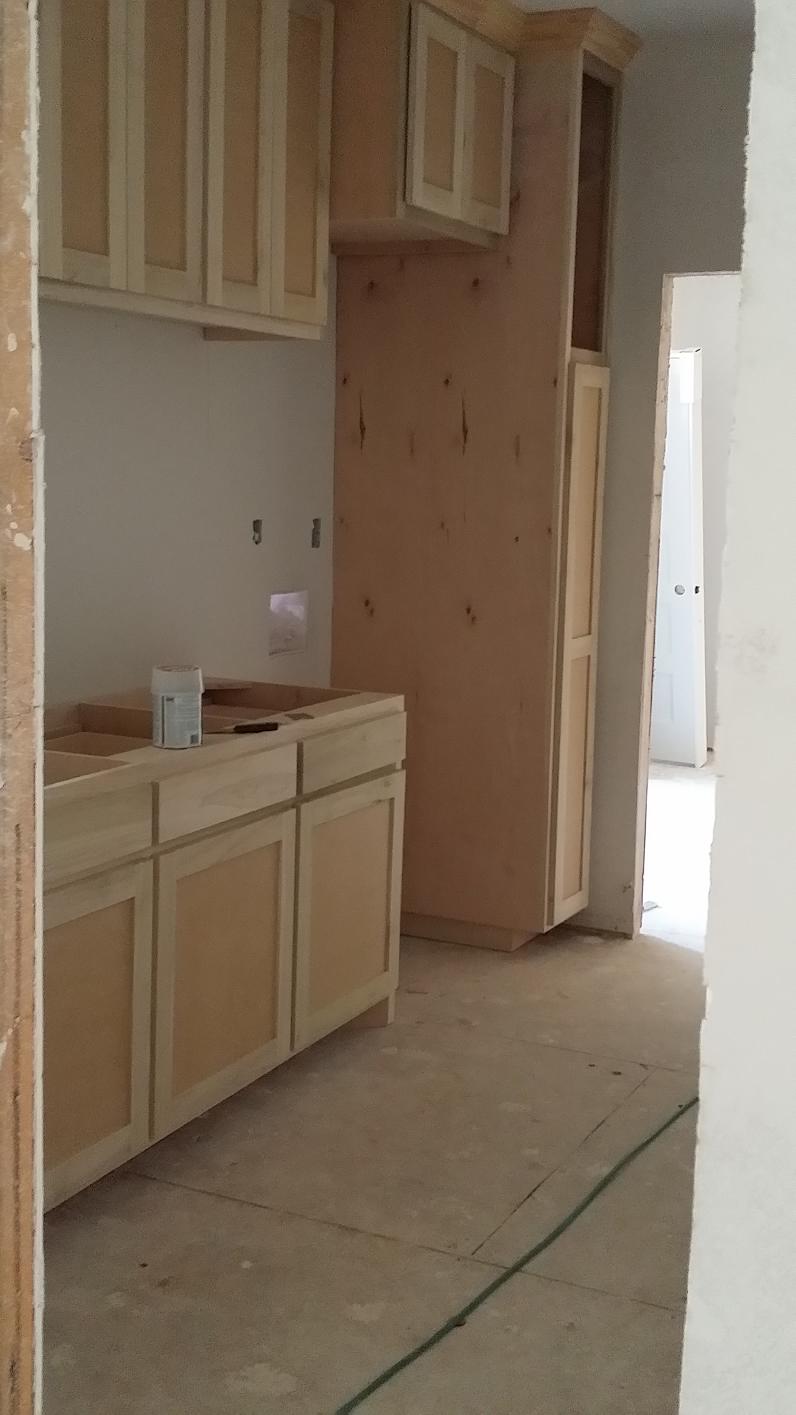
A close runner-up for all the heart eyes in the land is the family laundry. This is the view from the door (and also gives you a glimpse into the master bath beyond). The gap beside the tall, skinny cabinet is for the stacked washer and dryer, and the skinny cabinet itself is for all of my detergents and washing paraphernalia. The two large lower cabinet “doors” immediately to the left of the washer opening are actually pull-out drawers, which will hold laundry baskets. Thank goodness for Pinterest and the endless supply of cool organizational ideas!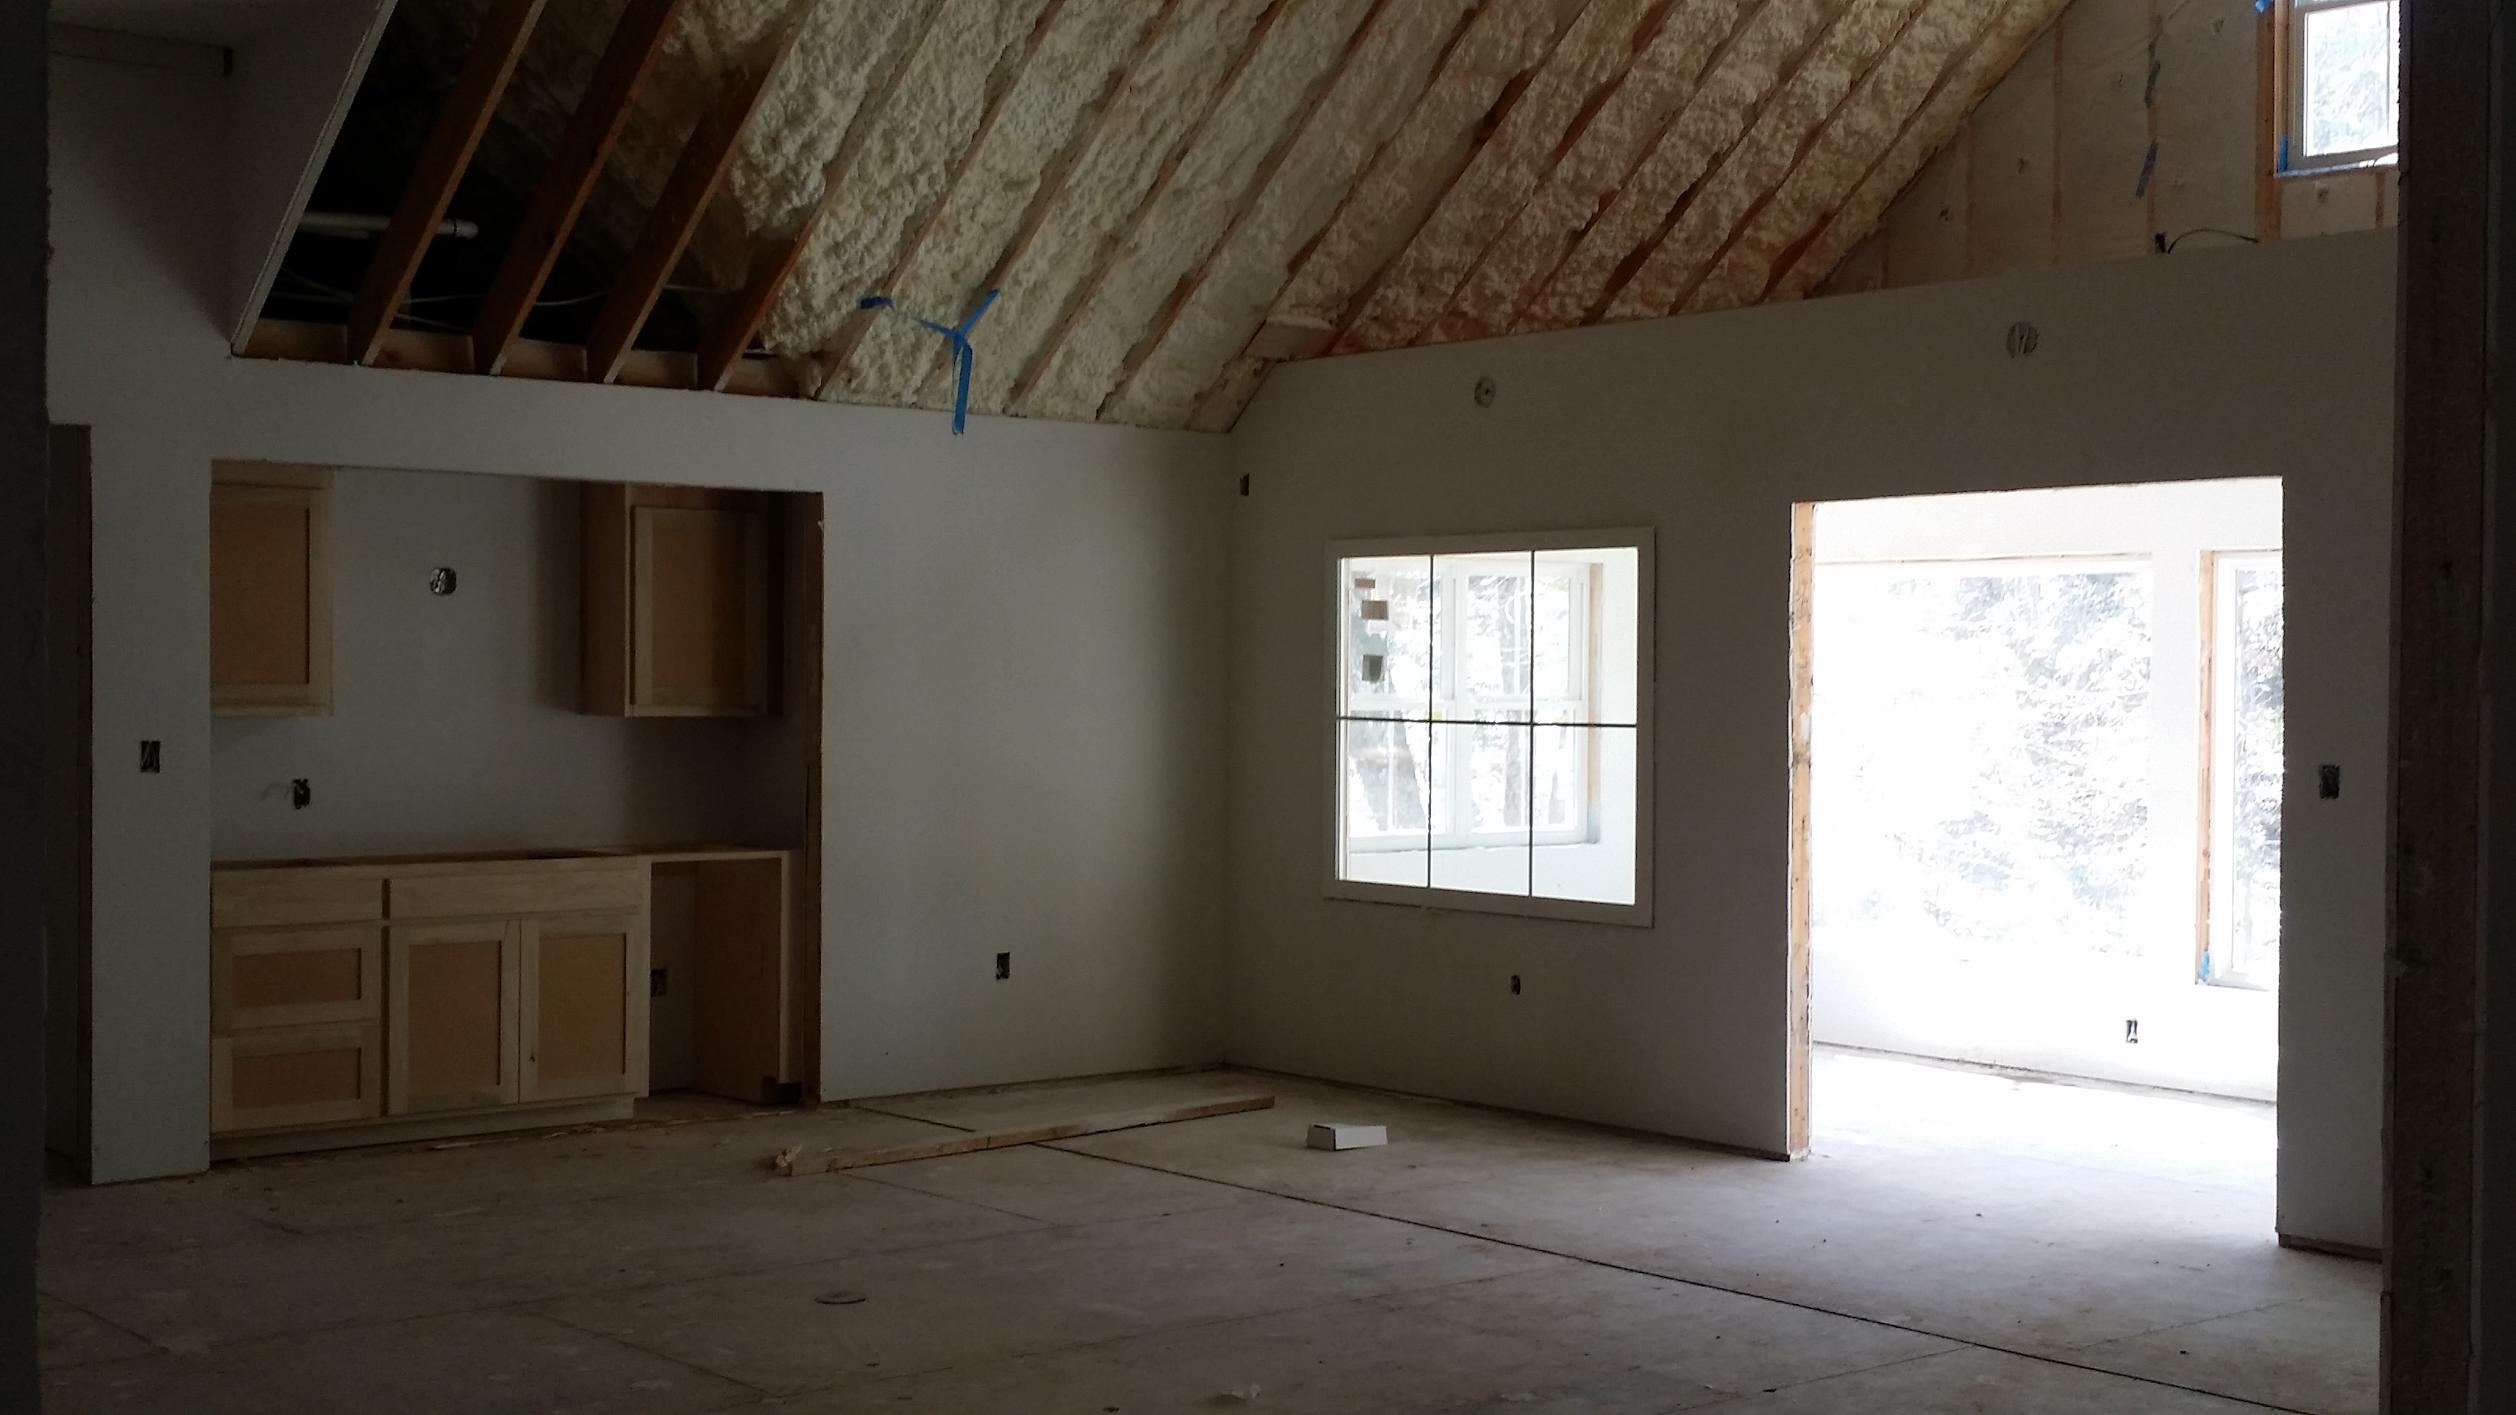
This is the “big room.” We have one of these in our current house, with a DIY big screen and built-in cabinets. This time, we skipped the built-ins in favor of a little kitchenette for when we have guests come to stay or are hosting an event upstairs and want to make popcorn or keep drinks cold (I found the cutest little retro-styled mini-fridge in mint online at Walmart, and it will slide right into that gap on the bottom right). The kitchenette was Shaun’s idea, as was the suggestion to not close off the space above the sunroom (to the right…also Shaun’s idea, come to the think of it) and instead leave it open as a loft. I can only imagine how much fun my kids will have as teenagers having slumber parties in the loft, but we’re also hoping that it can serve as a sleeping area for guests if necessary. We definitely intend this to be a house of hospitality, and I’m excited about the prospect of housing exchange students or missionaries who are passing through or just somebody down-on-her-luck who needs a place to stay. 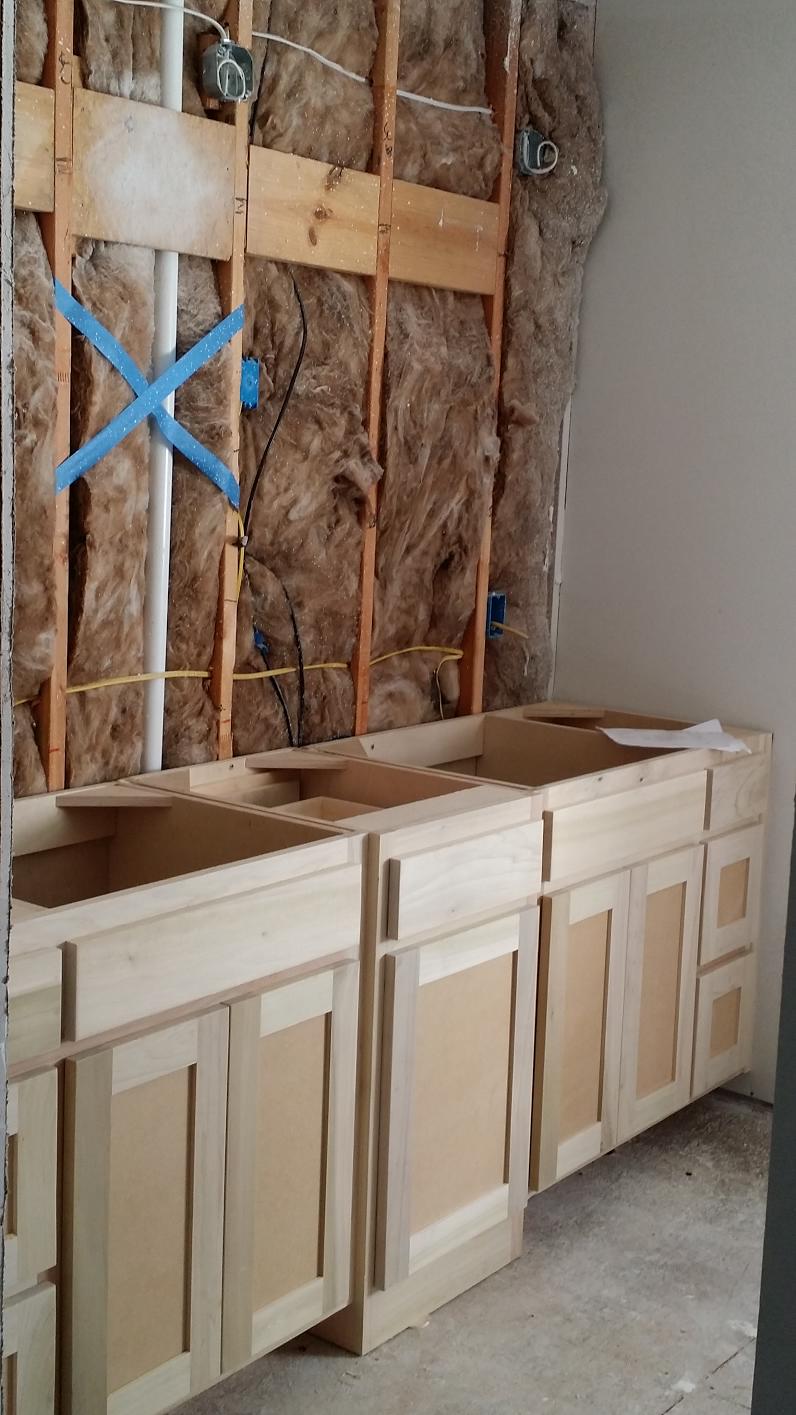
This is a view of the boys’ built-in vanity. The girls’ is a mirror image on the other side of the big room. We went with built-in vanities in the bathrooms a) because they look nice and avoid the awkward gaps on either side of a non-custom-sized vanity (how “mom” am I that I care less about the look and more about the fact that those gaps are hard to sweep) and b) they’re actually cheaper a la carte (sink, faucets, countertops, etc. separately) than buying most all-inclusive units would be…but only because we’re not going with fancy countertop materials like quartz or marble. Instead, the bathroom vanity tops will either be wood or laminate. And I am A-okay with that. I will gladly forgo fancy for function (and saving money) every single time. 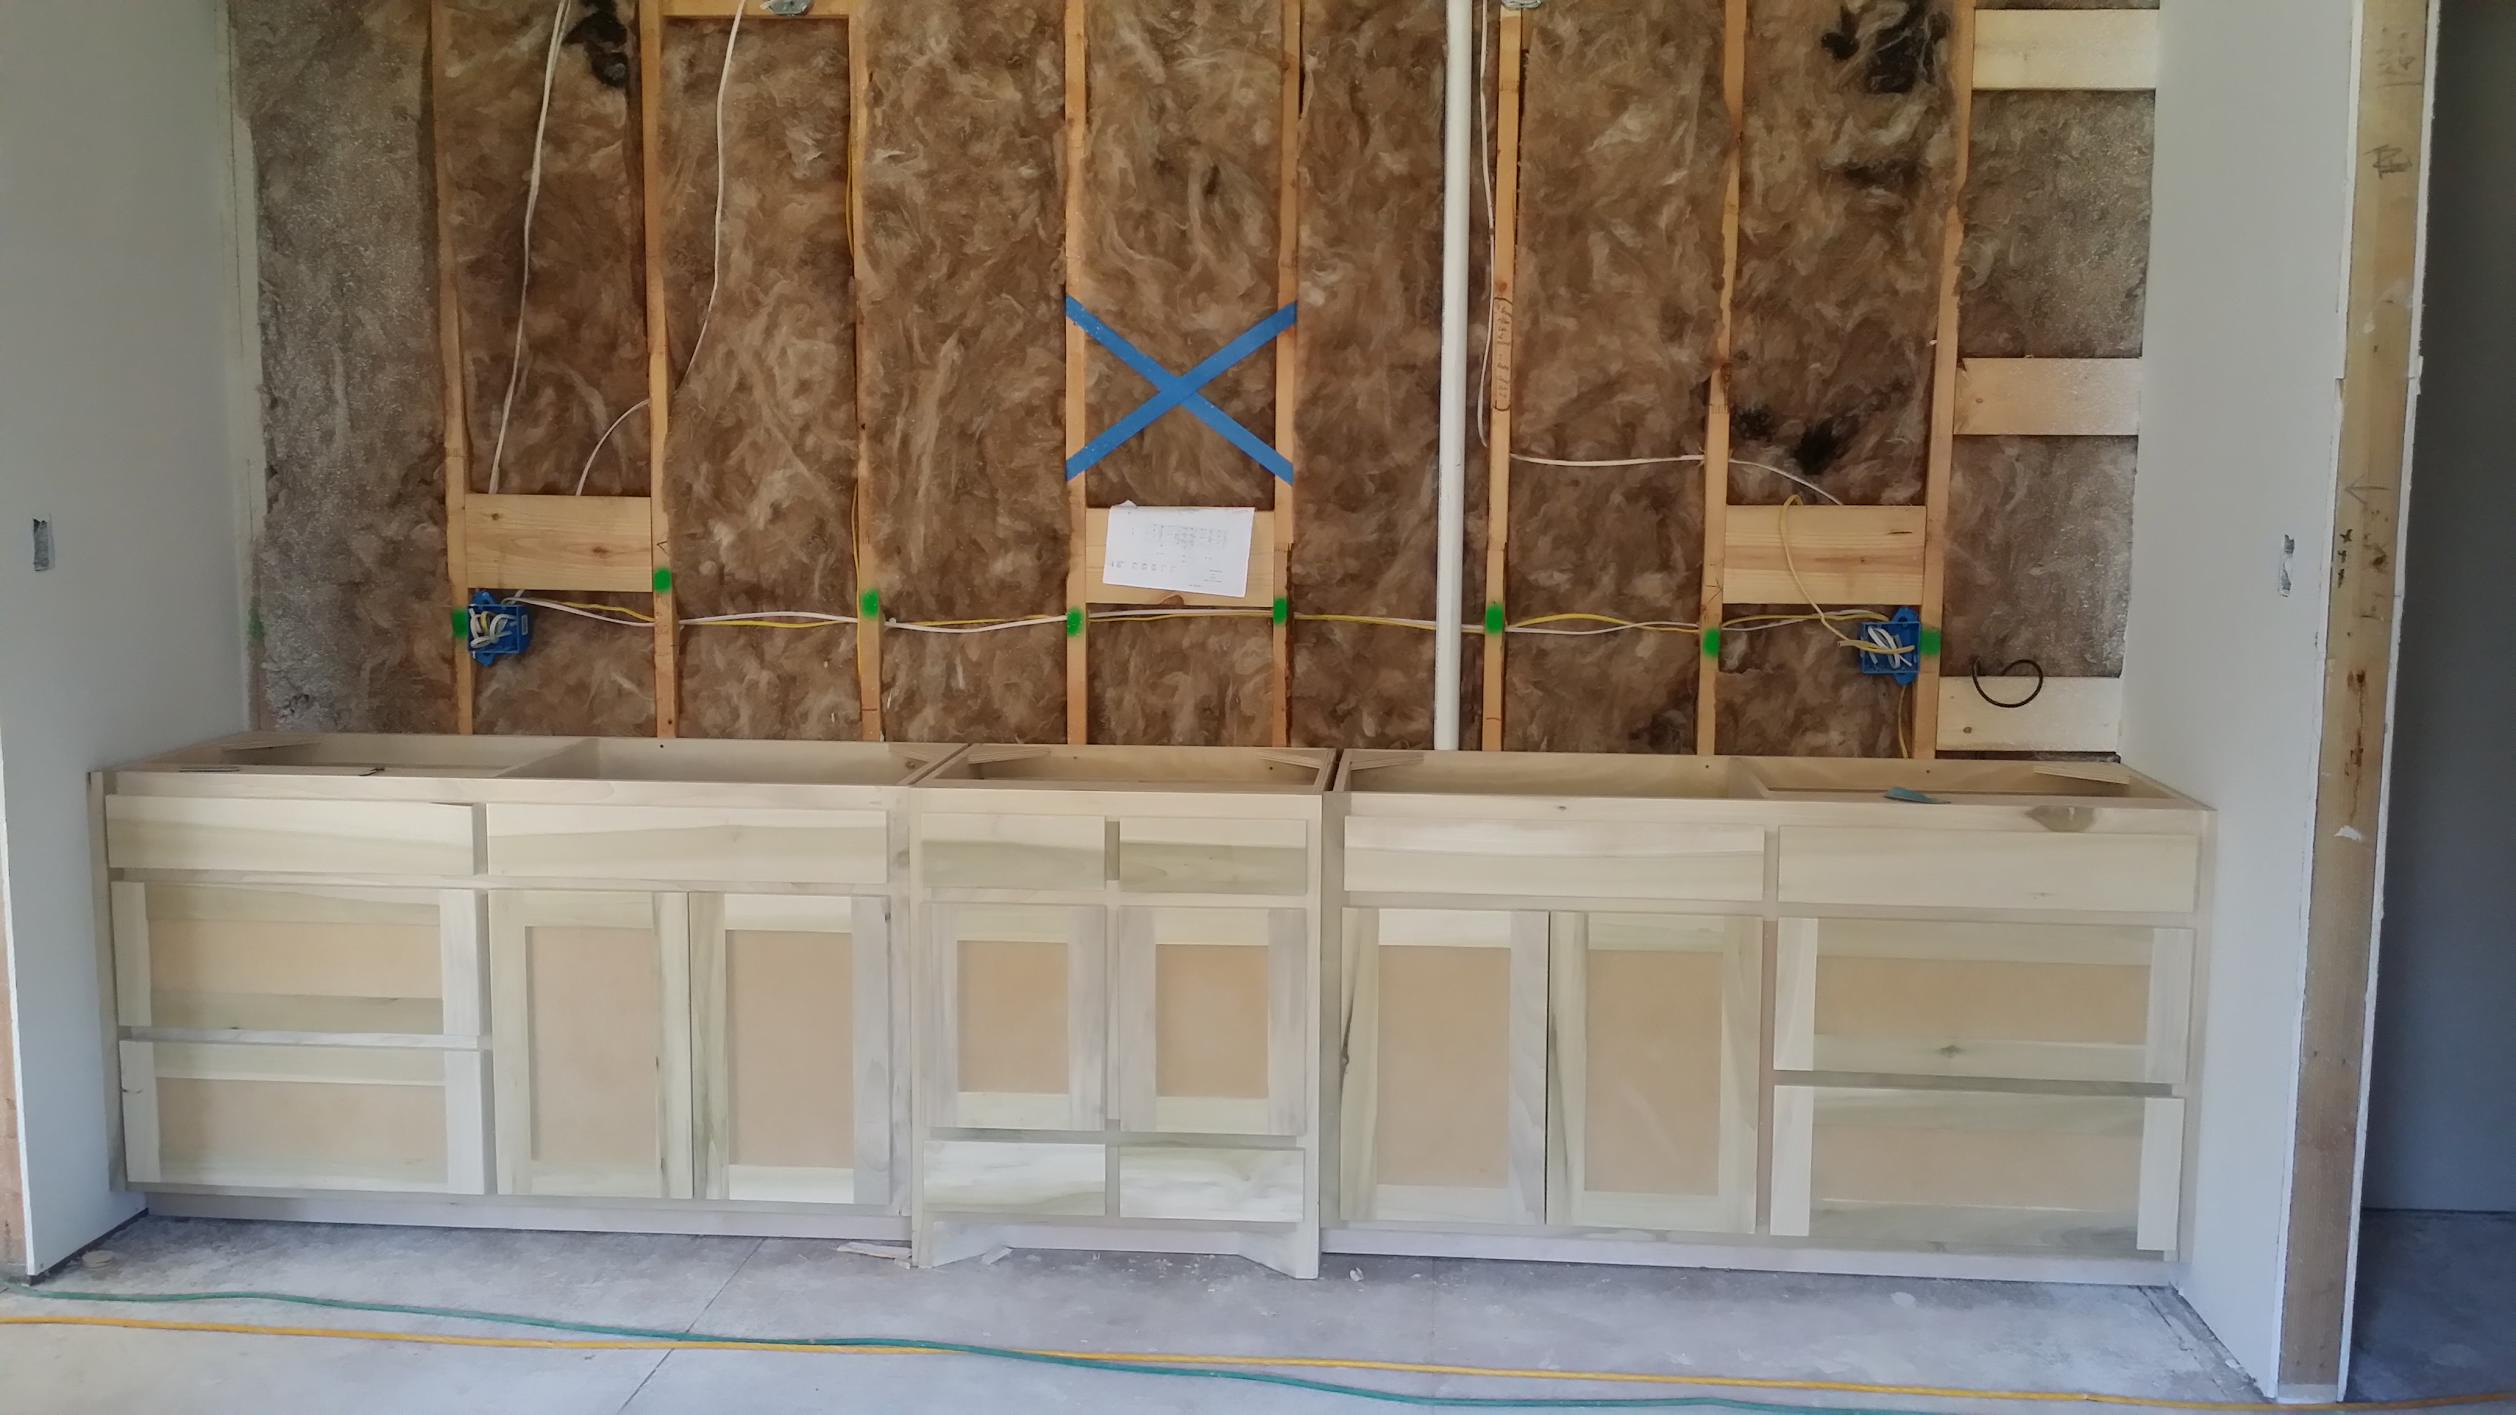
This is the master bathroom vanity, which will have a shiplap accent wall and his/her sinks and mirrors, etc.
If you go out that door you can barely see the beginning of to the left, you’ll be in the master bedroom…
…which has big, vaulted ceilings that will be planked…eventually. (My husband is not a fan of my love for planking, but he told me he would do it…if he could take his sweet time :)).
The master closet is to the left of the master bedroom and houses this beast of a “lingerie chest,” which is actually divided equally down the center to have drawers on both sides for my and Shaun’s socks and undies respectively. Again, I was super pleased to have a custom piece that was actually cheaper than a lot of the dressers (even on craigslist and Facebook) that I had looked at.
Aaaaand…there you have it. Phew! That was a lot of cabinets!
We tried as hard as we could to make things both pretty and practical. And, so far, it feels like we’ve succeeded. I’m sure I’ll find things I could have designed better, but with this much drawer space to work with, I’m not too worried about.
Yay for cabinets! Yay for progress! Boo for decluttering closets and getting this house ready to sell! But it must be done if I want to enjoy those cabinets.
So, off I go!

Wow congrats, can’t wait to see it completed.
I heart your kitchen sink.
I love everything about this post! I love looking at houses and floor plans, so in my opinion, write all about those garage doors and sheetrock. 🙂 I can’t wait to see the finished product, especially the teal cabinets with brass hardware in the black and white wallpapers bathroom. Great work! 🙂
Im “lol-ing’ a little each time I get to the bottom and read how much you love comments and seeing little Honor with a quizzical look on his face! 🙂 🙂 ps the house looks gorgeous. Wire up the post and top with an ornate metal open sphere/globe for a lovely bespoke light or use outside for birdbath stand. In school room with one of those interactive light up world globes on it. Depending on the height.
You could find a circular piece of glass and use that and that post you found for a really cool end table. I think if the post was cleaned up and possibly stained, that would be gorgeous!!!
Wow! Everything is FABULOUS!!! You guys have gotten a TON done!
Looks like it will be a beautiful home! I LOVE seeing house posts and pictures, especially how other large families organize and keep things running. We are all moved in in ours at this point. I’m still pecking away at the small stuff, trim caulking, nail hole filling, etc. Congrats on the cabinets, I know that is a BIG step in the journey!
Abbie, what is you used the awesome post on the other side of you stairs. There is a short run there. If you found or made some fun metal/copper piece to attach to wall and post it could act as both a railing and decorative screen.
Abbie, this is amazing! The newel post is SO GREAT! I feel like garden centers would be a good place to find something unique to top it with. Like a copper/brass/aged metal sphere. You mentioned a globe collection, a metal globe? As a Mom of “just” 3 boys, I have to say our mudroom was by far the best addition to our home (I’m ranking that above a playroom!). It saved my sanity without a doubt 😉
Wouldn’t that be beautiful? I love that idea.
I can’t decide if the kitchenette or mudroom are the best idea, but I’ll go with all of it being beautiful!