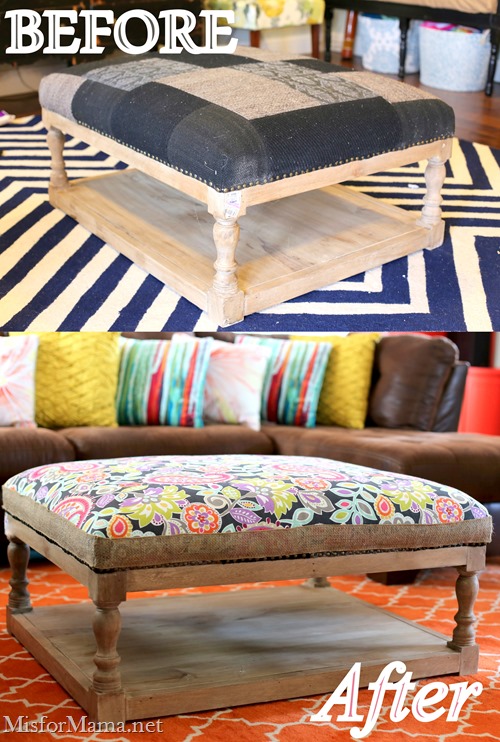
See that ottomon? That’s the latest addition to my ottoman obsession family. Her name is Maribel, and I love her.
Of course, I don’t suppose you’re too surprised to see yet another upholstered ottoman at our house. My DIY tufted ottoman remains the most popular post on my blog and the biggest traffic booster from Pinterest (so crazy to think that I wrote that post in my first month of blogging).
And who can forget said DIY tufted ottoman, Emmeline’s, disgruntled guest post about Frenchie, the French yellow linen interloper? (Things are getting crowded—and catty—in the decor department up in here; women).
My love of of all things ottomans + padding is both aesthetic (I love how they look) and practical (I love that my babies can walk around them without fear of gashing their foreheads open on sharp wooden or metal corners).
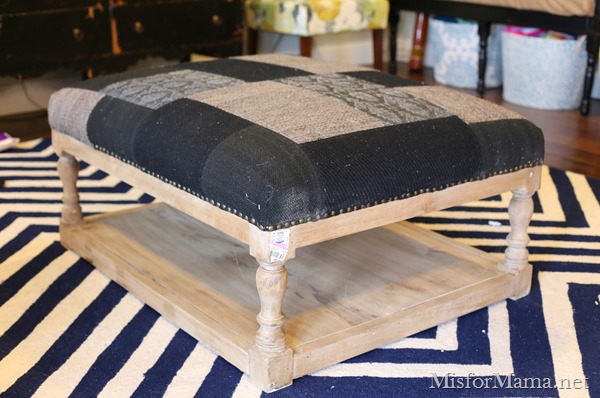
Which is why I was so excited when I spotted this boss of an upholstered ottoman at Ross.
(What do you mean I need to vacuum?)
It’s big (approximately 34” X 42”), has nice cushy upholstery, and the bottom is made of real wood with a handy place to stash a basket (or three) full of books or art supplies or, as will undoubtedly happen since its destination is “the big room,” home to all things toy-related, a myriad of action figures, dinosaurs, and baby dolls).
It was on super-clearance for $105 (Ross’s original price was $300), which is not a small amount of money, but is still an amazing price for a piece of furniture this big and well-made.
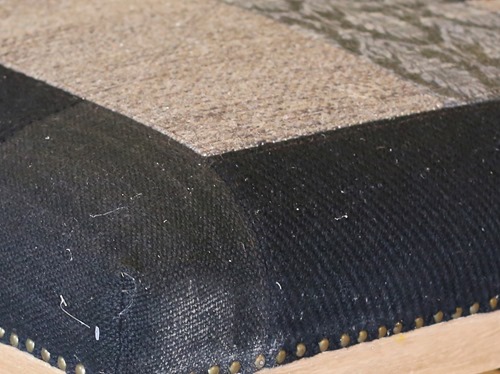
The only thing I didn’t love was the unappealing black/gray/brown patchwork of scratchy fabric.
(Can you tell it sat in my garage for a while? Hello, cobwebs!)
But I figured that was an easy fix, so I wrestled it into the back of my van to take home for a little TLC.
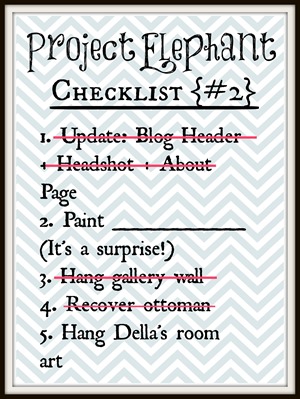
It’s been so long since I’ve done a Project Elephant update that you may have forgotten that “recover ottoman” was on the list. But there it is, in all its crossed out glory (my favorite kind of list!)
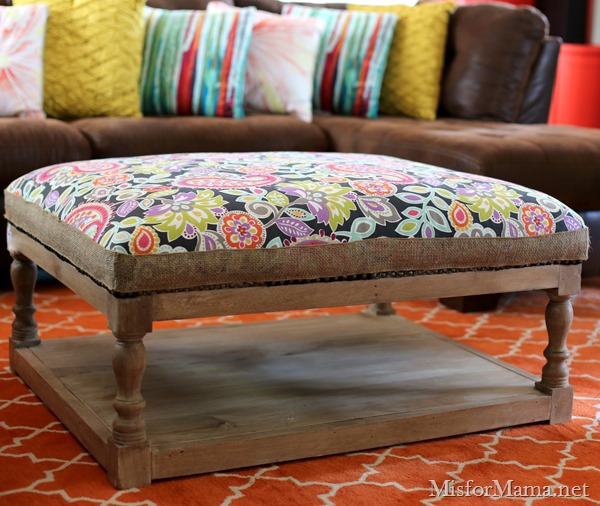
Because our big room is colorful and fun and relaxed, I knew I wanted to choose a fabric that reflected that mood, so I headed to Hobby Lobby armed with a 40% off coupon and came home with this bright paisley print.
It had all the colors I wanted, and with the coupon, came to only about $5.40/yard (I only needed about a yard and 1/4 to do the job), which is a price that can’t be beat for mid-weight upholstery fabric.
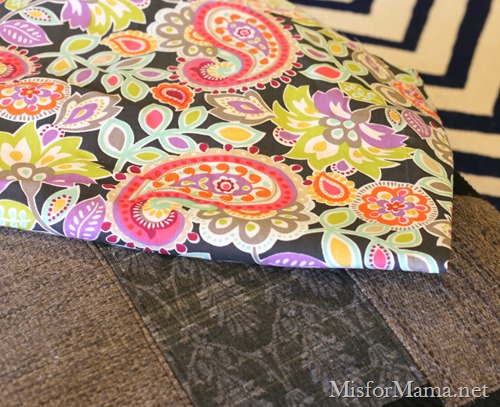
Once all was said and done, I had this:
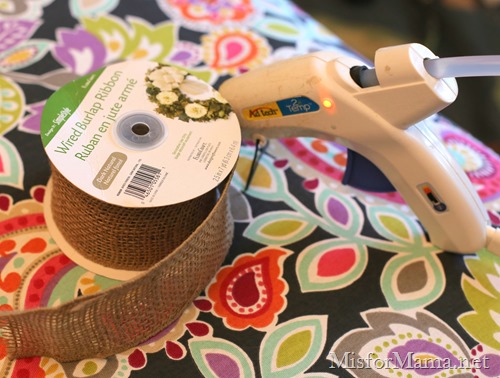
This is such an easy project, with a minimum of supplies needed. In fact, if you want to give it a try my way, all you’ll need is:
- An ottoman with the cushion still in decent shape
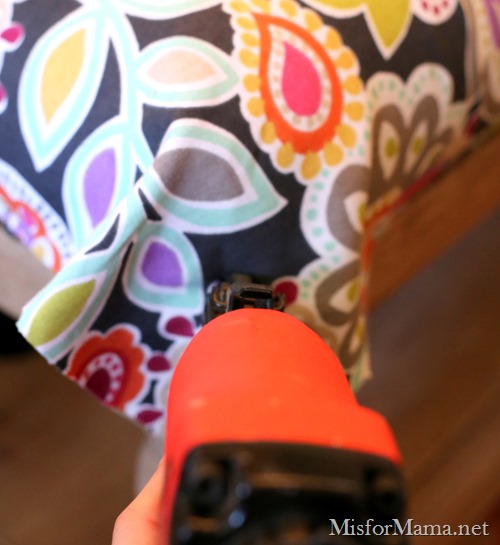
- A staple gun (I borrowed mine from my husband’s tool stash, and it means business; it’s powered by a pneumatic pump. Also, I use 1/2”-3/4” staples, but depending on your fabric/wood, you could get away with using something with less oomph/length).
- Hot glue gun
- Burlap (or other) ribbon to hide the staples
Here what’s I did:
::STEP 1::
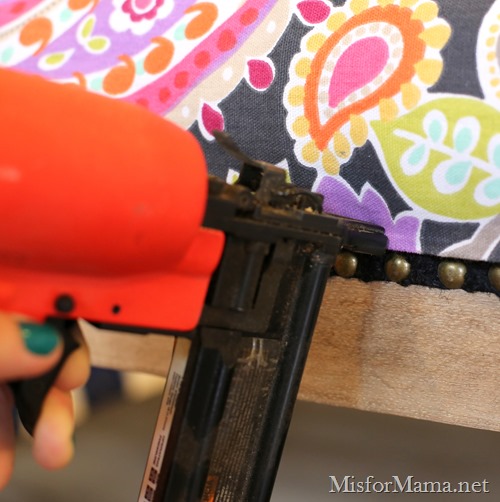
Since I didn’t want to cover up the nail head trim on this particular ottoman, I simply brought the selvage (factory finished) edge of my fabric down to the wood right above the trim and then began stapling it to the wooden piece beneath the fabric, like so.
It’s important that you staple your fabric to something other than batting or cushion, since, if the staples don’t have anything to sink their teeth into, they’ll just slide right out.
I continued around all 4 edges of the ottoman, making sure to pull the fabric taut and smooth over the existing fabric so there were no bubbles or wrinkles (it’s a good idea to iron the fabric you’re using to recover your ottoman beforehand). This is the part that took the longest since I was taking my time, but the project still only took me a grand total of 2-3 hours (hard for me to tell for sure since I kept getting interrupted by my adorable—and constantly hungry—children and had to come back to it over the course of several days).
IMPORTANT. Don’t staple your corners yet. Simply staple up to within 3 inches of the corners on each side, and then leave them alone for now.
::STEP 2::
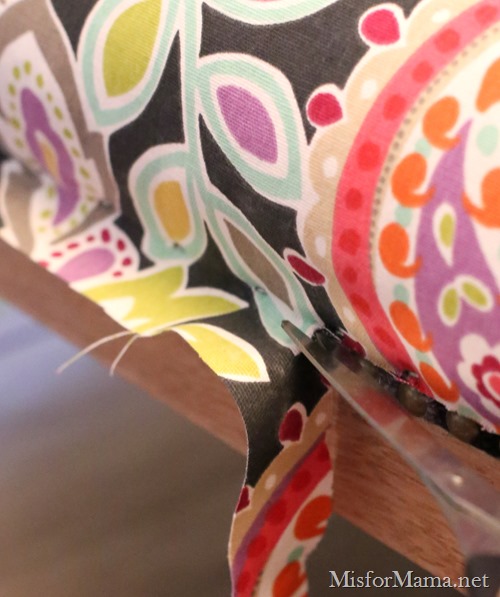
After I had stapled the fabric just above the nail head trim on all the way around, I trimmed off any excess.
::STEP 3::
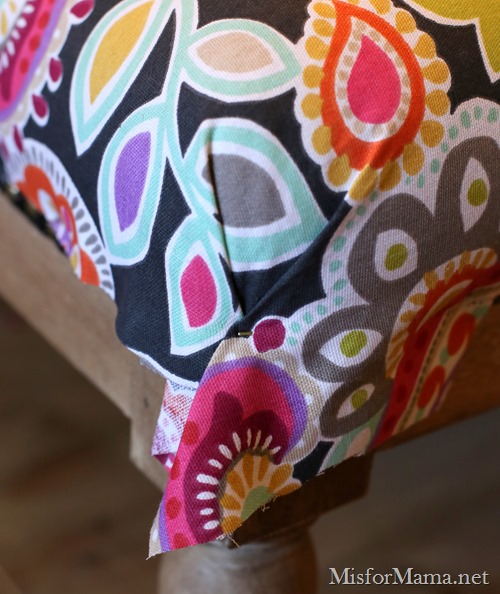
Then, I started on my corners. You can do these several different ways, but I chose to use a center-fold method that goes a little something like this:
Pull the fabric down toward the corner, leaving as close to equal “excess” on the right and the left for folding inward, and then secure the center of the fabric to the center of your ottoman’s corner.
Next, fold the loose fabric on either side of the center staples in toward the center and staple them in place, one fold at a time.
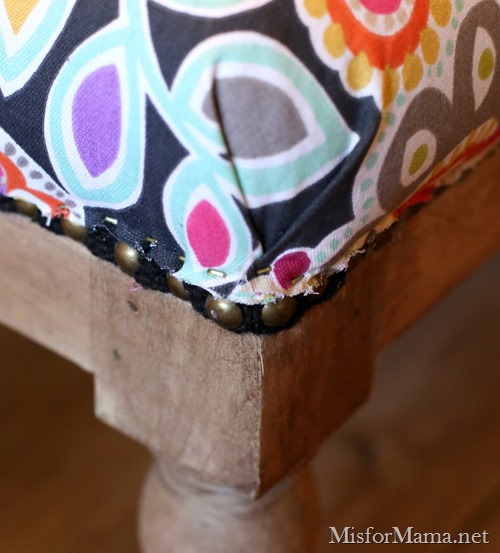
Finish stapling any loose edges up to the corner, and then trim your fabric edges evenly so that you have this:
(As you might be able to tell, I get a little staple happy when I get my hands on power tools; I’d rather staple the ever-living tar out it now, though, than have it come loose and have to redo it later).
::STEP 4::
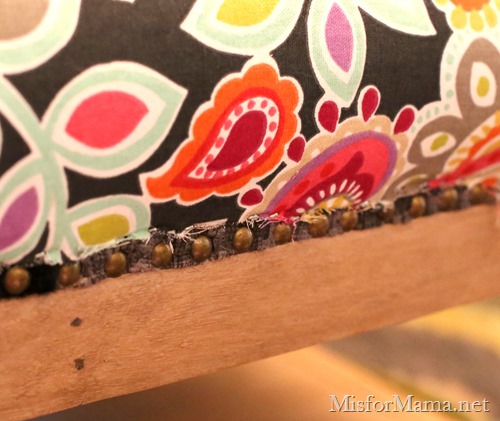
At this point, we have this all the way around the ottoman.
Not exactly gorgeous, right? But that’s okay. Because we have our friends, Burlap Ribbon, and Glenda, the hot glue gun (who met an untimely demise halfway through this project, thus delaying its completion even more than the ravenous children) to help us hide the unseemliness.
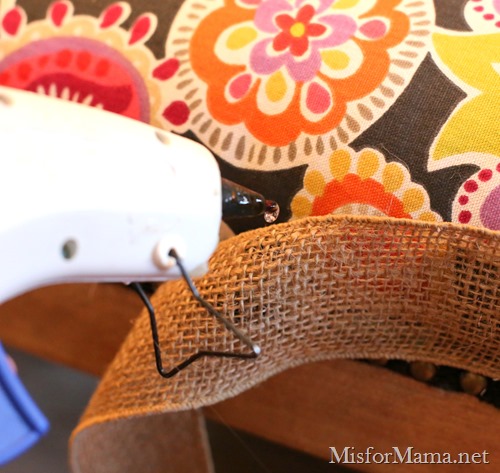
I simply hot glued my burlap directly to the ottoman fabric, taking care to keep it as straight as I could and the molten lava hot glue as far away from my fingers as I could.
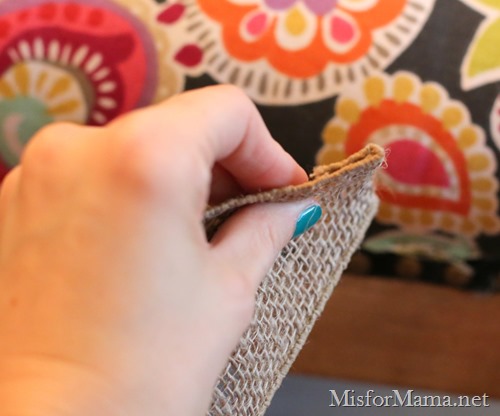
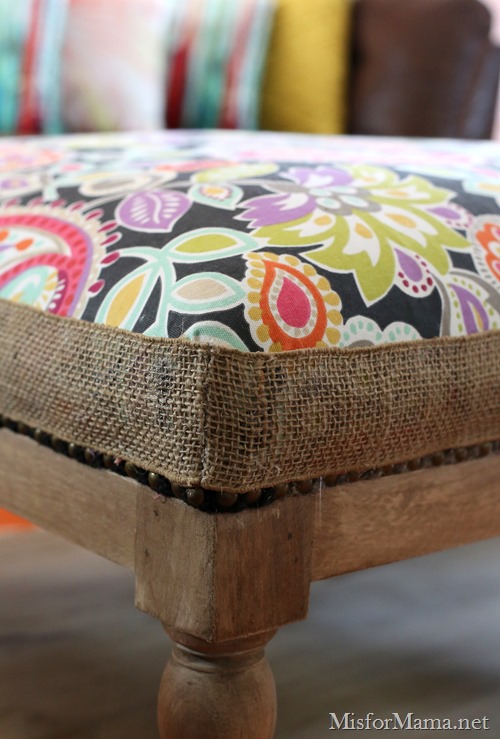
I used 4 strips of burlap (one for each length of the ottoman) and folded the ends down to make a clean finish on the corners.
It doesn’t have to, but my ribbon had wire edges, which helped with keeping it straight and with folding down the edges cleanly.
Here’s a shot of my folded down edges joined at the corners.
After a significant amount of hot gluing and a surprising lack of serious burns, I was done!
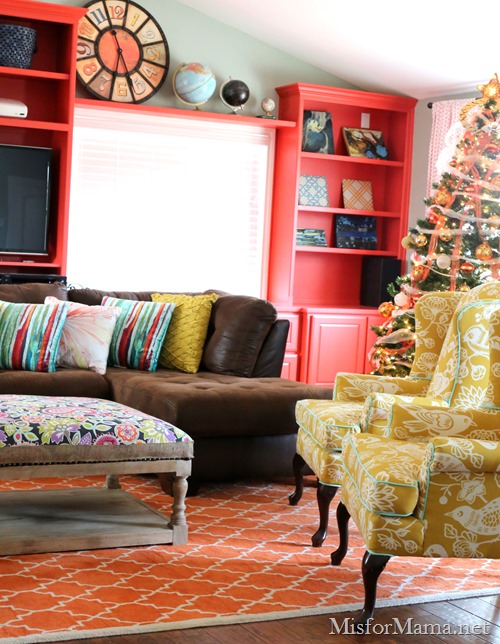
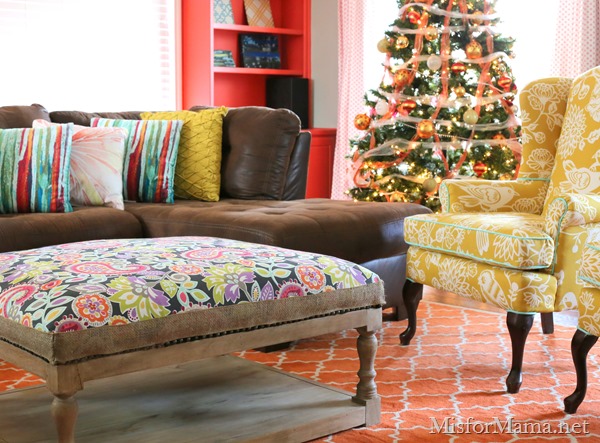
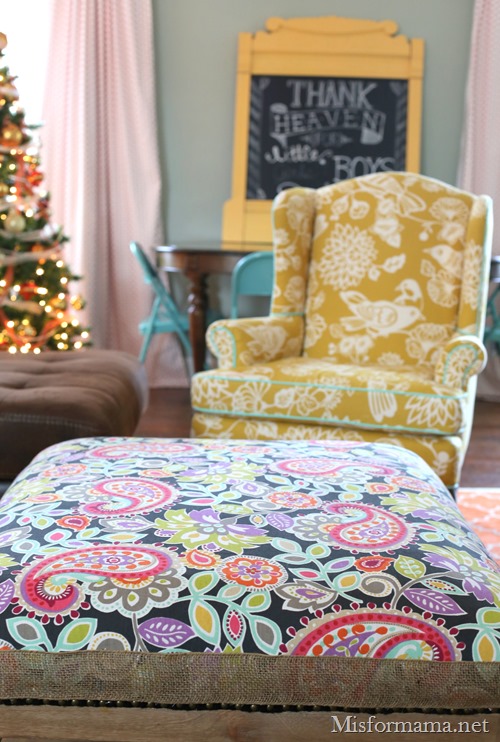
Hubby hauled it upstairs for me, and I had a little fun fiddling until I got at least a corner of the big room ready to show you guys. There are still some things that I want to do before I’ll do a complete reveal, but here’s a shot that gives you a pretty good idea of the colors and style:
Maybe you noticed a) that I already moved my fun reupholstered bird chairs upstairs and b) I did not already paint the legs…because I still haven’t decided which way to go with them (any thoughts now that you’ve seen them with the ottoman?).
I pretty much adore all the bright happy colors in this space.
It’s my kids’ favorite place to play and a great place to watch movies on our DIY big screen.
It’s also our school room most days (you can see our table in the background).
So, there you have it—a new (and then newly recovered) ottoman for about $110.
A couple of notes: if you have an ottoman to recover that doesn’t have nail head trim that you want to leave exposed, then you can, of course, carry your fabric all the way down to the edge of the wood before hiding it with the trim.
OR, if your ottoman has no wood trim, then you can simply tuck the fabric underneath the ottoman and staple it there, in which case you won’t need trim.
What do you think? Was it a good re-covery (har har)?
Please let me know if you have any questions for me about sources for anything or if I need to clarify anything that I did to the ottoman. I’m just so thrilled to knock another project off my #projectelephant list and get one more step closer to being DONE (yeah, right) with a room!
Remember that if you’re playing along with our Project Elephant game, you can always brag about your accomplishments in the comments (with pics, if you’d like) or post it on social media with the hash tag #projectelephant
I would totally do a dipped look on the legs using a green or version of the piping color. Love all of the color! I am color girl too!
Have the Merriest of Birthdays for the wee Baby Jesus Day!
Kim@reposhture.blogspot.com
Looks AMAZING!!!!! Love the pattern you picked so happy and cheerful 🙂